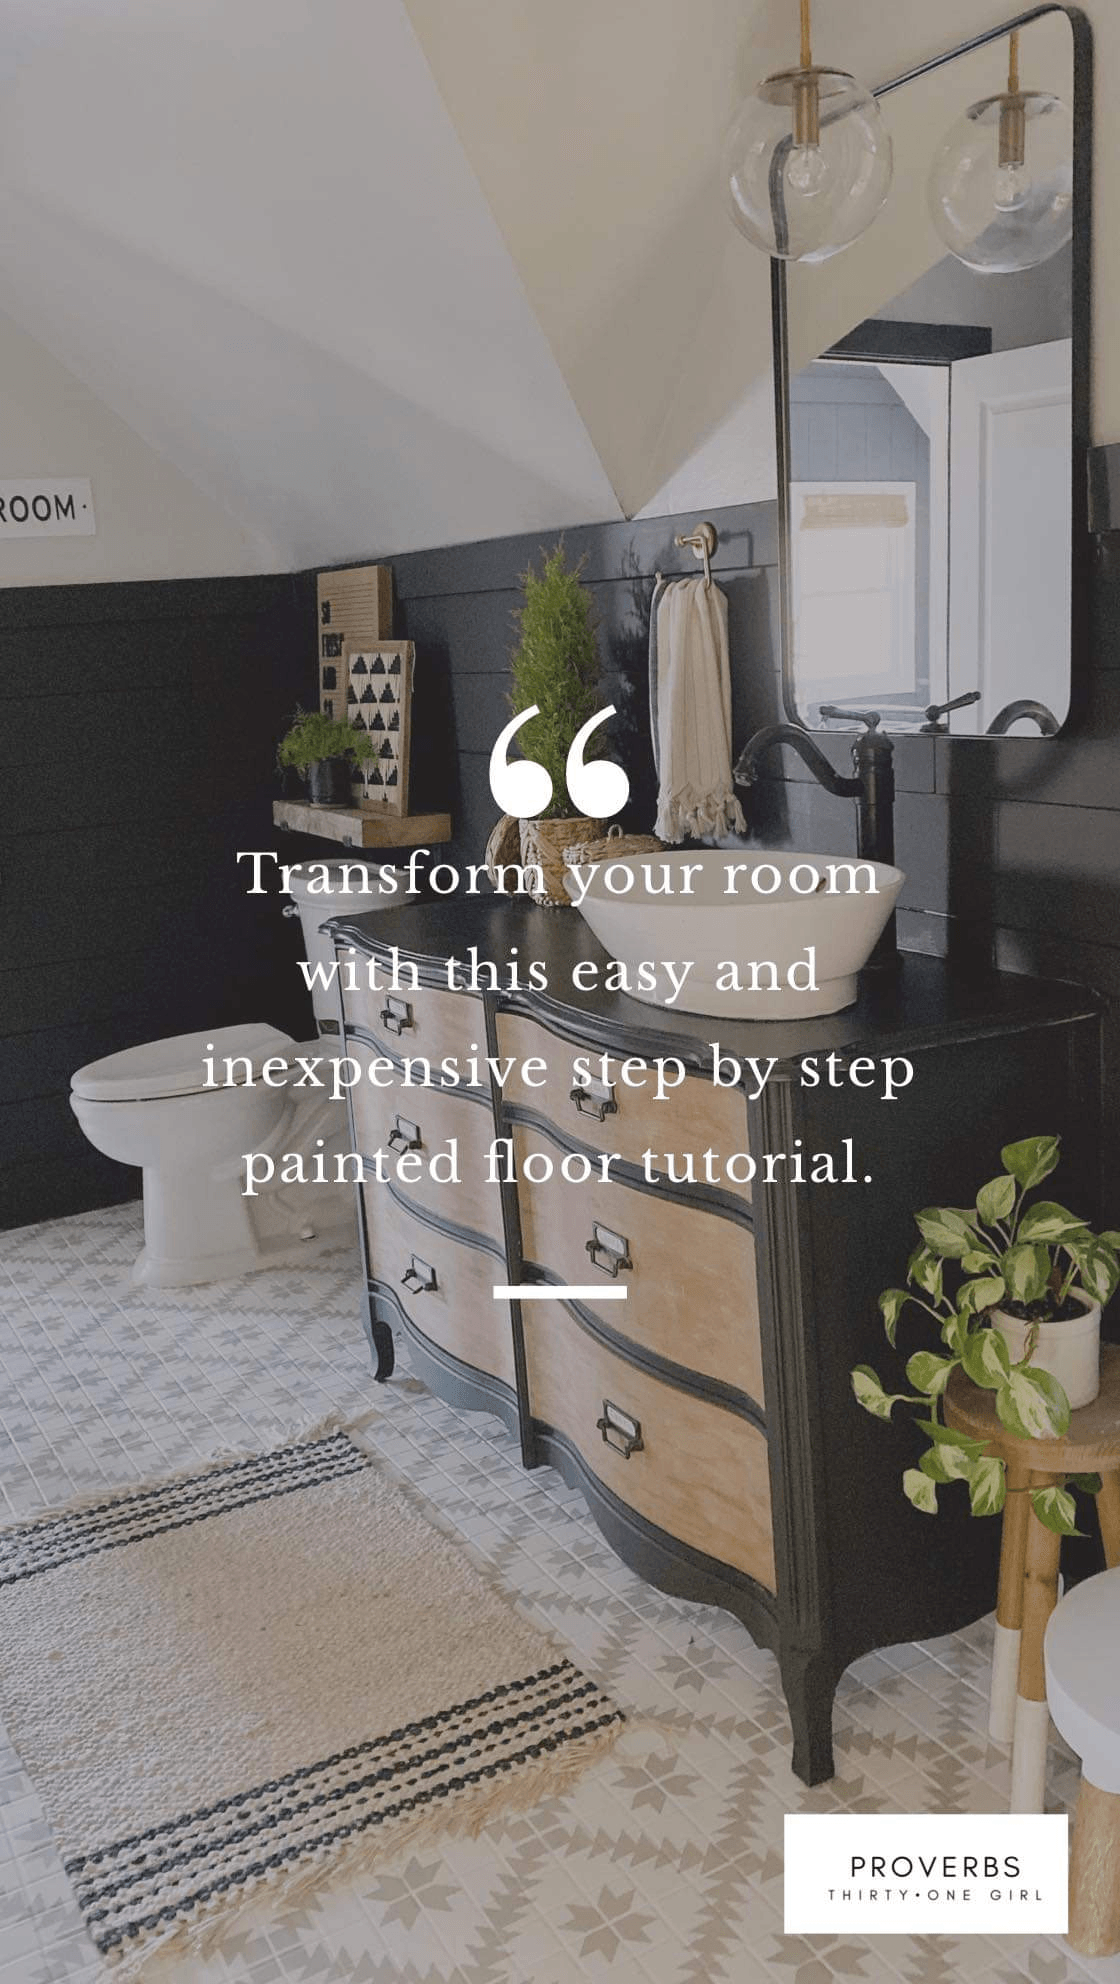
PAINTED FLOORS WITH RUST-OLEUM
update your floors in 3 easy steps WITH ROCKSOLID HOME INTERIOR FLOOR PAINT
This post is sponsored by Rust-Oleum.
Oh my goodness, you guys. I have DIY’d this floor in my head a hundred times, and this week is finally the week it came to life! And I couldn’t be happier. When we first installed this tile floor I thought that white would be timeless. And although its neutral, it started to look super boring and old school. I didn’t want to rip out perfectly good tile and have the mess and the cost of laying new ones, so instead I partnered with Rust-Oleum and tried out their new Rust-Oleum HOME floor coating Paint that I fell in love with! Let’s look at some fun before and afters and then I’ll give you the step-by-step tutorial, material list, and cost breakdown of this project. I’ll also share my fails and lessons learned that will be helpful to know in advance for when you do this project!
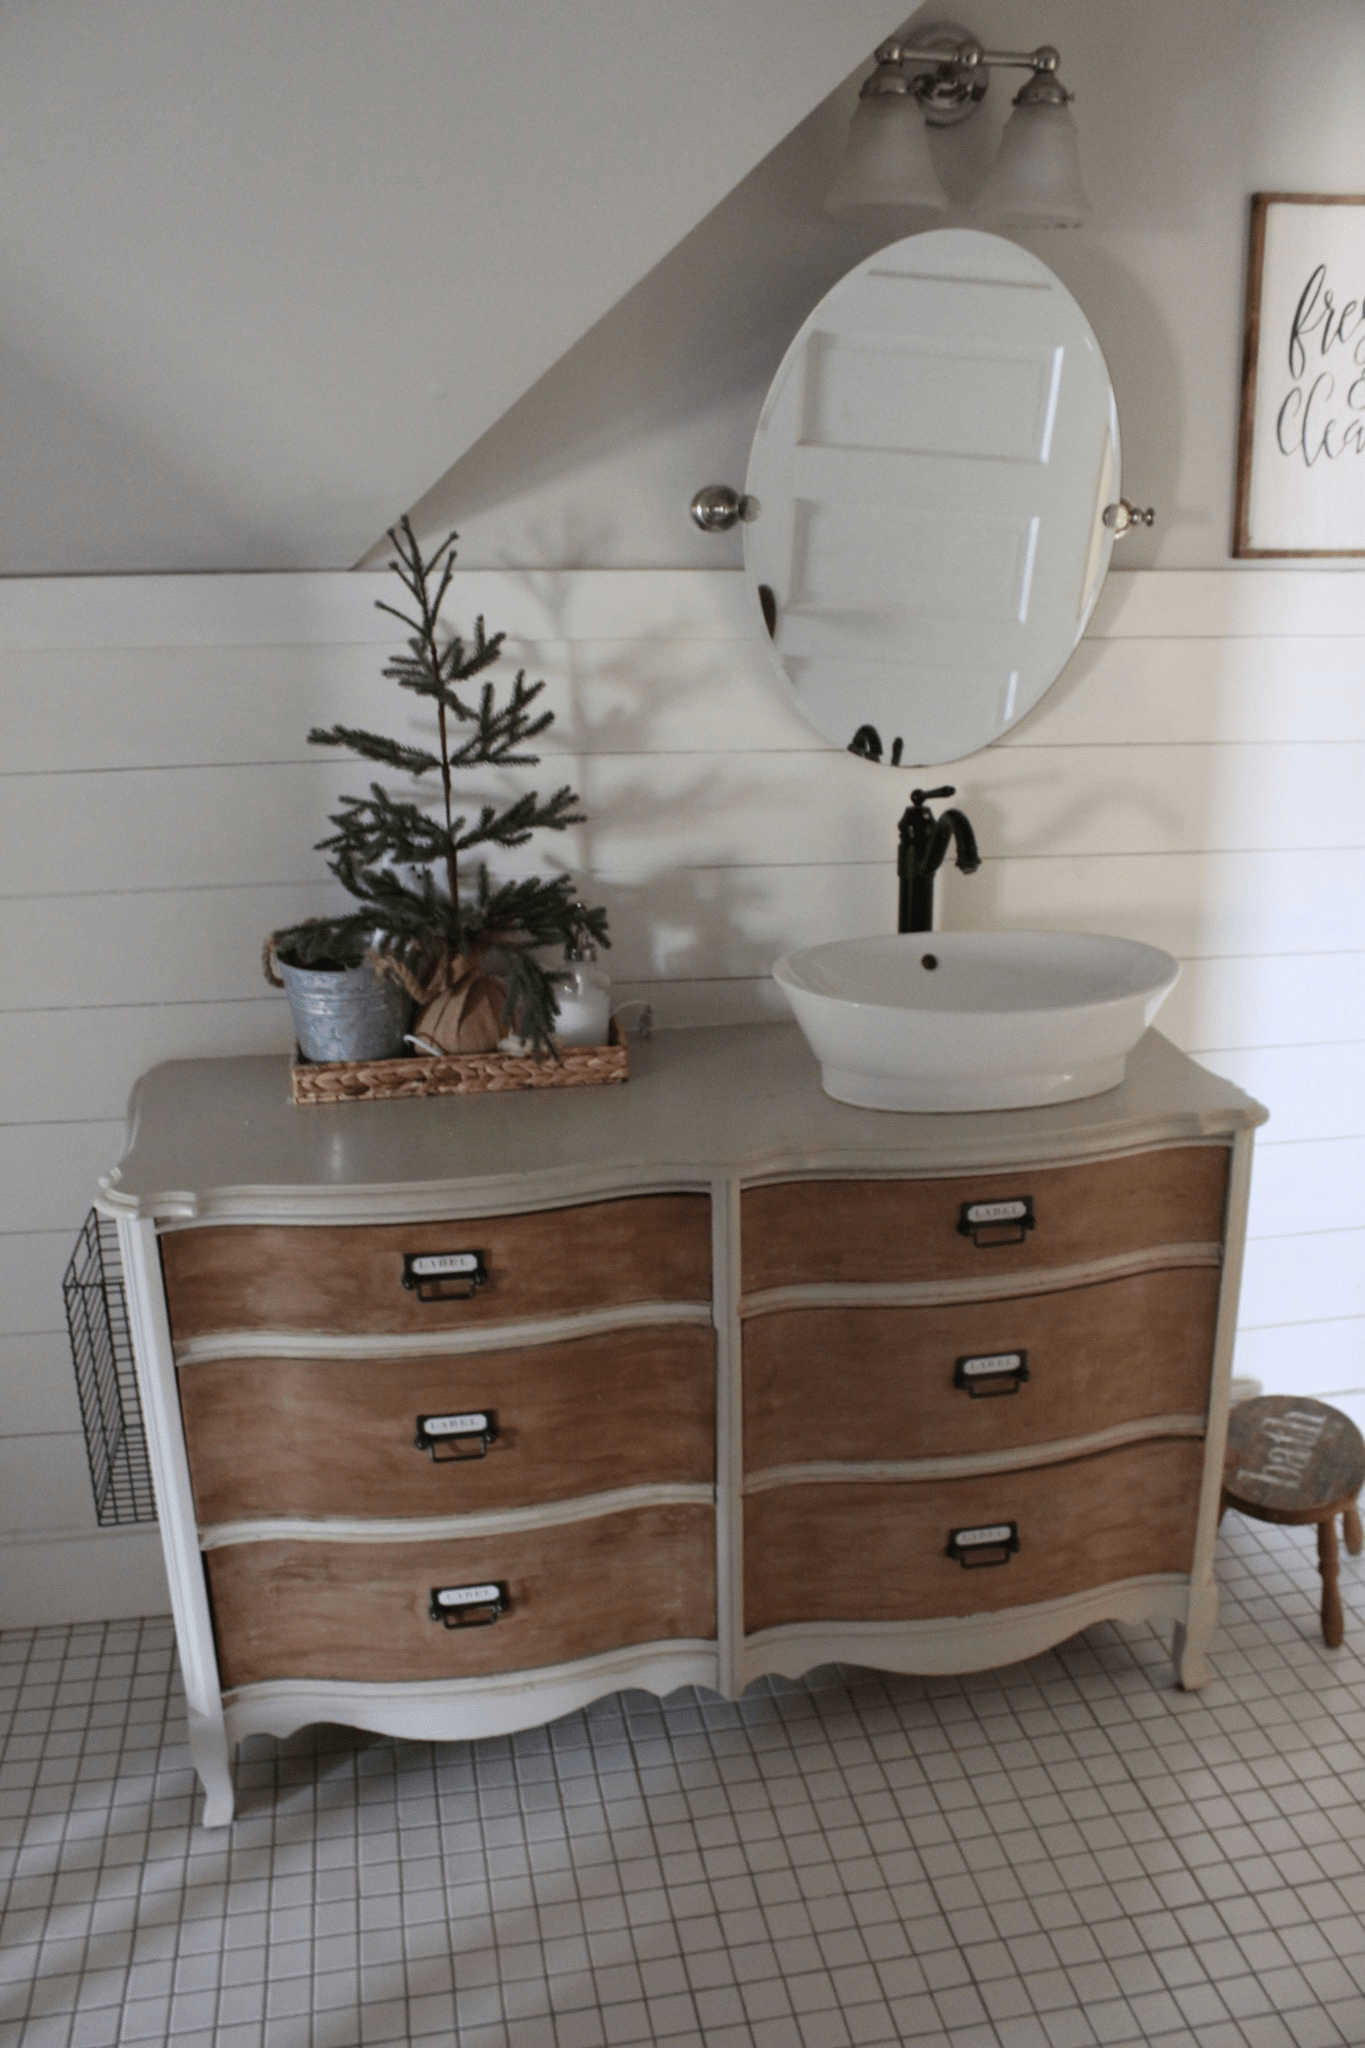
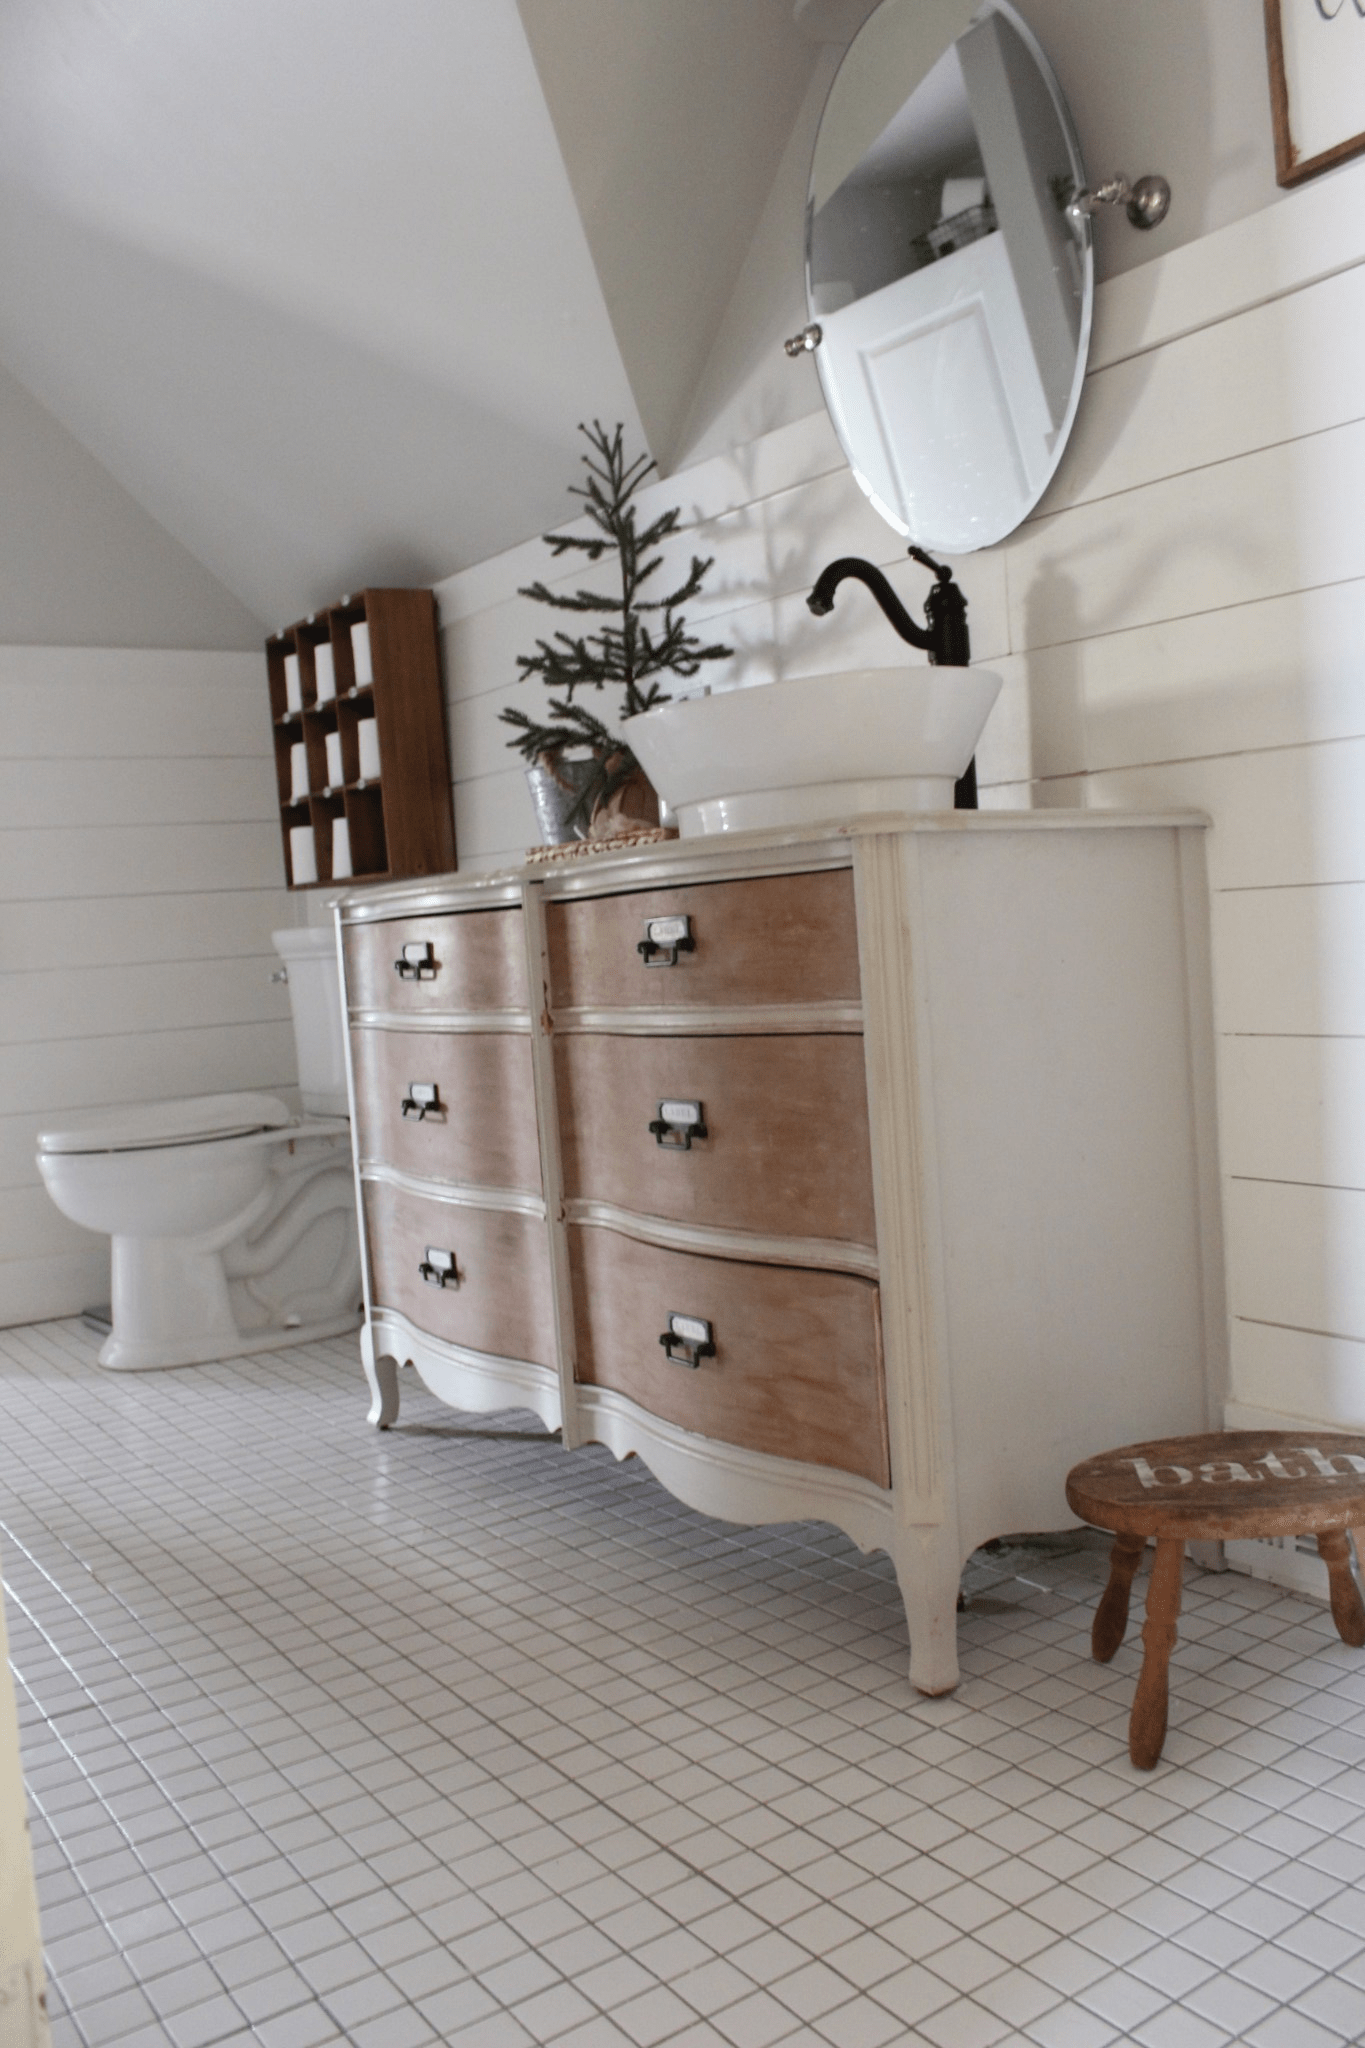
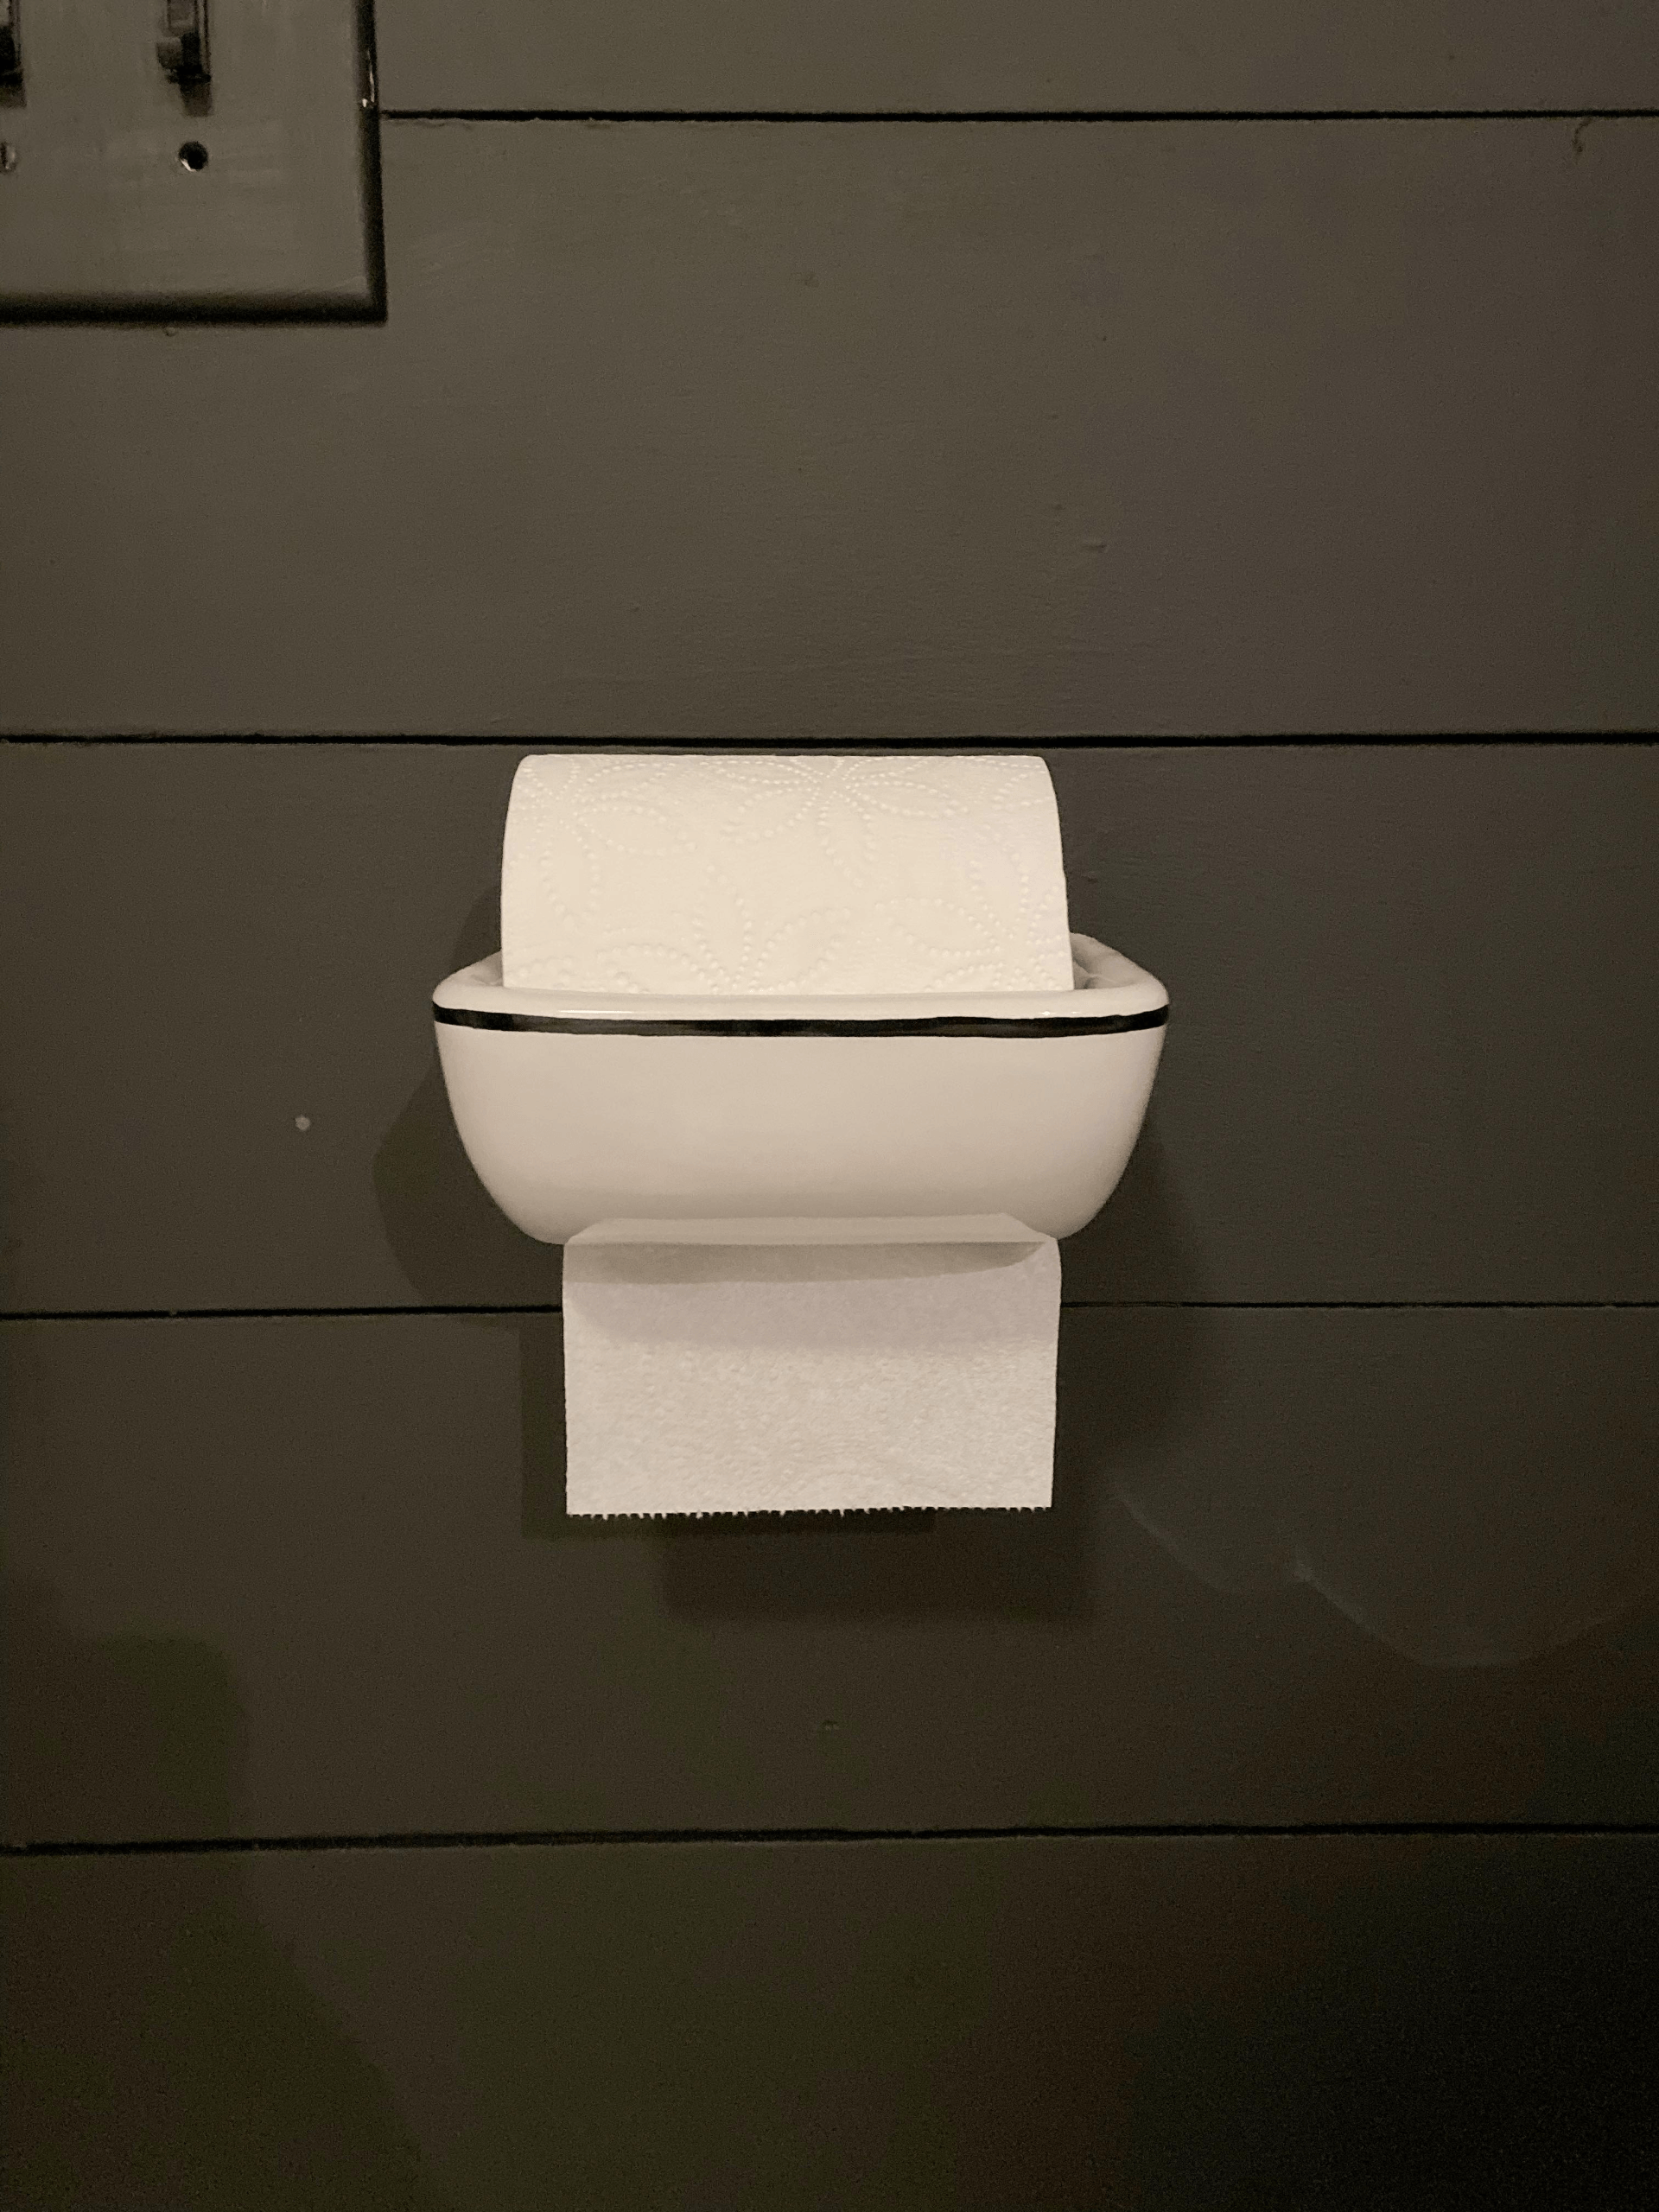
Before
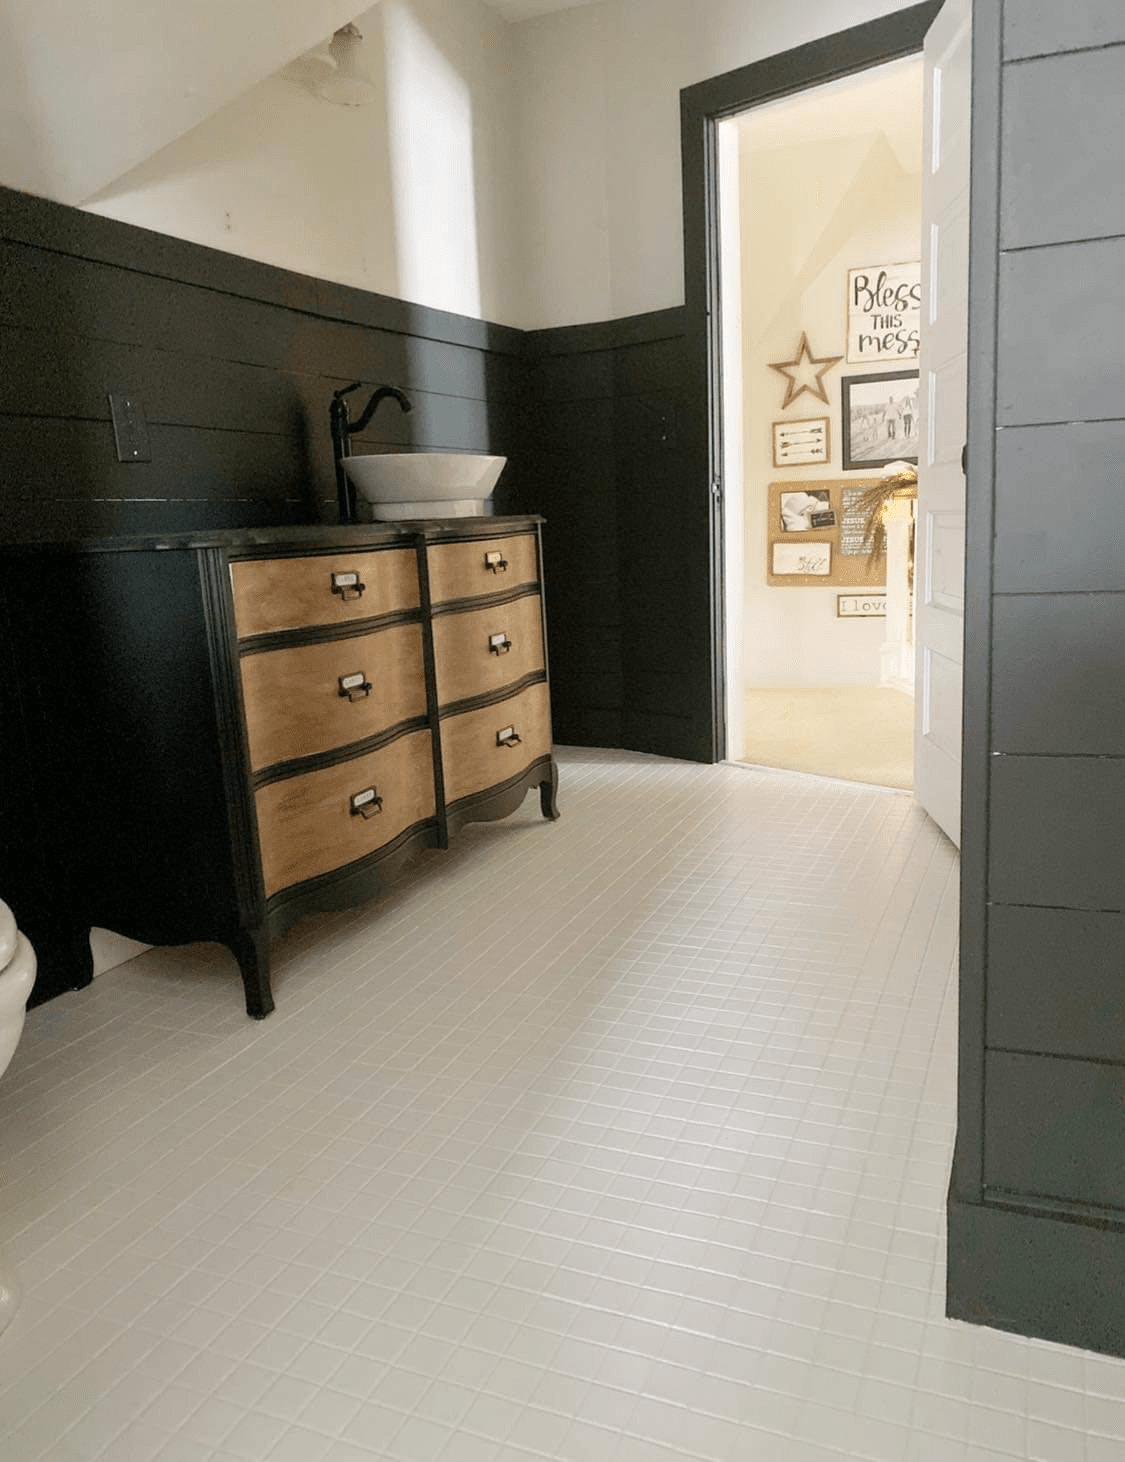
During
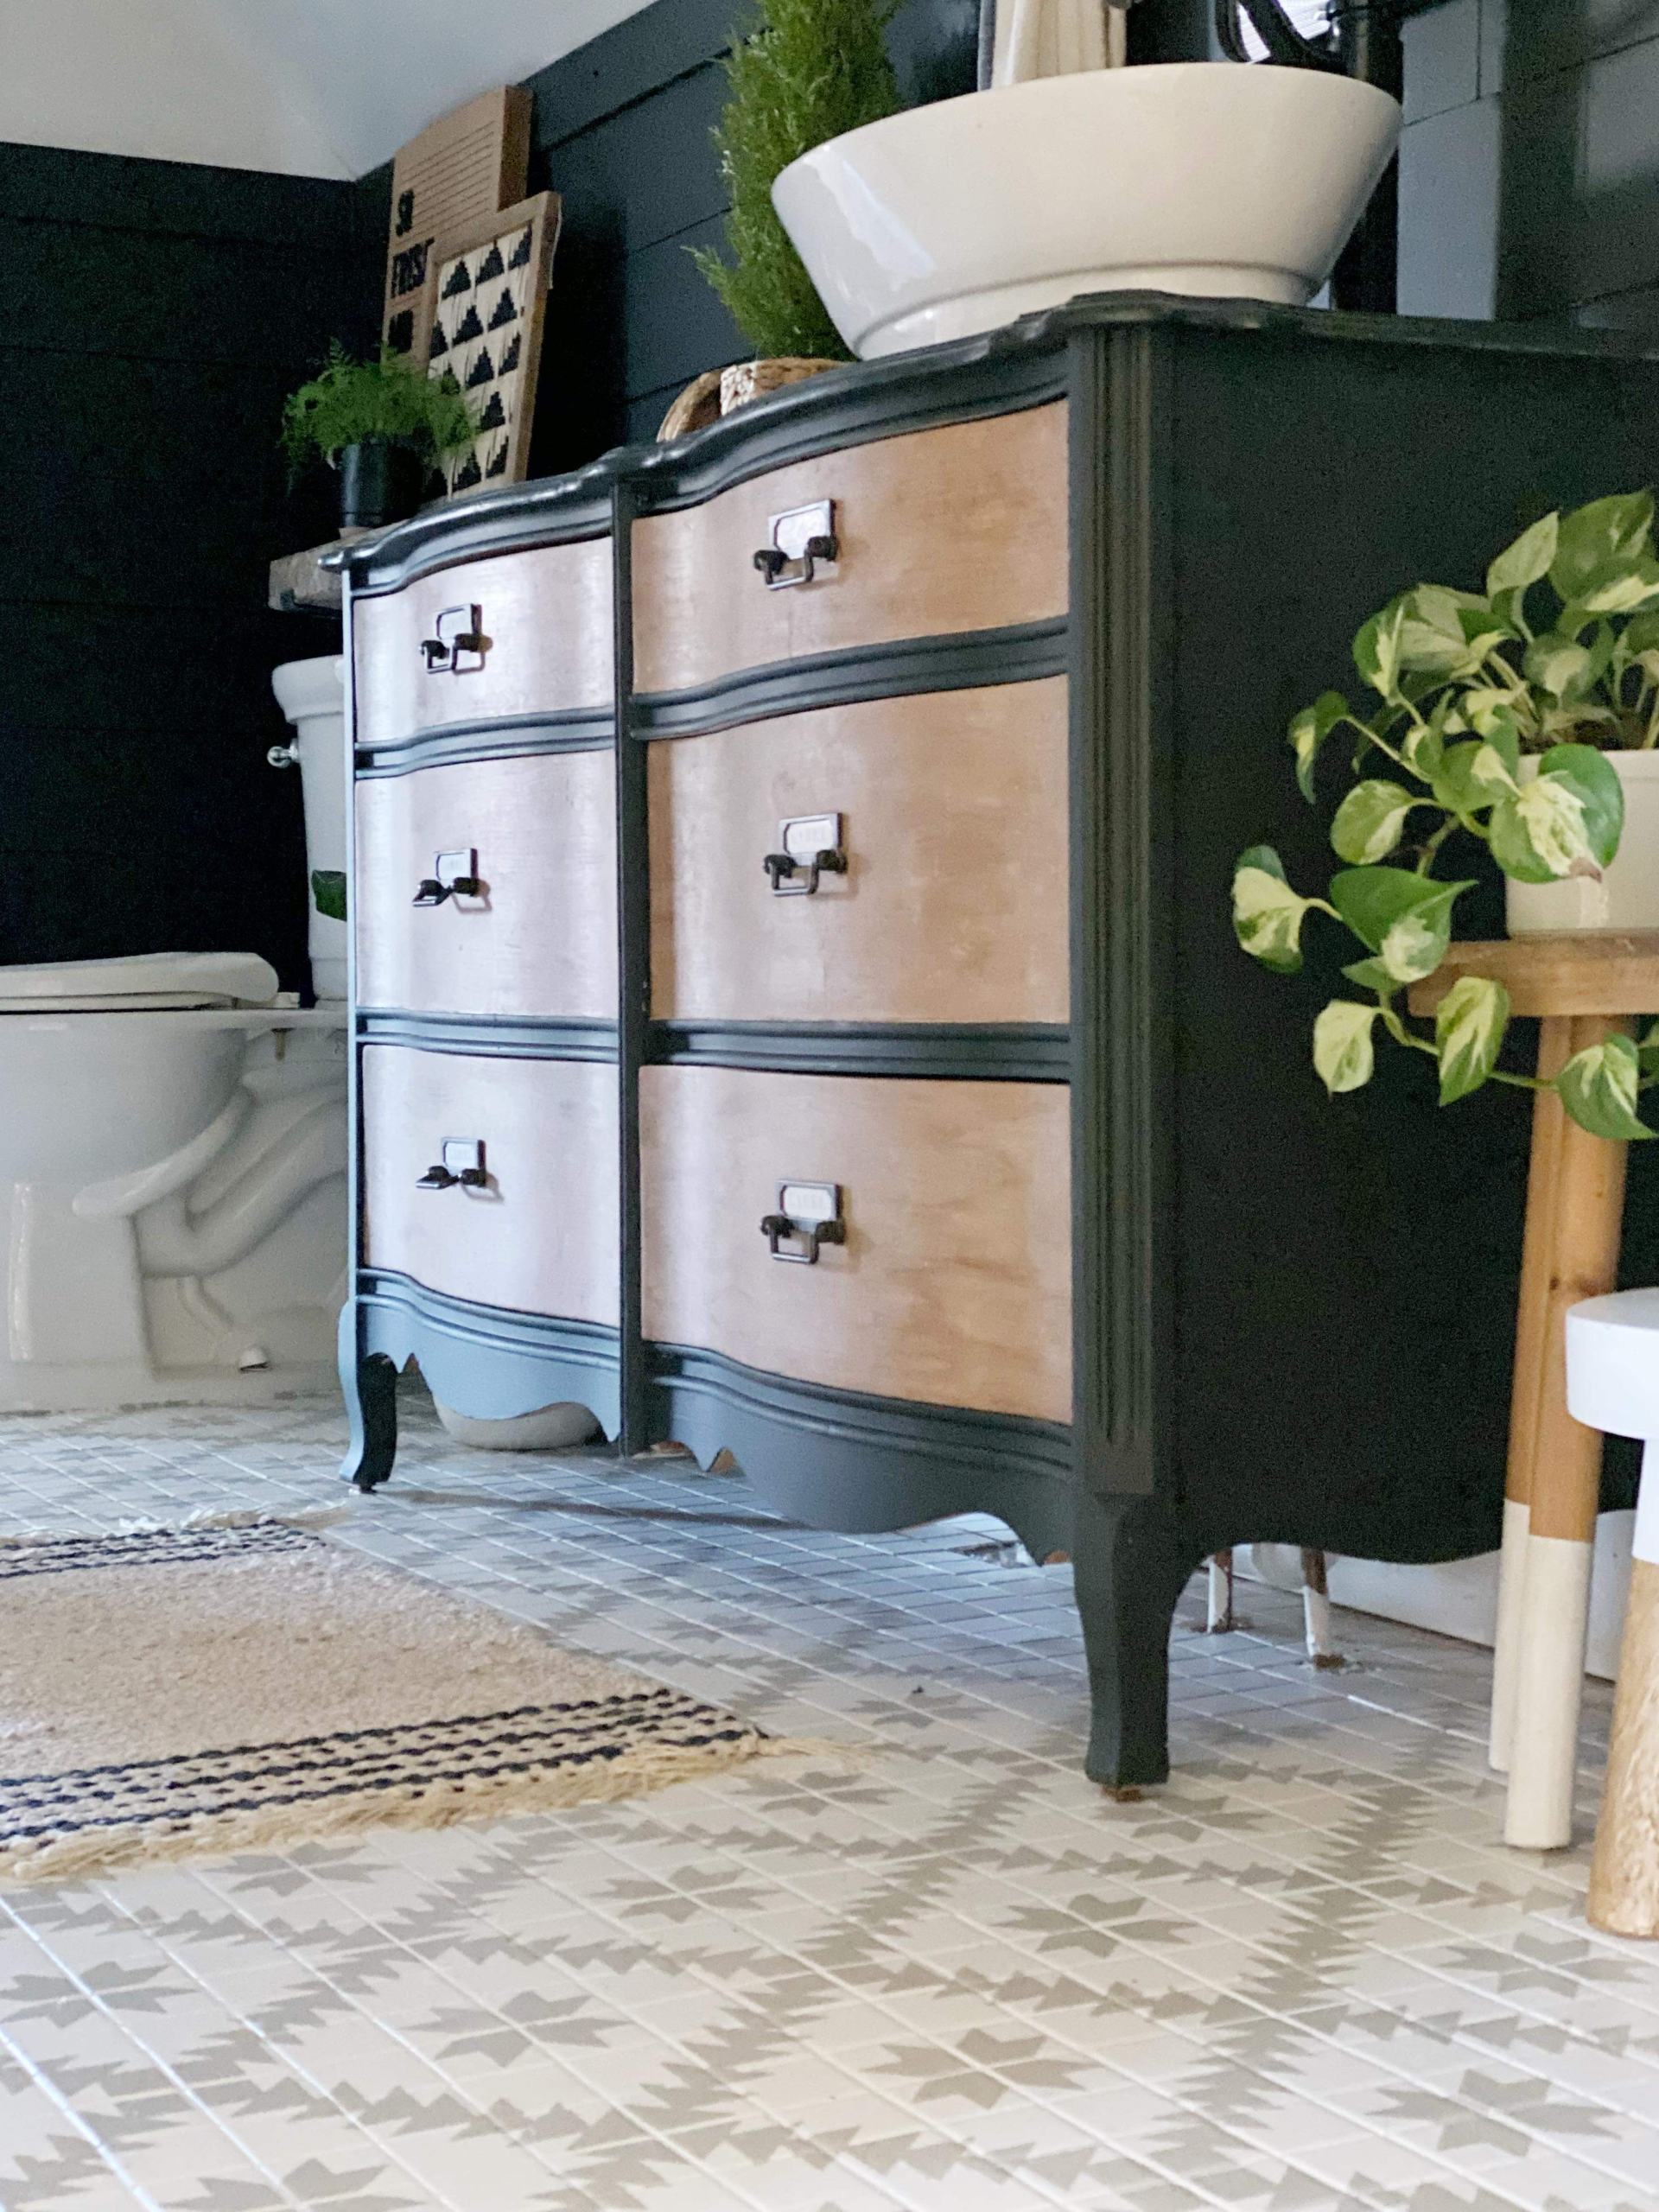
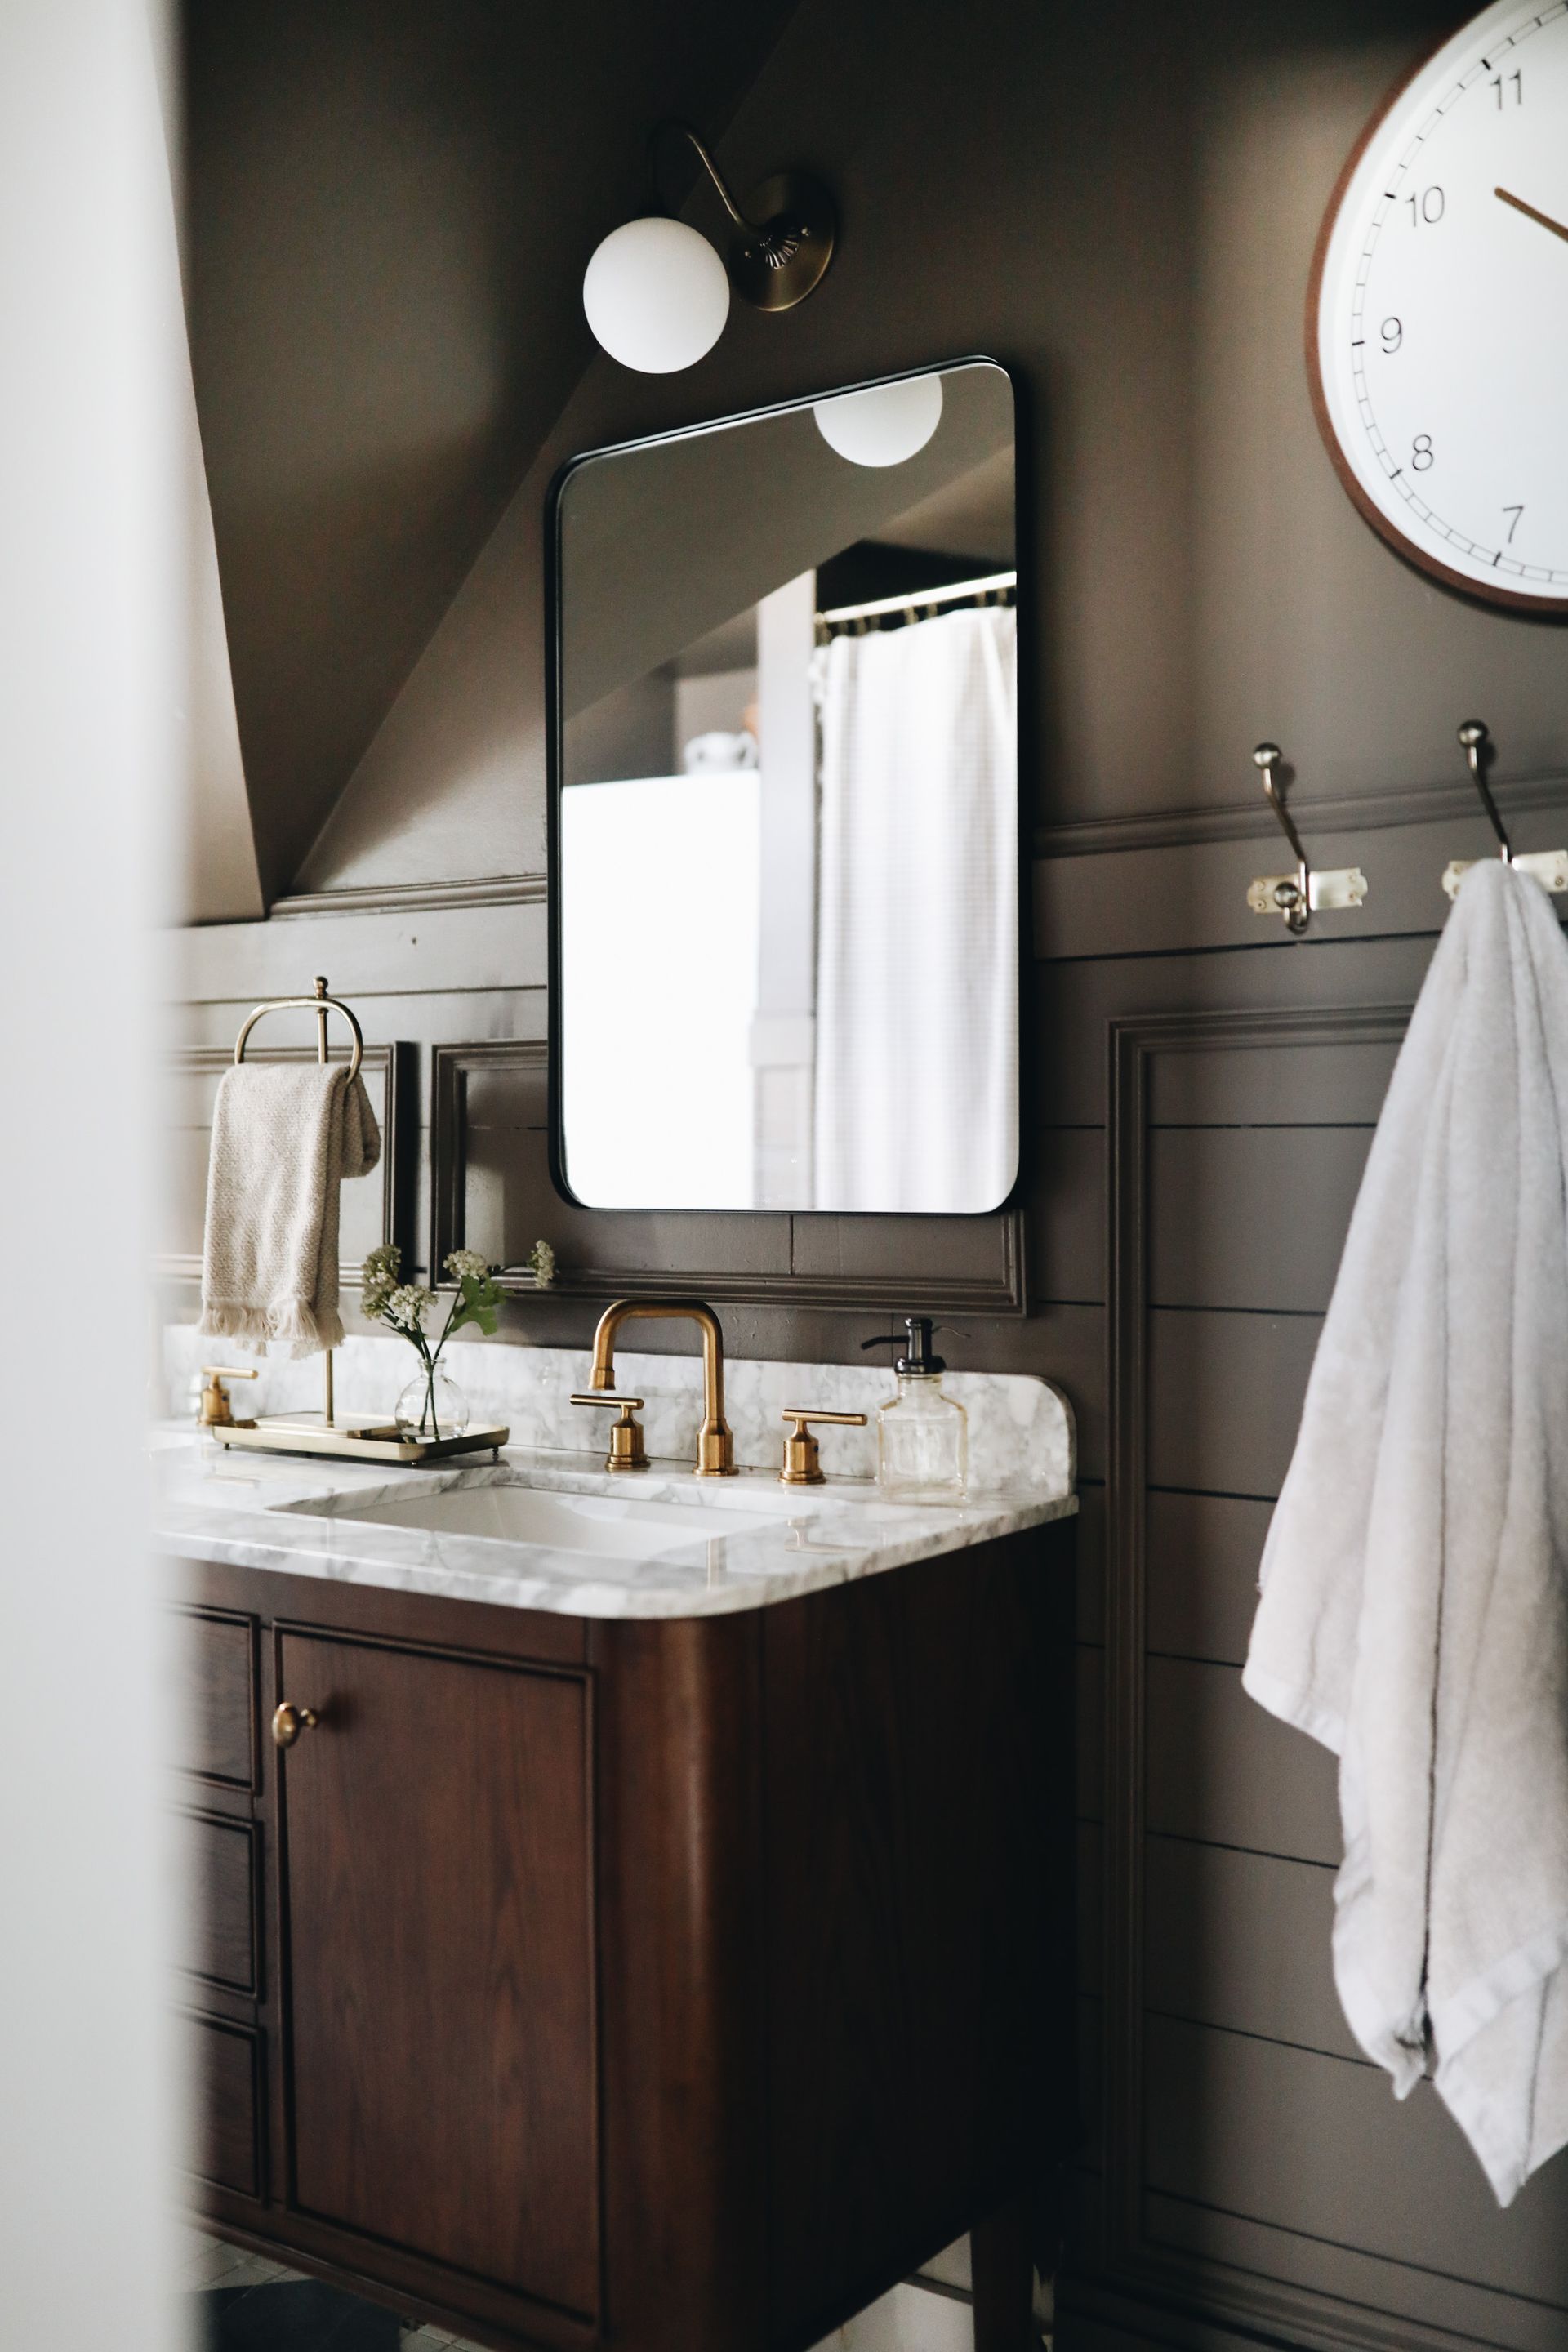
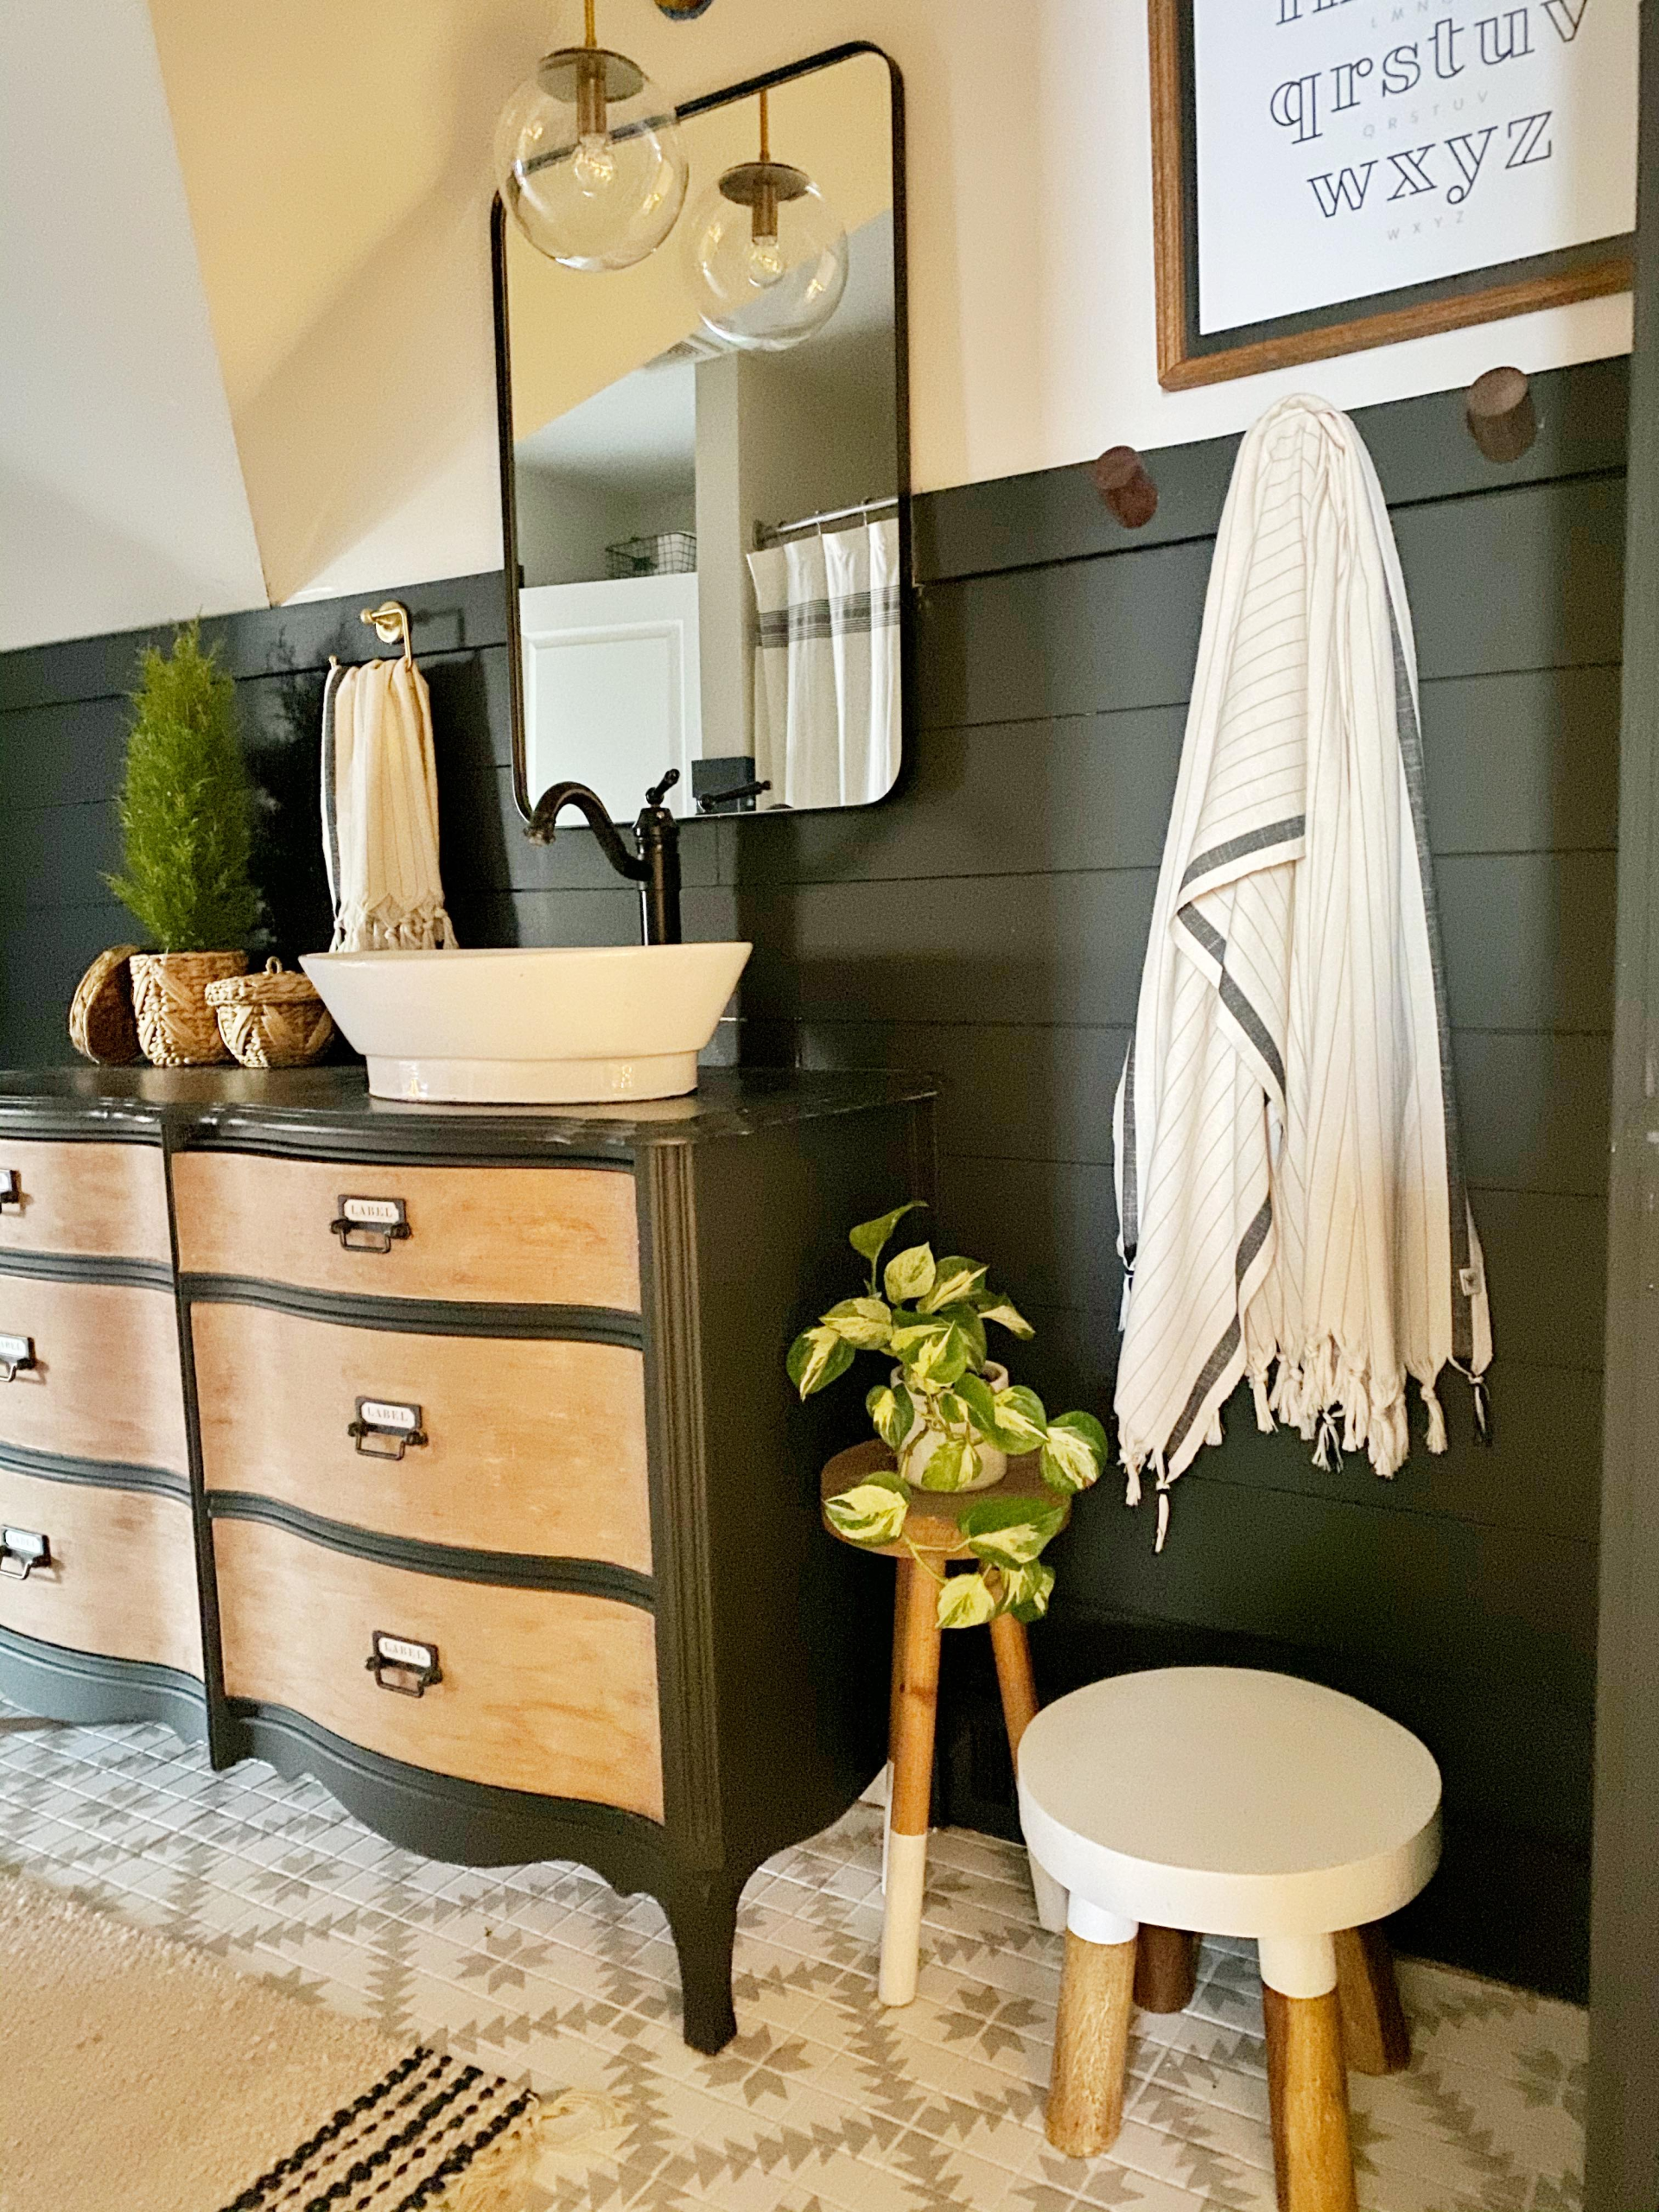
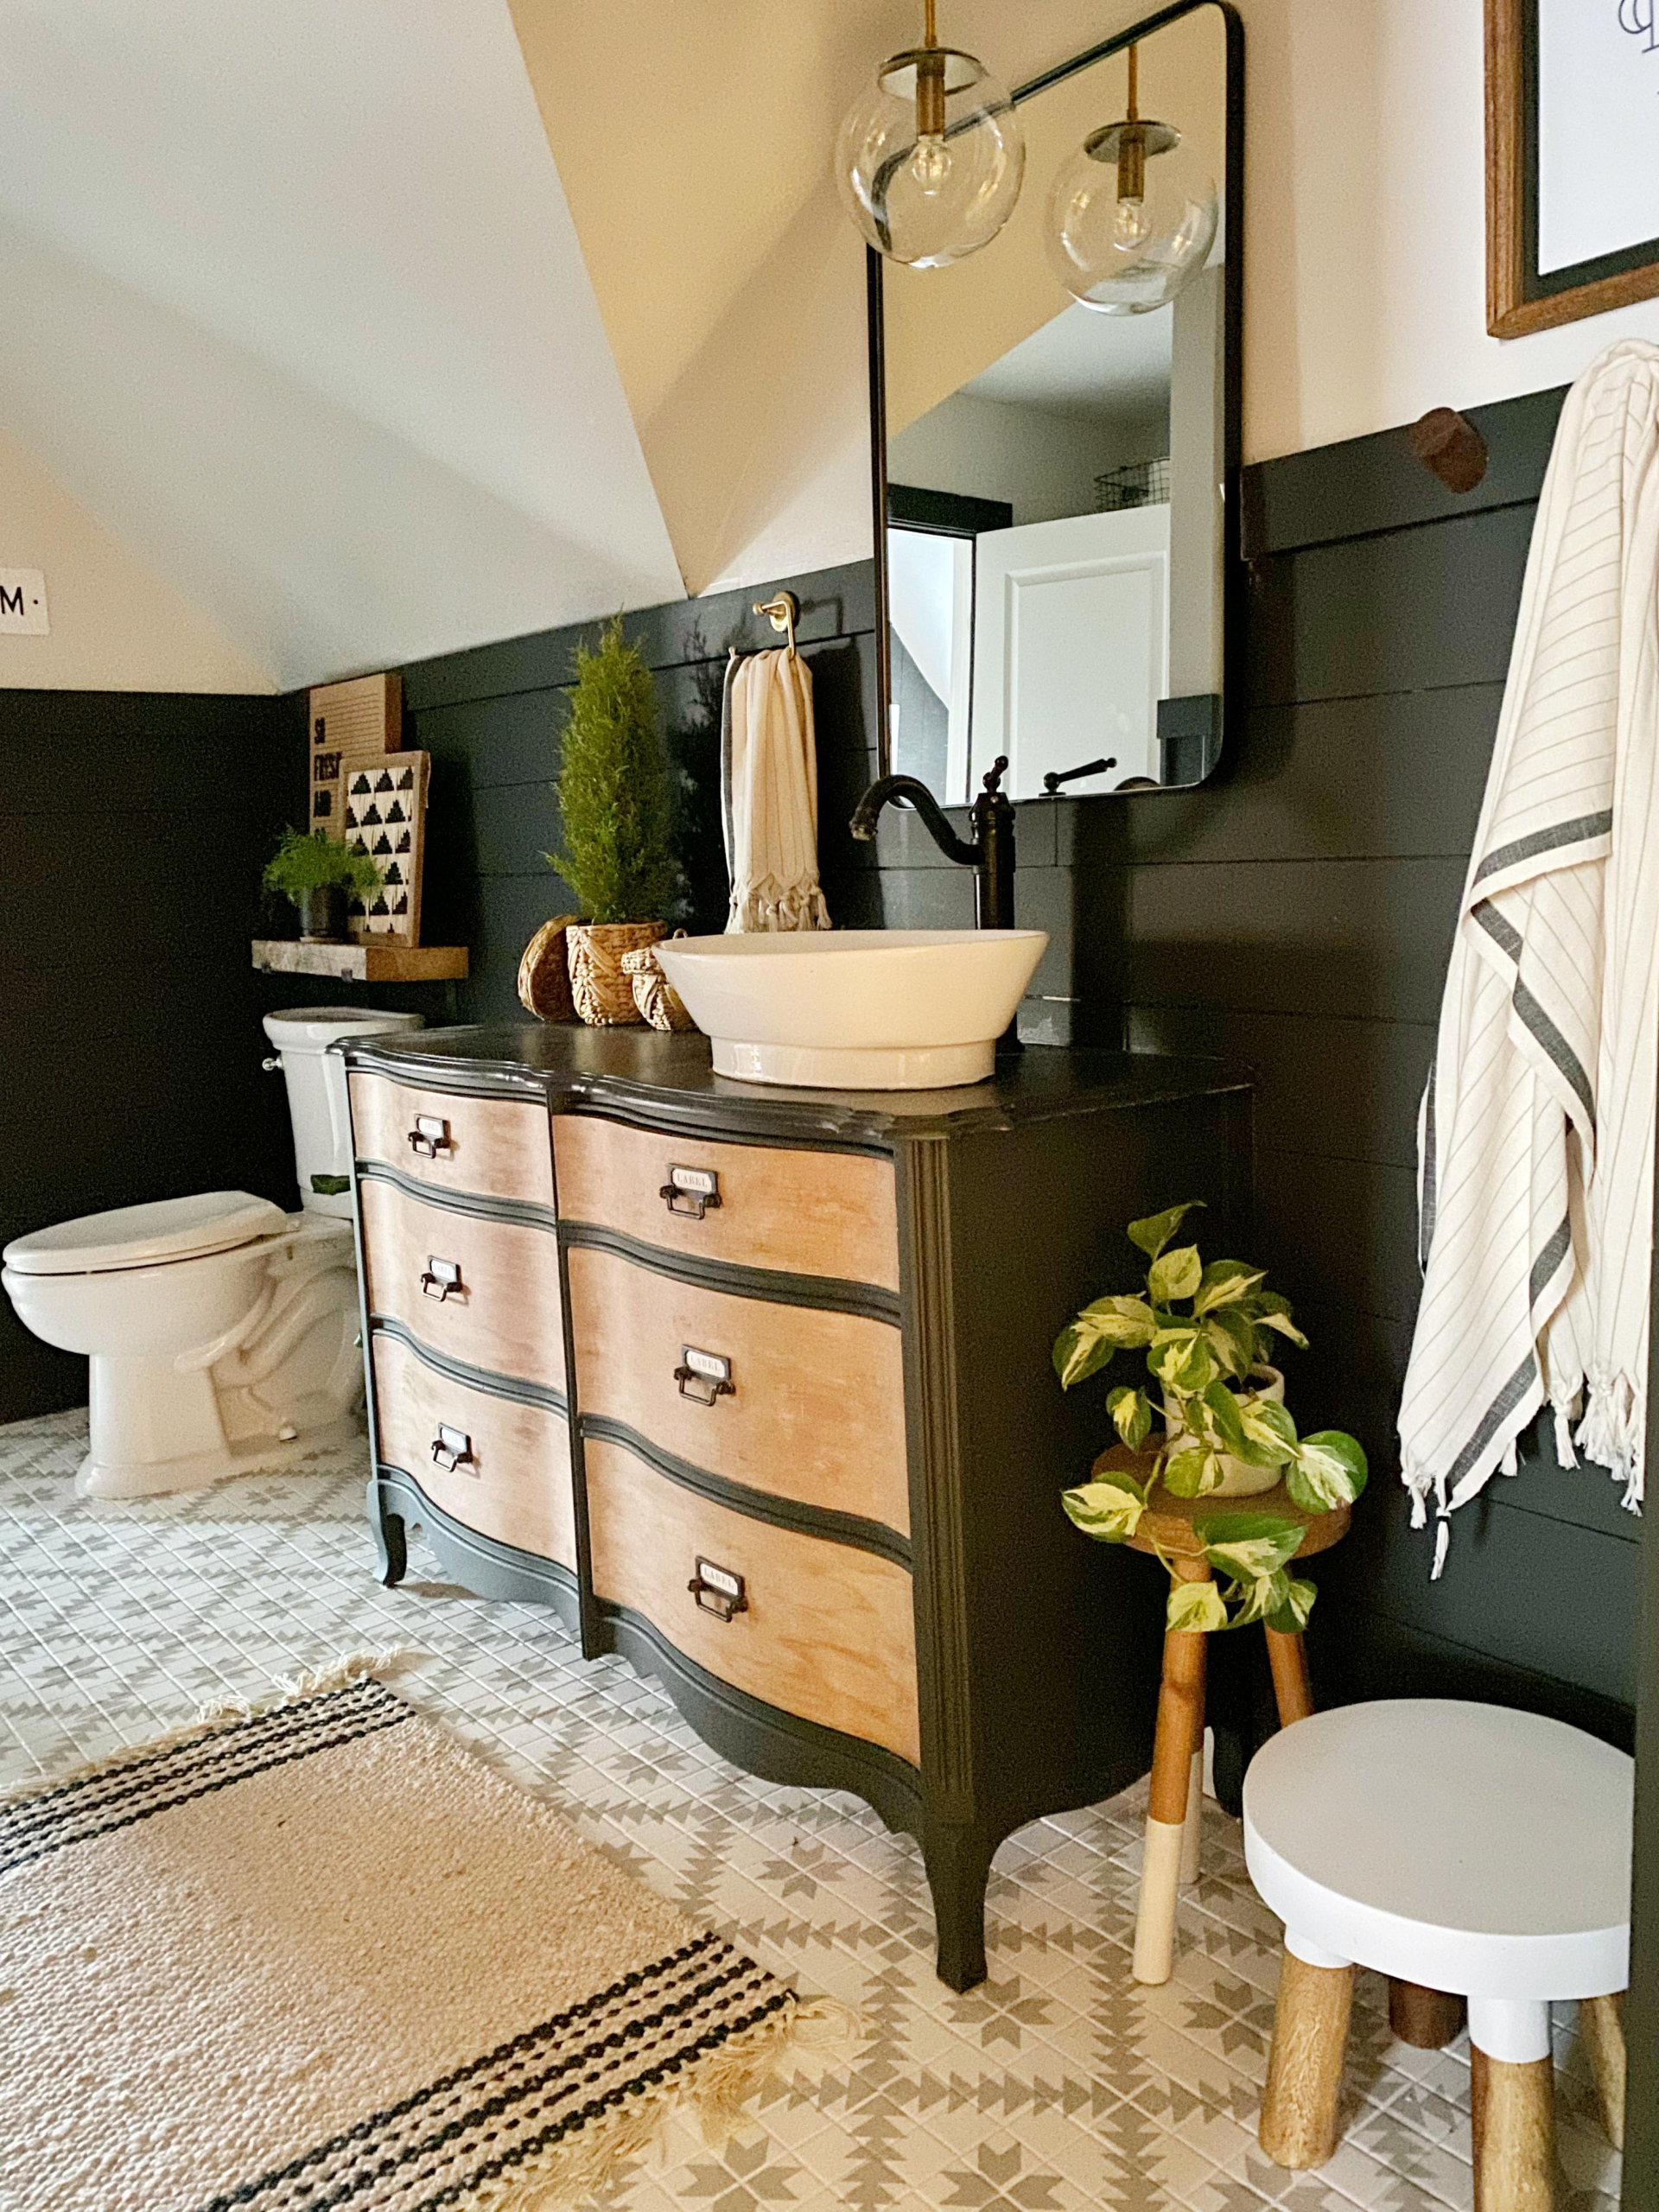
After
Are you ready to tackle your floors?
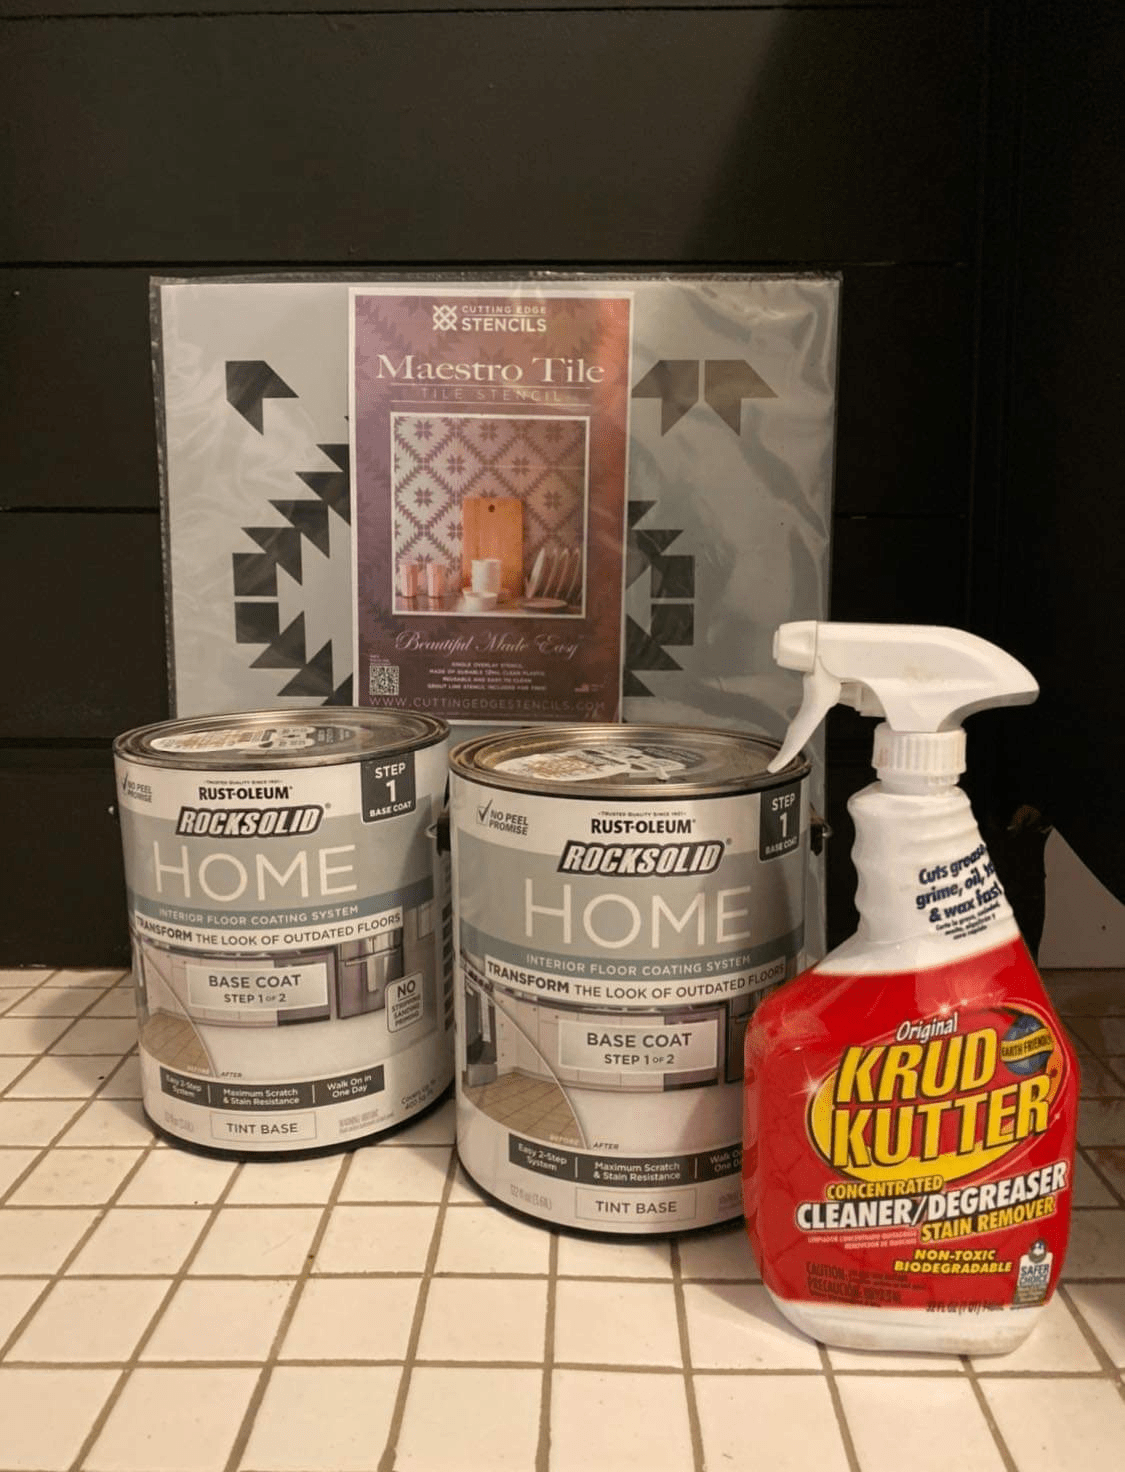
Here’s your material list:
Stencil (I suggest buying two stencils so you can cut one at the end for the edges and hard spots.) I ordered the size large.
Paint Roller
Paint Brush
Rust-Oleum RockSolid HOME Base Coat (I used white for my base)
Rust-Oleum RockSolid HOME Base Coat in a color of your choice for the stencil. I used Gray Owl.
Rust-Oleum RockSolid HOME Top Coat (I used a matte finish for mine)
Step 1: Prep your floors.
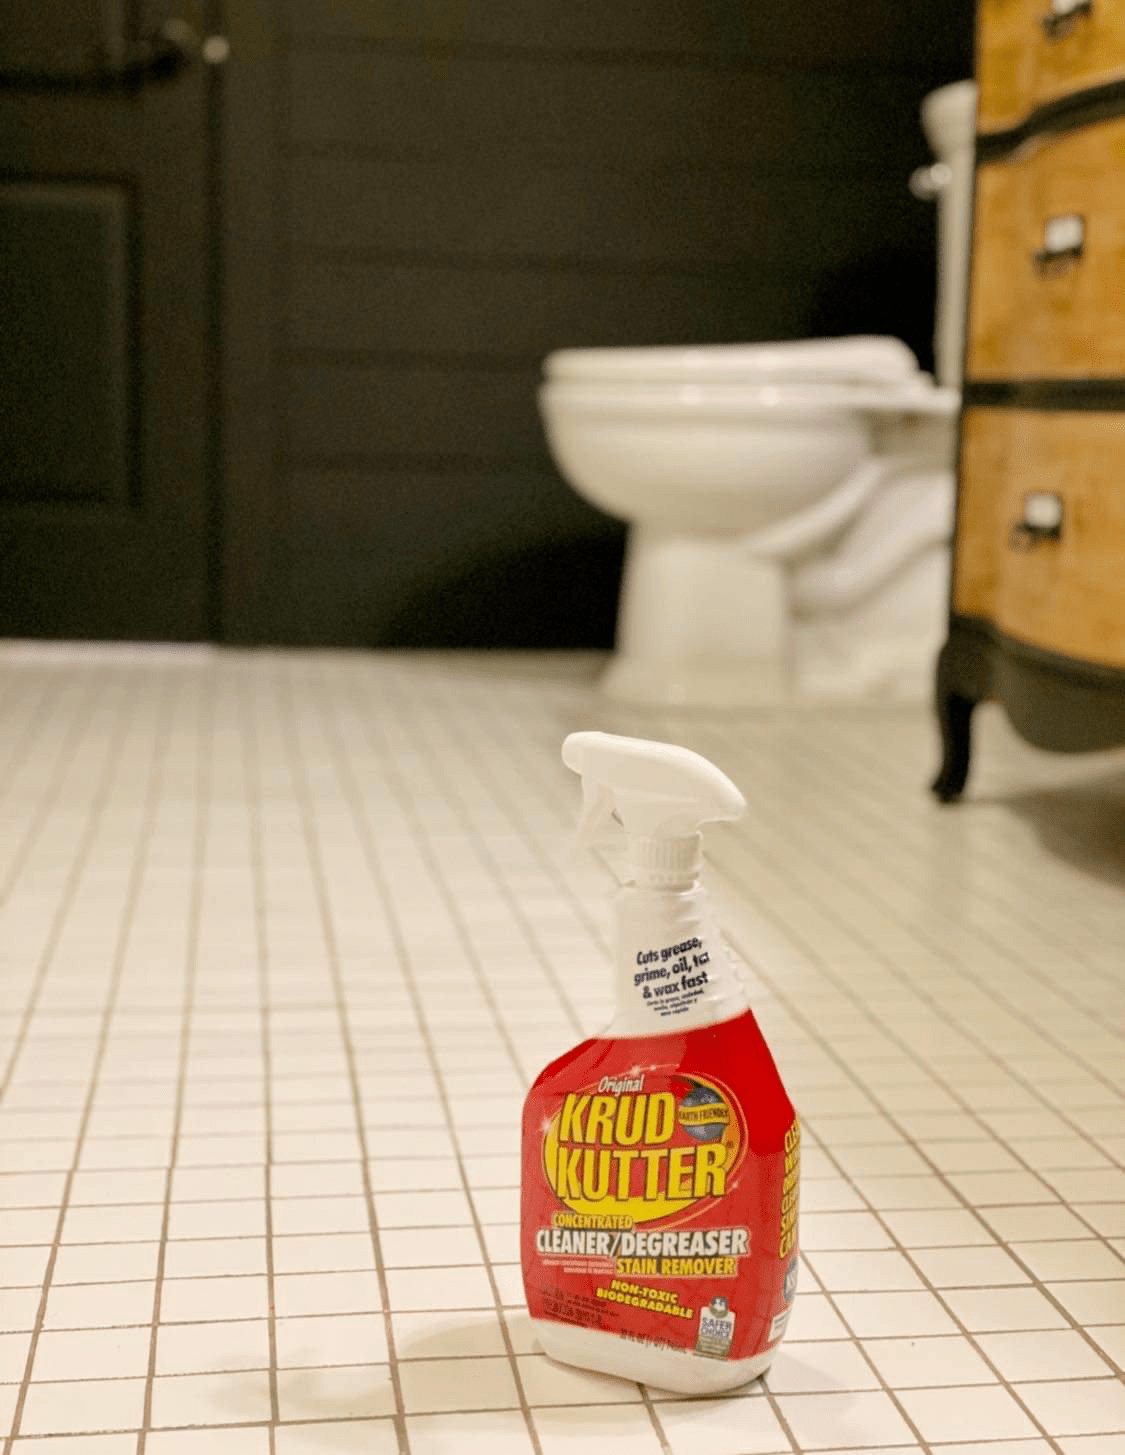
I vacuumed my floors and then used
Krud Kutter to clean off any left on debris, toothpaste, paint, food, lets be honest, this is a kids bathroom, it was a mess! The
Krud Kutter worked like a charm though, even took off stubborn stuck on paint from my last paint job!
ahh...much better! Ready for paint!
You guys!! That’s it! No sanding, no priming, no abrasive chemicals, nothing! This stuff sticks to anything! I also wanted to add that
Rock Solid Home works on all floor types. (Ceramic tile, porcelain tile, laminate, hardwood, concrete and vinyl)
Step 2: Ready for paint!
You can tape off your baseboards at this point with painters tape if you want a nice clean line. I live on the edge and don’t tape off my walls. Use an angled paint brush to paint all around the edges and any area where your big roller won’t fit into.
A steady hand means no tape!
Once your edges are rolled, use your paint roller and roll the rest of the floor. If I felt like the floor was dirty at all, I took a hair dryer and blew off all lint and debris, otherwise it gets stuck in your paint. I also realized its super smart to put your hair in a ponytail so you hair doesn’t end up painted into your floor…..not that that happened to me…..just sayin;)

It literally took me 30 minutes to do the whole base coat, edging it and all! If you use any color other than white they say you only need 1 coat. If you are doing white they recommend 2. You need to wait 6 hours to apply your next coat of paint. It will still be tacky, and actually will be a little sticky until the top coat goes on, so don’t worry about that. I wore socks to help with foot prints on the paint;)
Step 3: Time to Stencil!
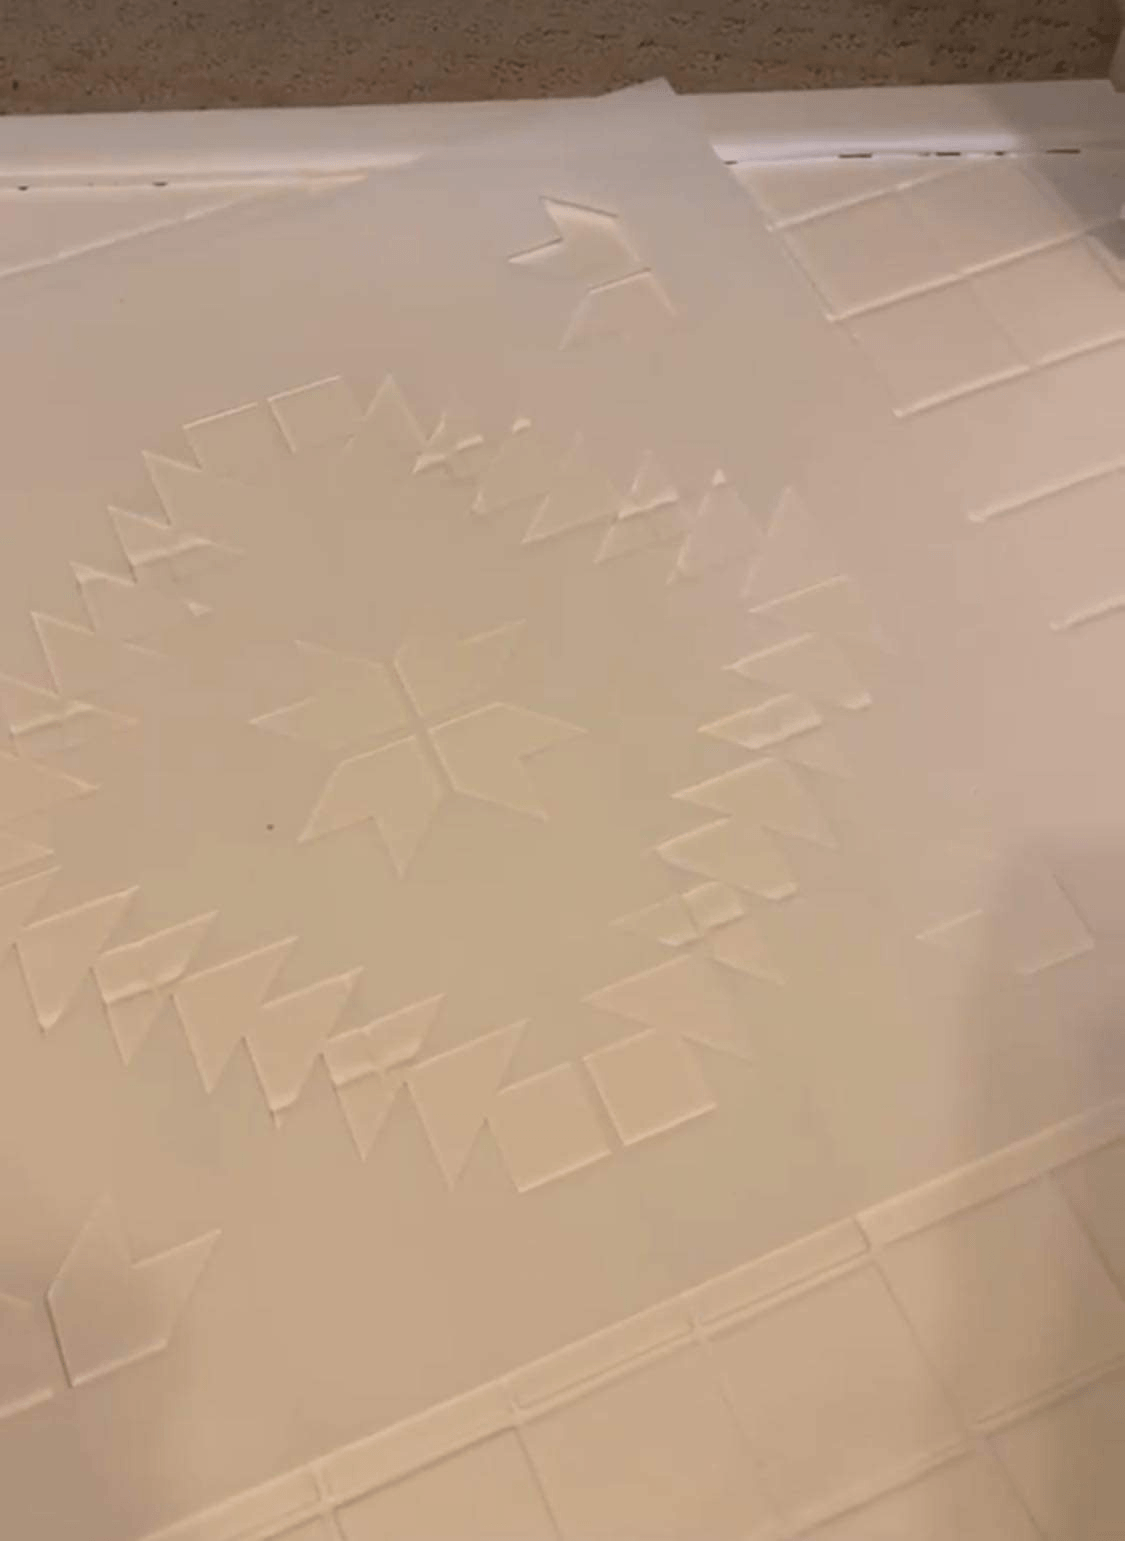
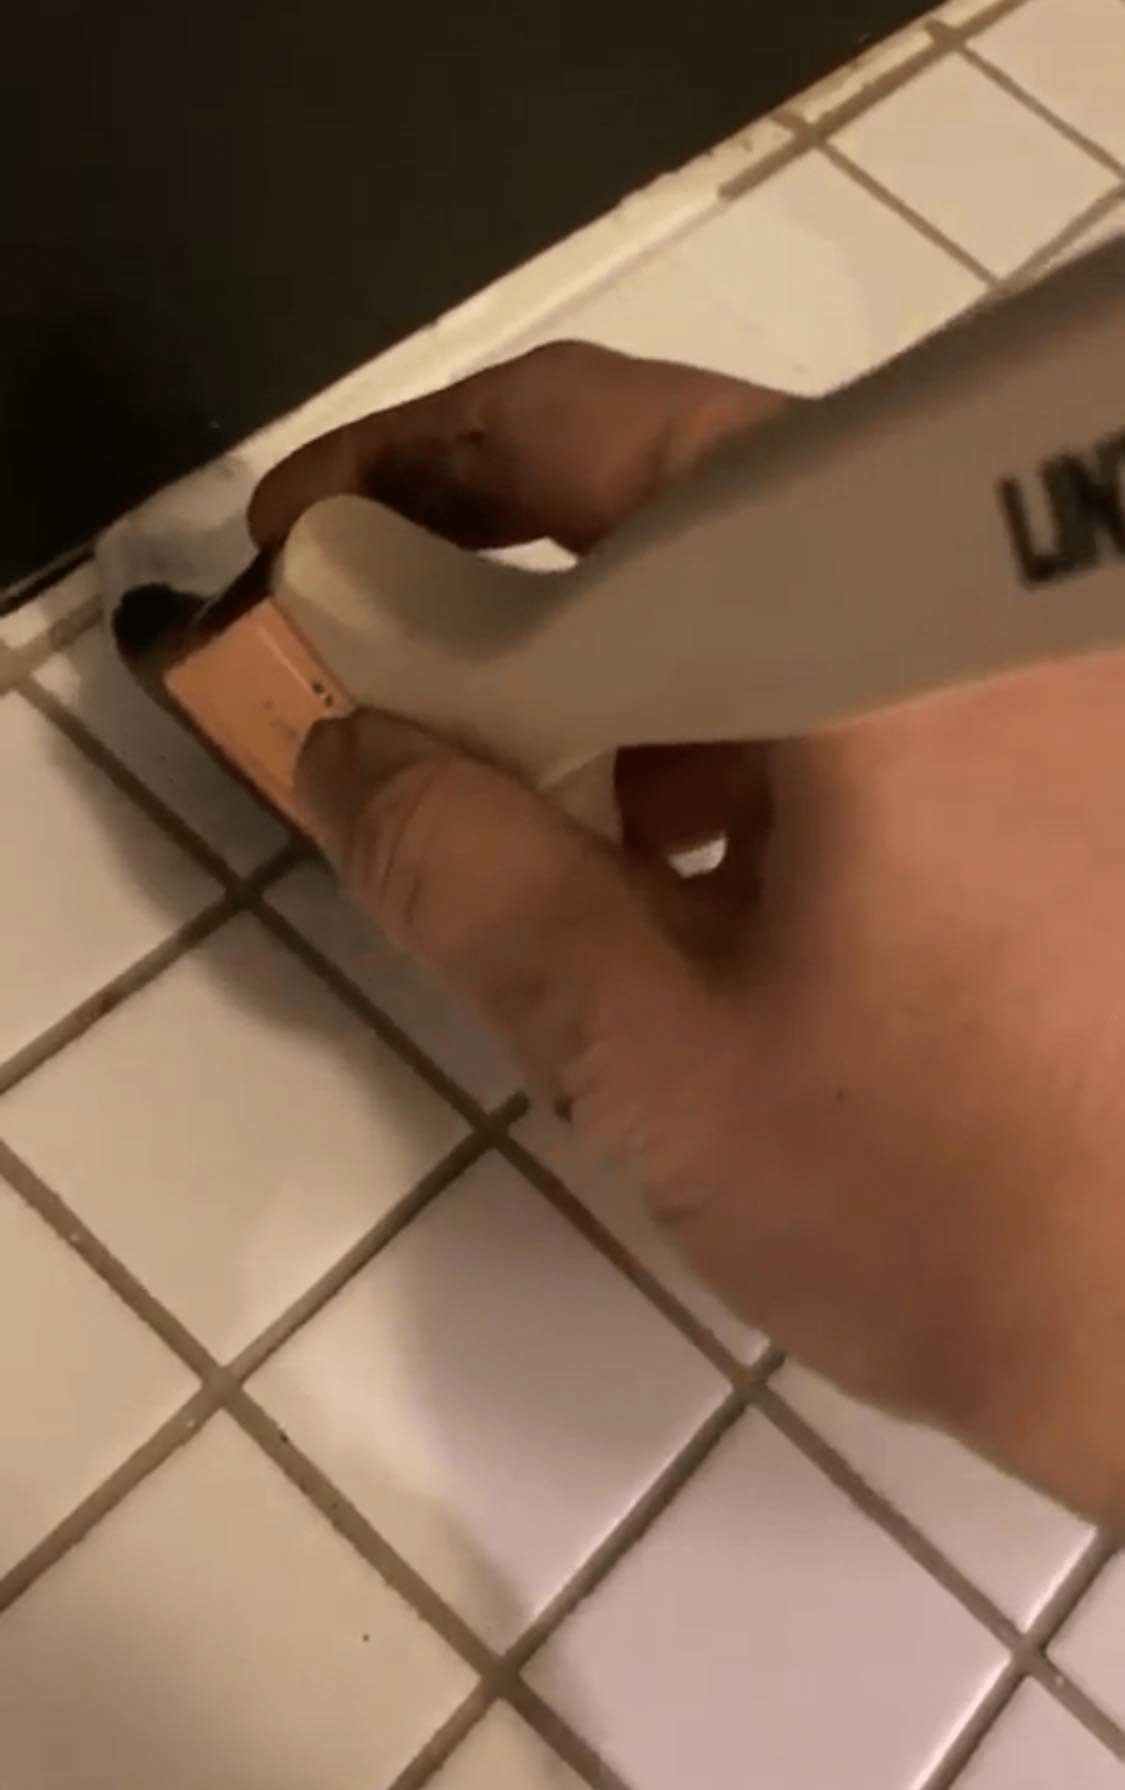
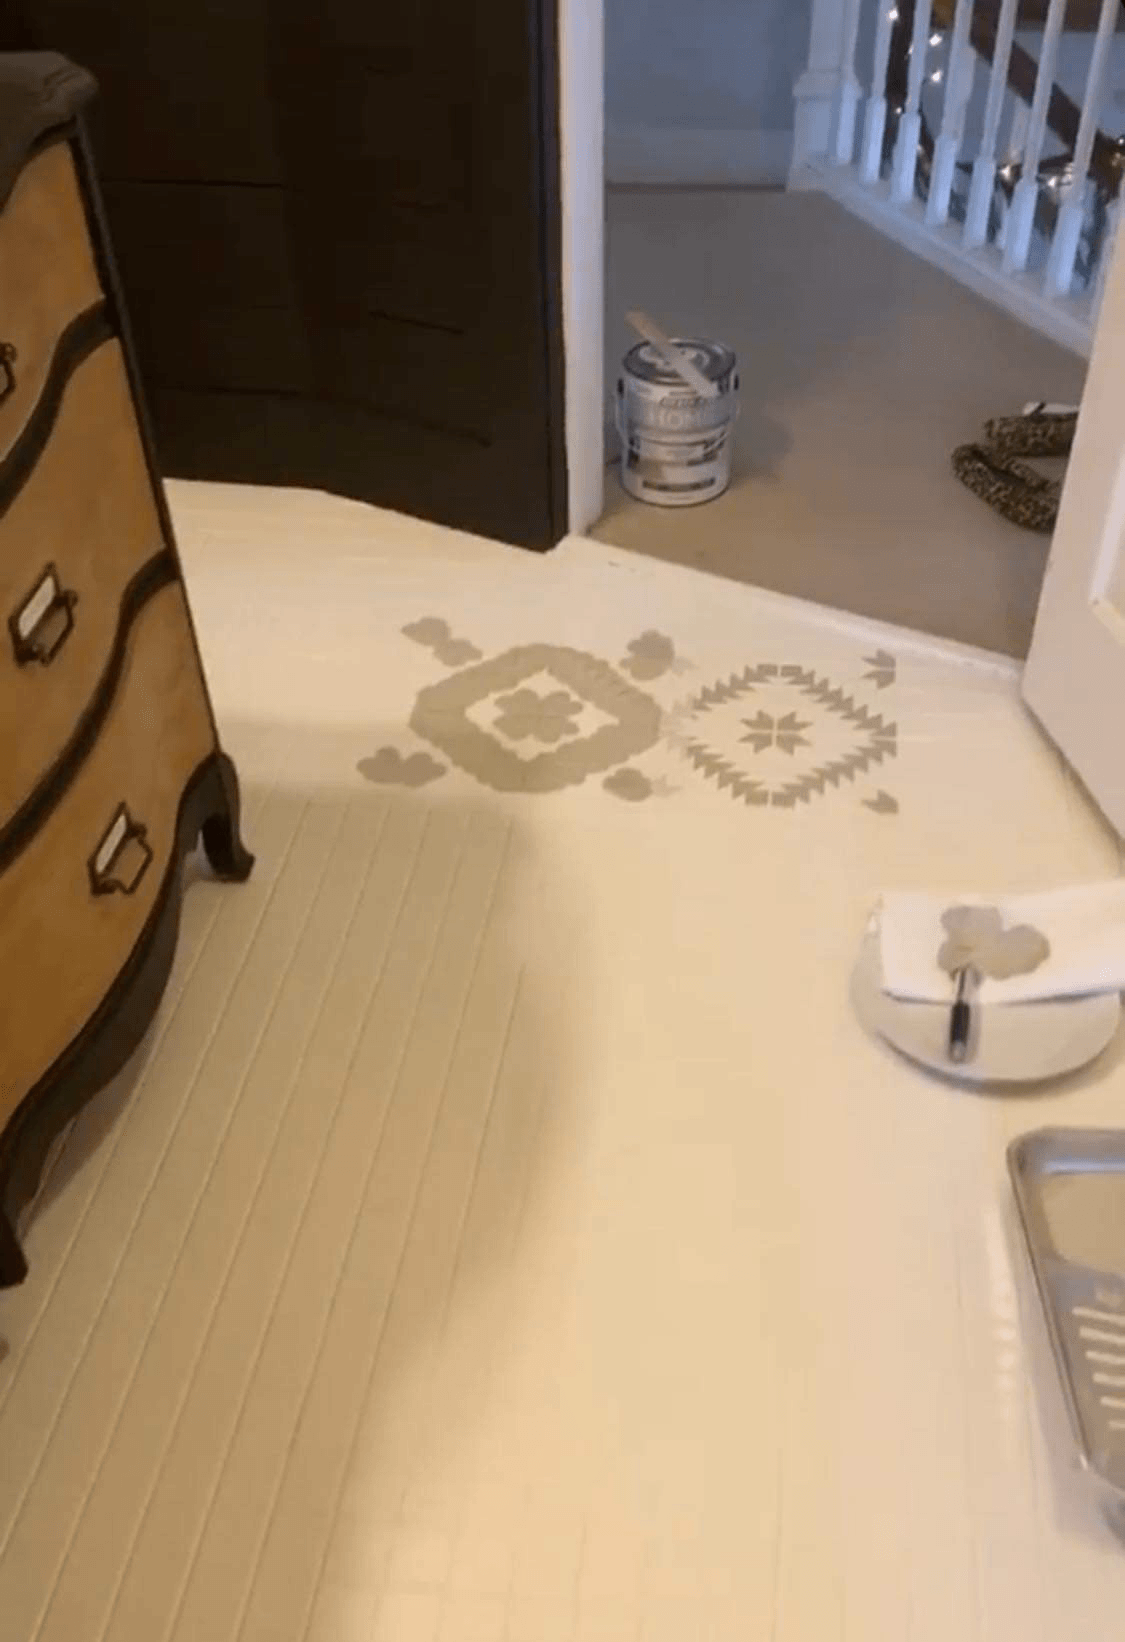
As you can imagine, this is the most time consuming part, and one that you don’t need to do. You could just leave your floors a solid color and apply your top coat at this time and your flooring refresh would be done in a day! But, if you want to make it custom and fun, a stencil is such an inexpensive way to add character, with just a bit more sweat equity. I loved the feeling of this little more masculine stencil. When asked how I chose where to start, I just picked the first full square that would fit in the middle of my door. I then worked off of that. Although we do have two doors so I wouldn’t have gotten painted in, this paint dries quite quickly and you could easily start at your door and get out at the end.
I have done a lot of stenciling in my day, and I knew that since my tiles were super small, and I had a lot of grout lines, if I used a small roller I would have a lot of bleeding. If you have bigger tiles that would be a better option, but you need to make sure you roll of a lot of the extra paint on a paper towel before you apply it to your tile, or it will bleed under the stencil. So instead of using a foam roller, I used a stencil brush.; These are my favorite stencil brushes that I have come across.
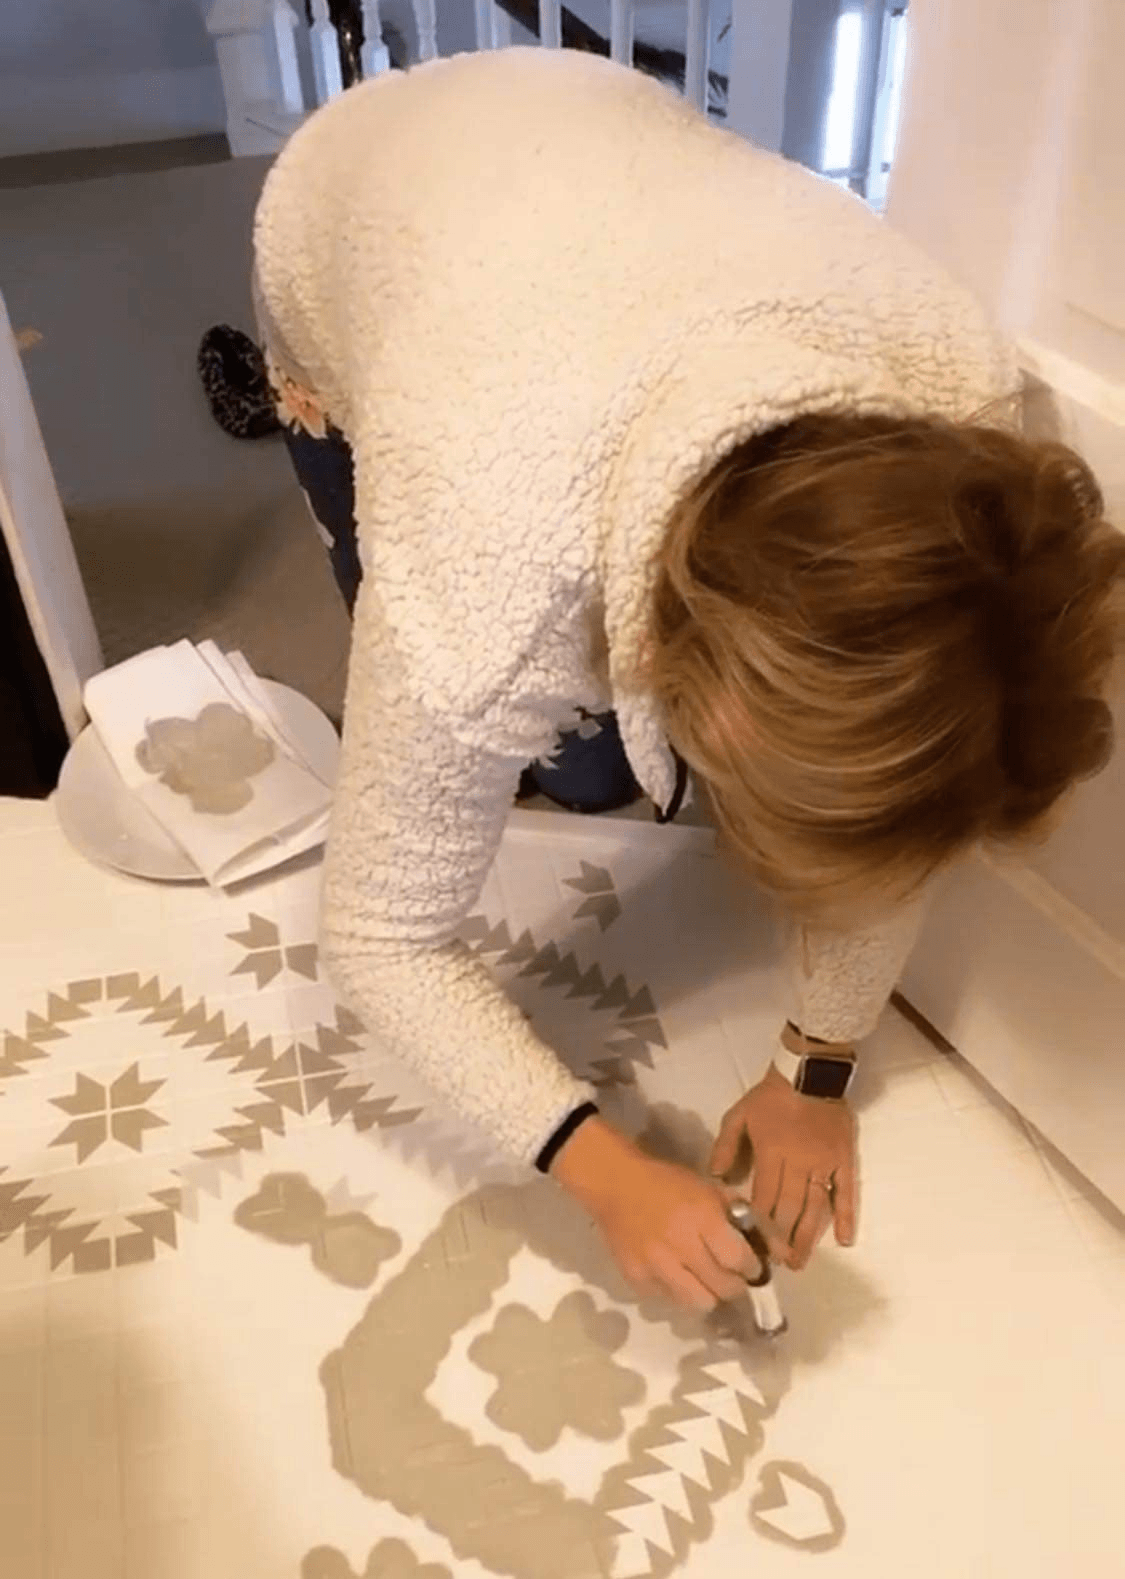
When you stencil it’s the same thing. I keep a small plate with a folded up paper towel by me to tap off excess paint before I stencil. Then when you stencil, you want to hold the brush vertical and tap up and down quickly. Don’t use it like a regular paint brush. When I first started I was super concious about trying to let my stencil dry and clean off the back before every new tile. By the end I was over it and just kept moving it to a new space that was dry. And you know what? You can’t tell the difference. So the moral of my story is, don’t over think it. Don’t stress over it. If you have a spot that bleeds you can go back with a small paintbrush after and touch it up with white paint. Also, most patterns are busy enough that no one focus’ on one space and it looks great from standing position:)
This was the point at which I realized it would take forever if I was so meticulous.
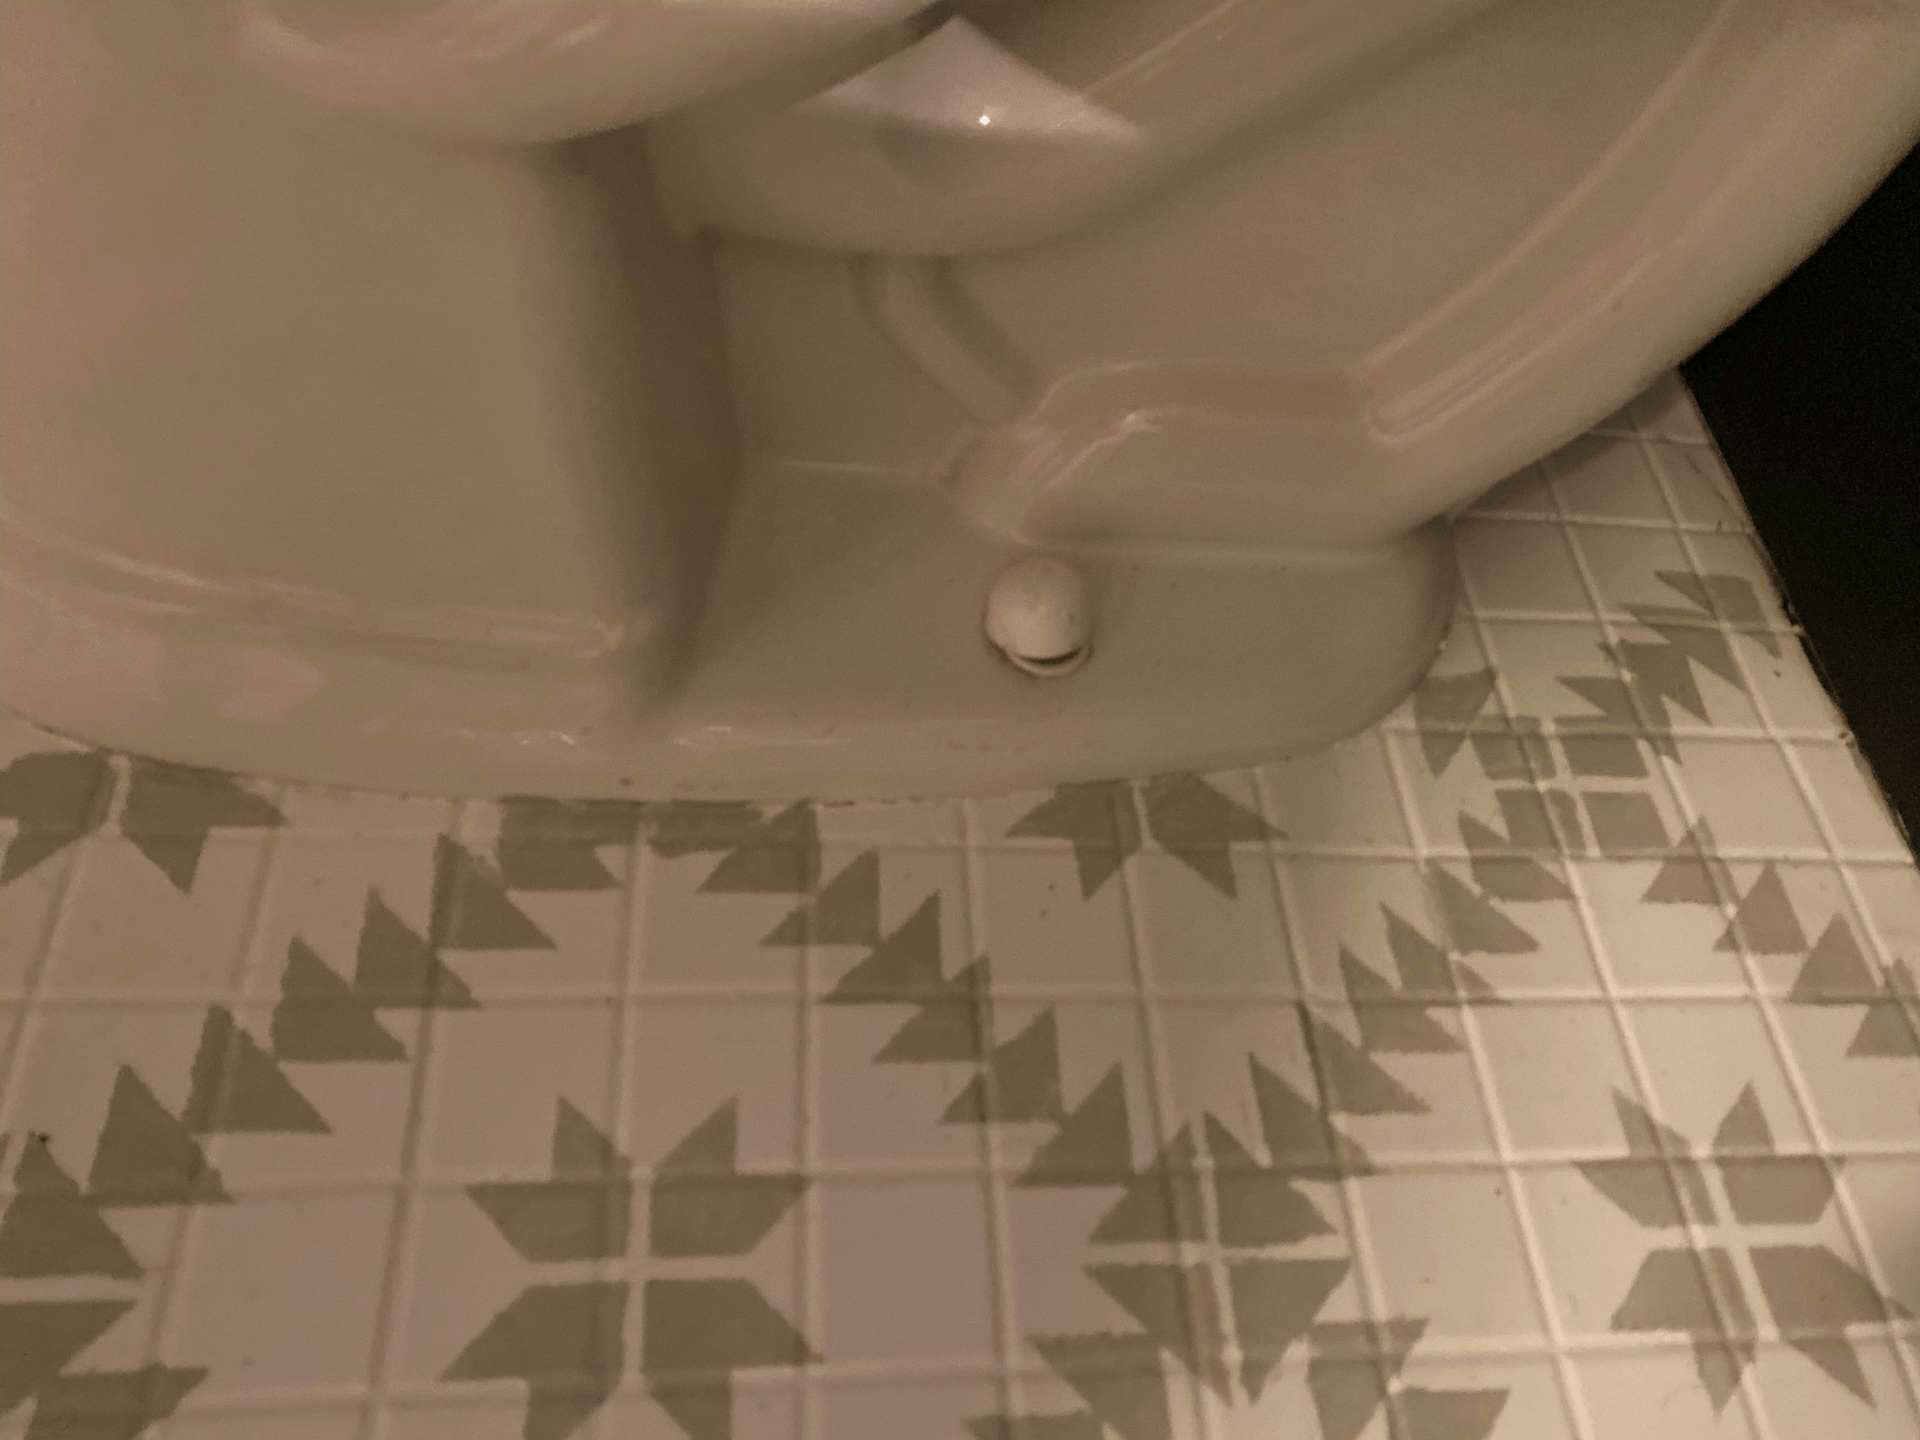
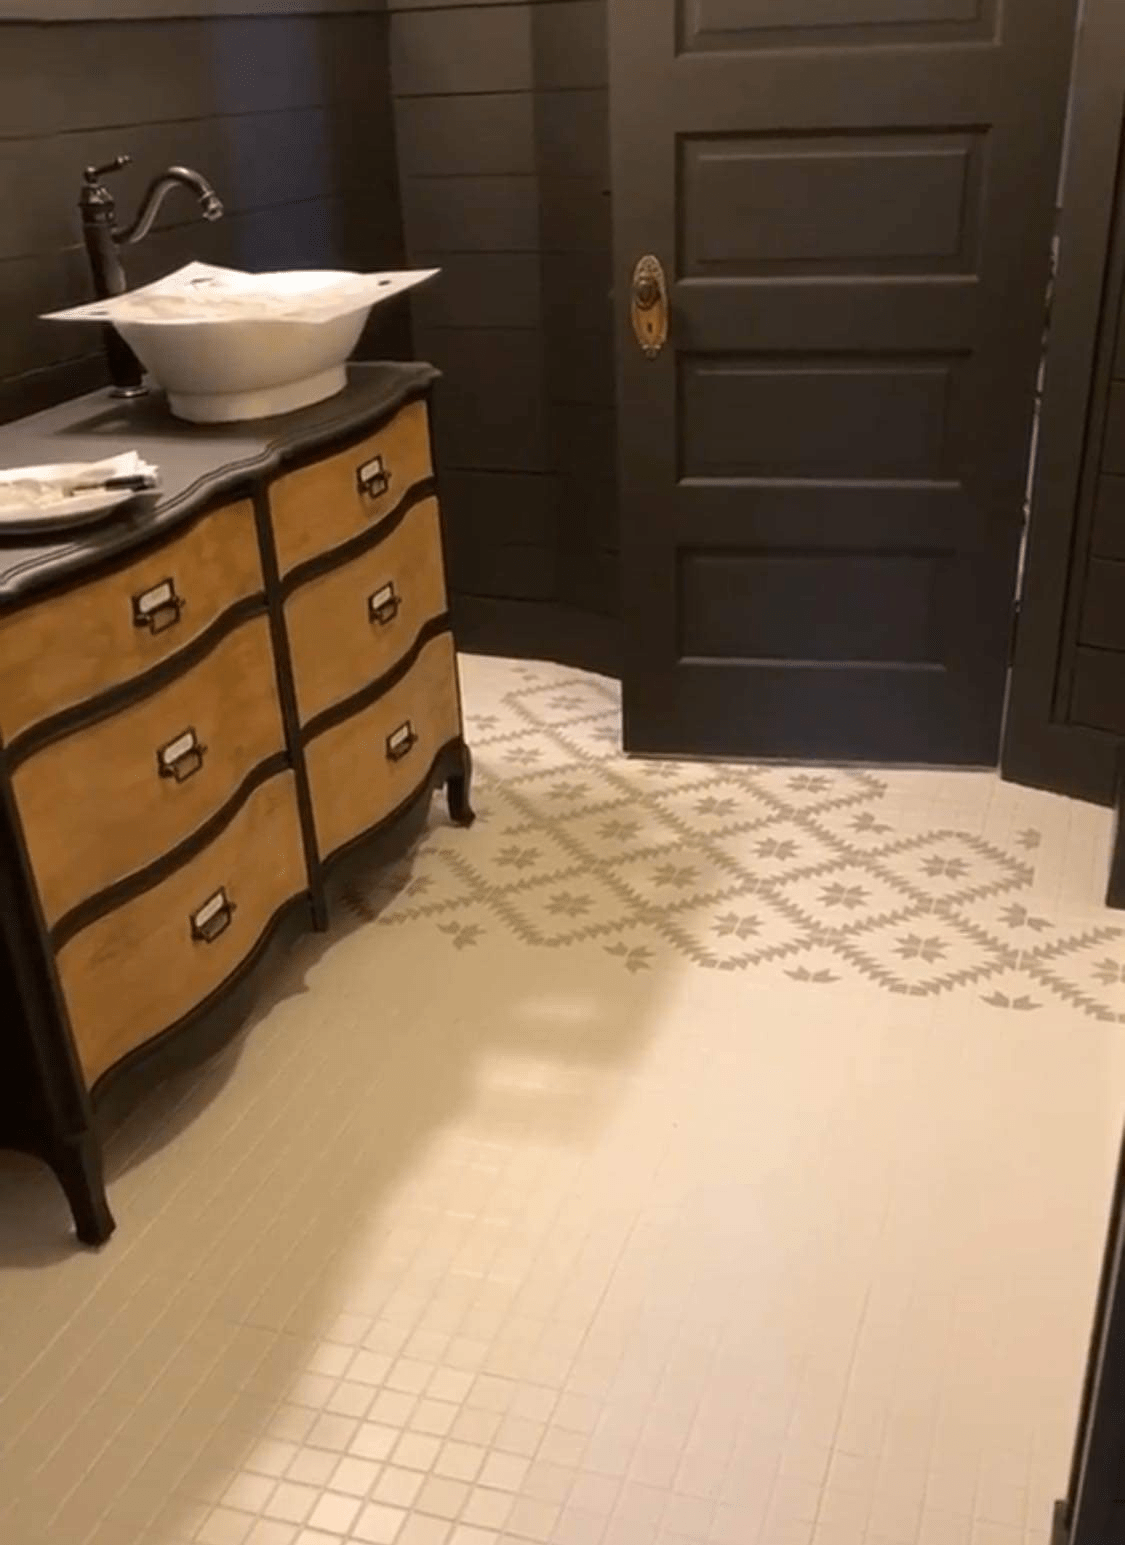
I wanted to show you these photos, because it can get really frustrating around hard areas. This is when the second stencil comes in handy. You can cut it in half to get close to walls. But there are still times when it’s just still too hard and you may need to hand paint some areas. If you look by the toilet I hand painted the arrows that touch it, as well as by the wall in the second photo. The point is that at the moment you think it’s not going well, and then you stand up and look at the big picture and it looks great. So just go with it and do the best you can! Once you get all of your stenciling done, I took a small paint brush and touched up any super bad spots or drops that I had. Again, you could go crazy and do this for hours, I just touched up the most noticeable and it took about 10 minutes.
Step 4: Time for your top coat!
This is such a satisfying step! Wait at least 2 hours for your stencil paint to dry, and then also make sure your floor is free from any hair or debris, because once the top coat goes on, whatever is on your floor will get stuck down. I used a hairdryer again at this point and blew off all of my floors. I then used an angled paintbrush to edge the bathroom and paint behind the toilet and areas I couldn’t get, and then rolled the rest with my large paint roller. They say you only need one coat (That’s amazing you guys!) But it also said you could add an additional coat for extra durability. Umm…yes please! Especially since it only took another 15 minutes to apply it! You can reapply the second coat after 2 hours. Then once your last top coat is on, wait 24 hours to walk on it, and a full 7 days before its fully cured.
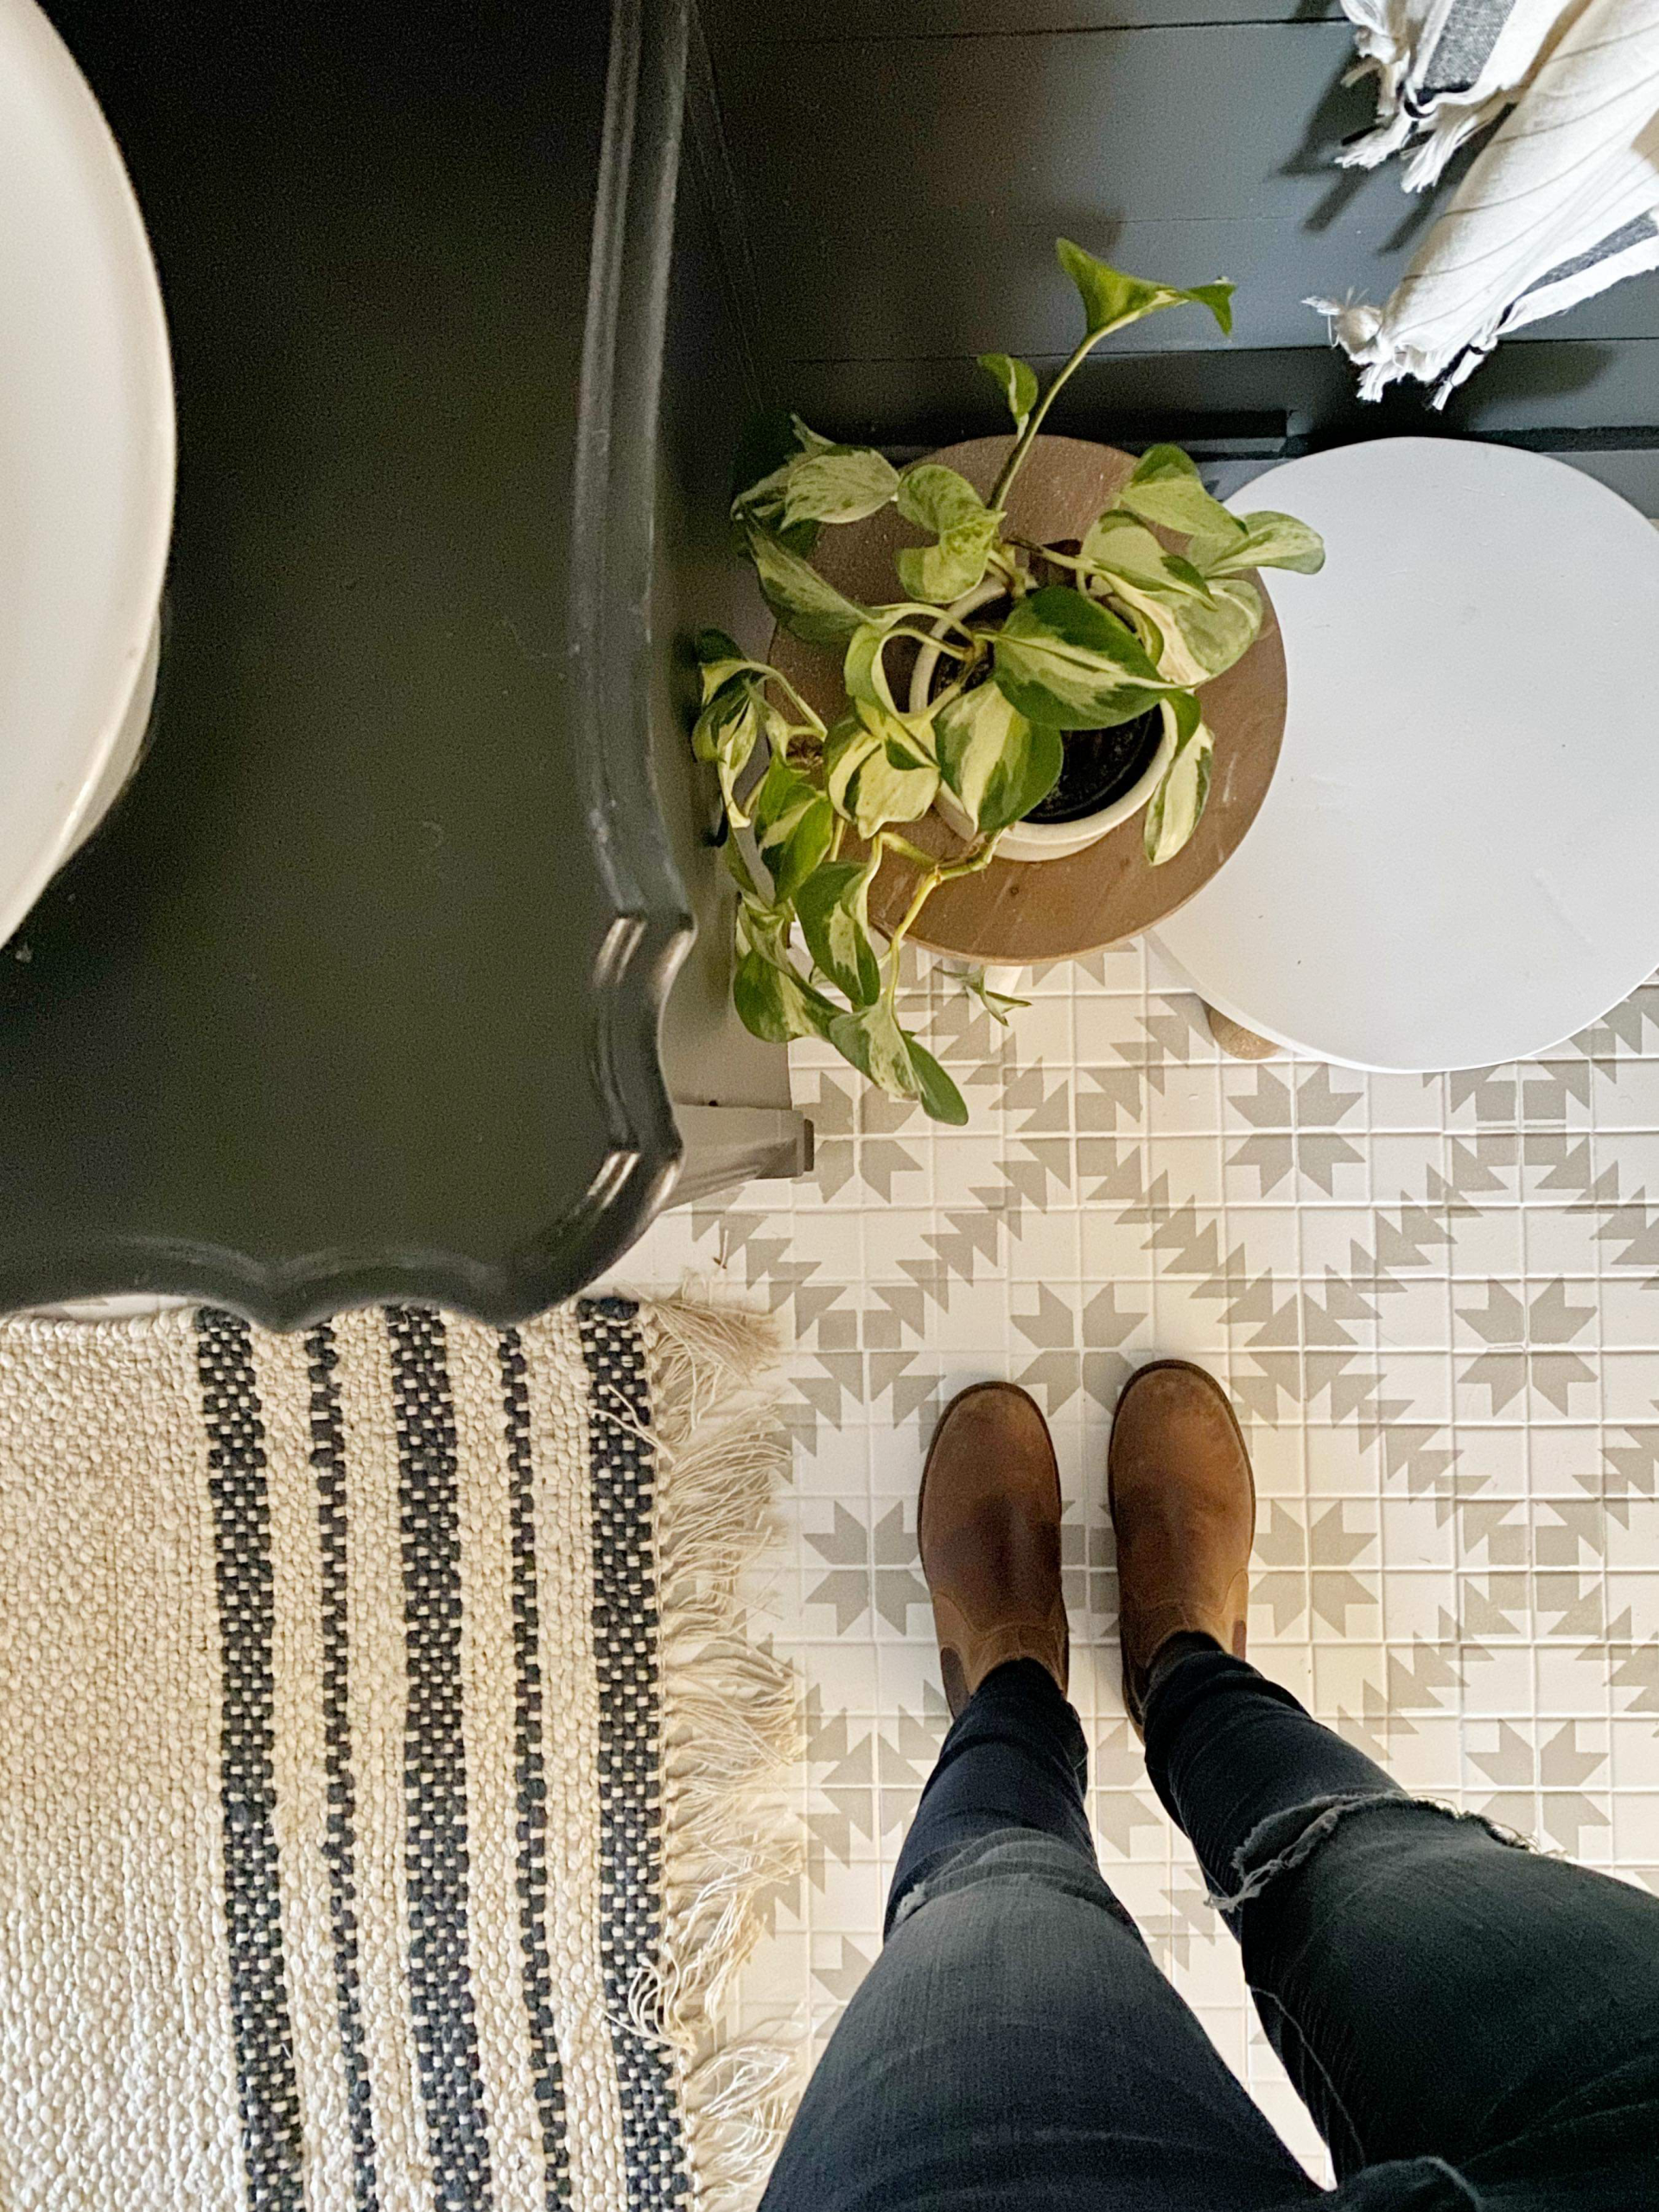
I am so in love with how it turned out. I am equally in love with how easy it was to do and the quality of the product. We had a large wardrobe closet to needed to shove back in the corner and had to push it in. I thought for sure it would leave a scratch. Guess what….no scratch!! This stuff is tough guys!
Can you handle the difference? Im so in love!!
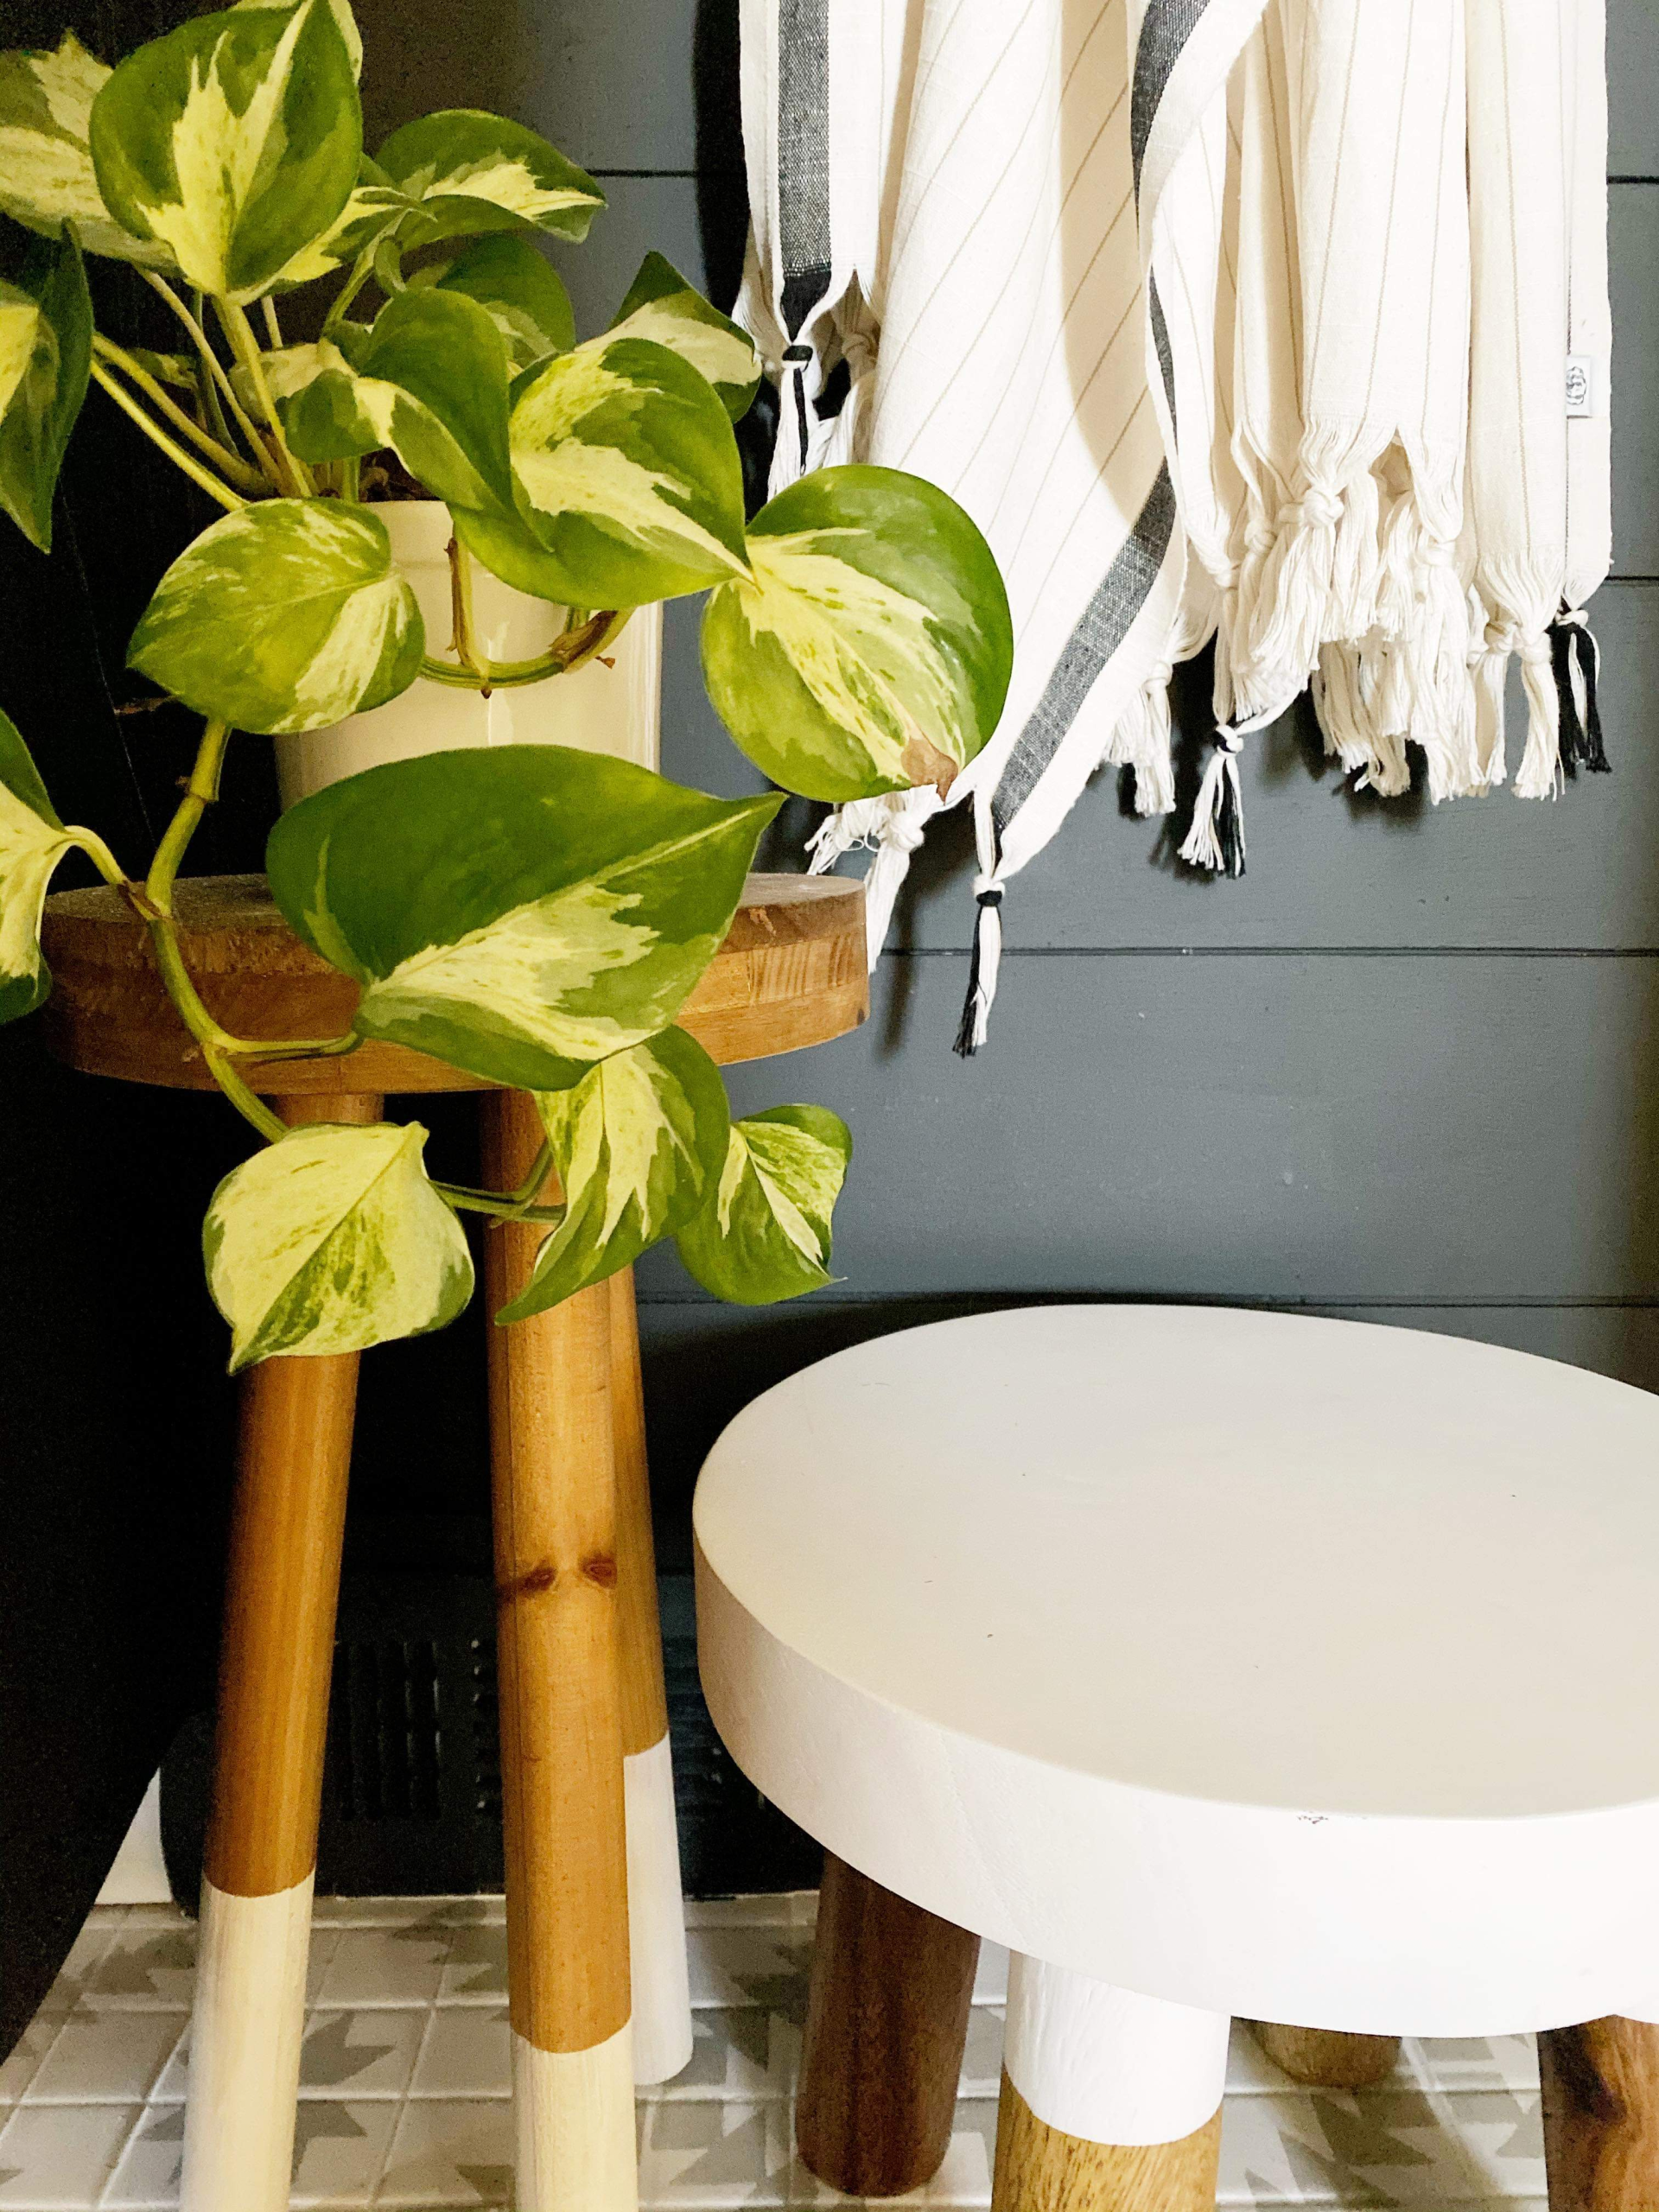
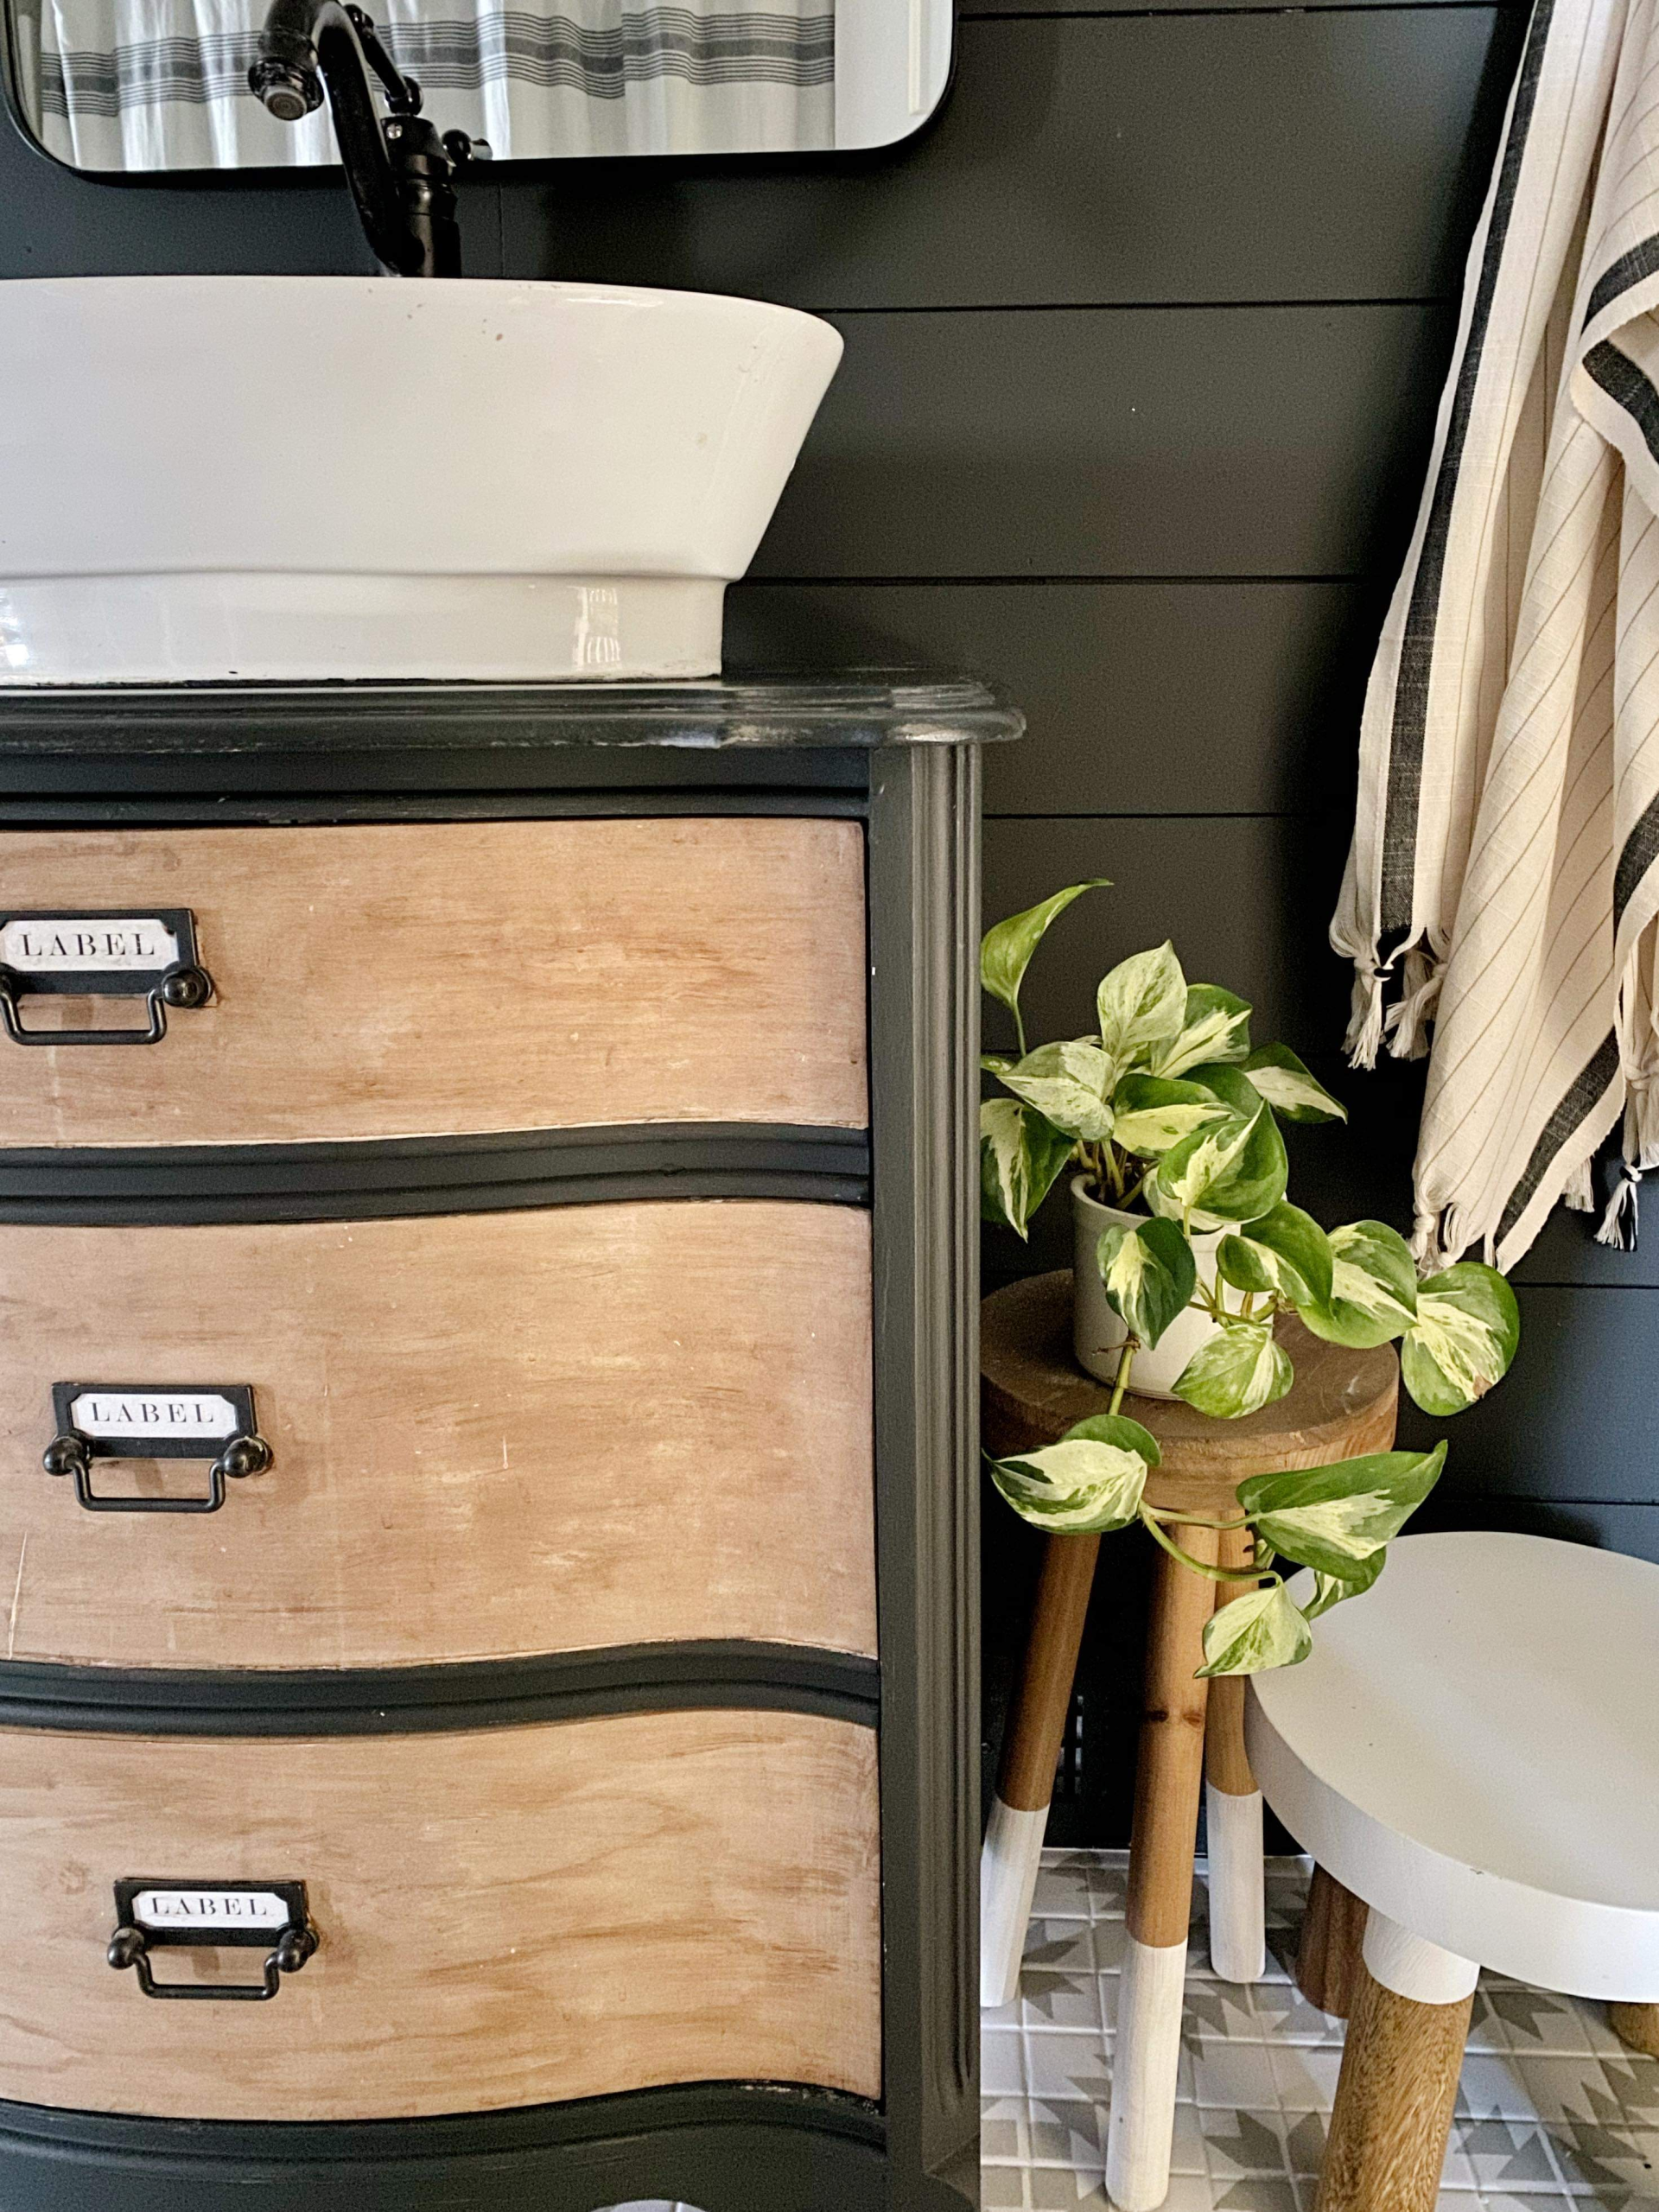
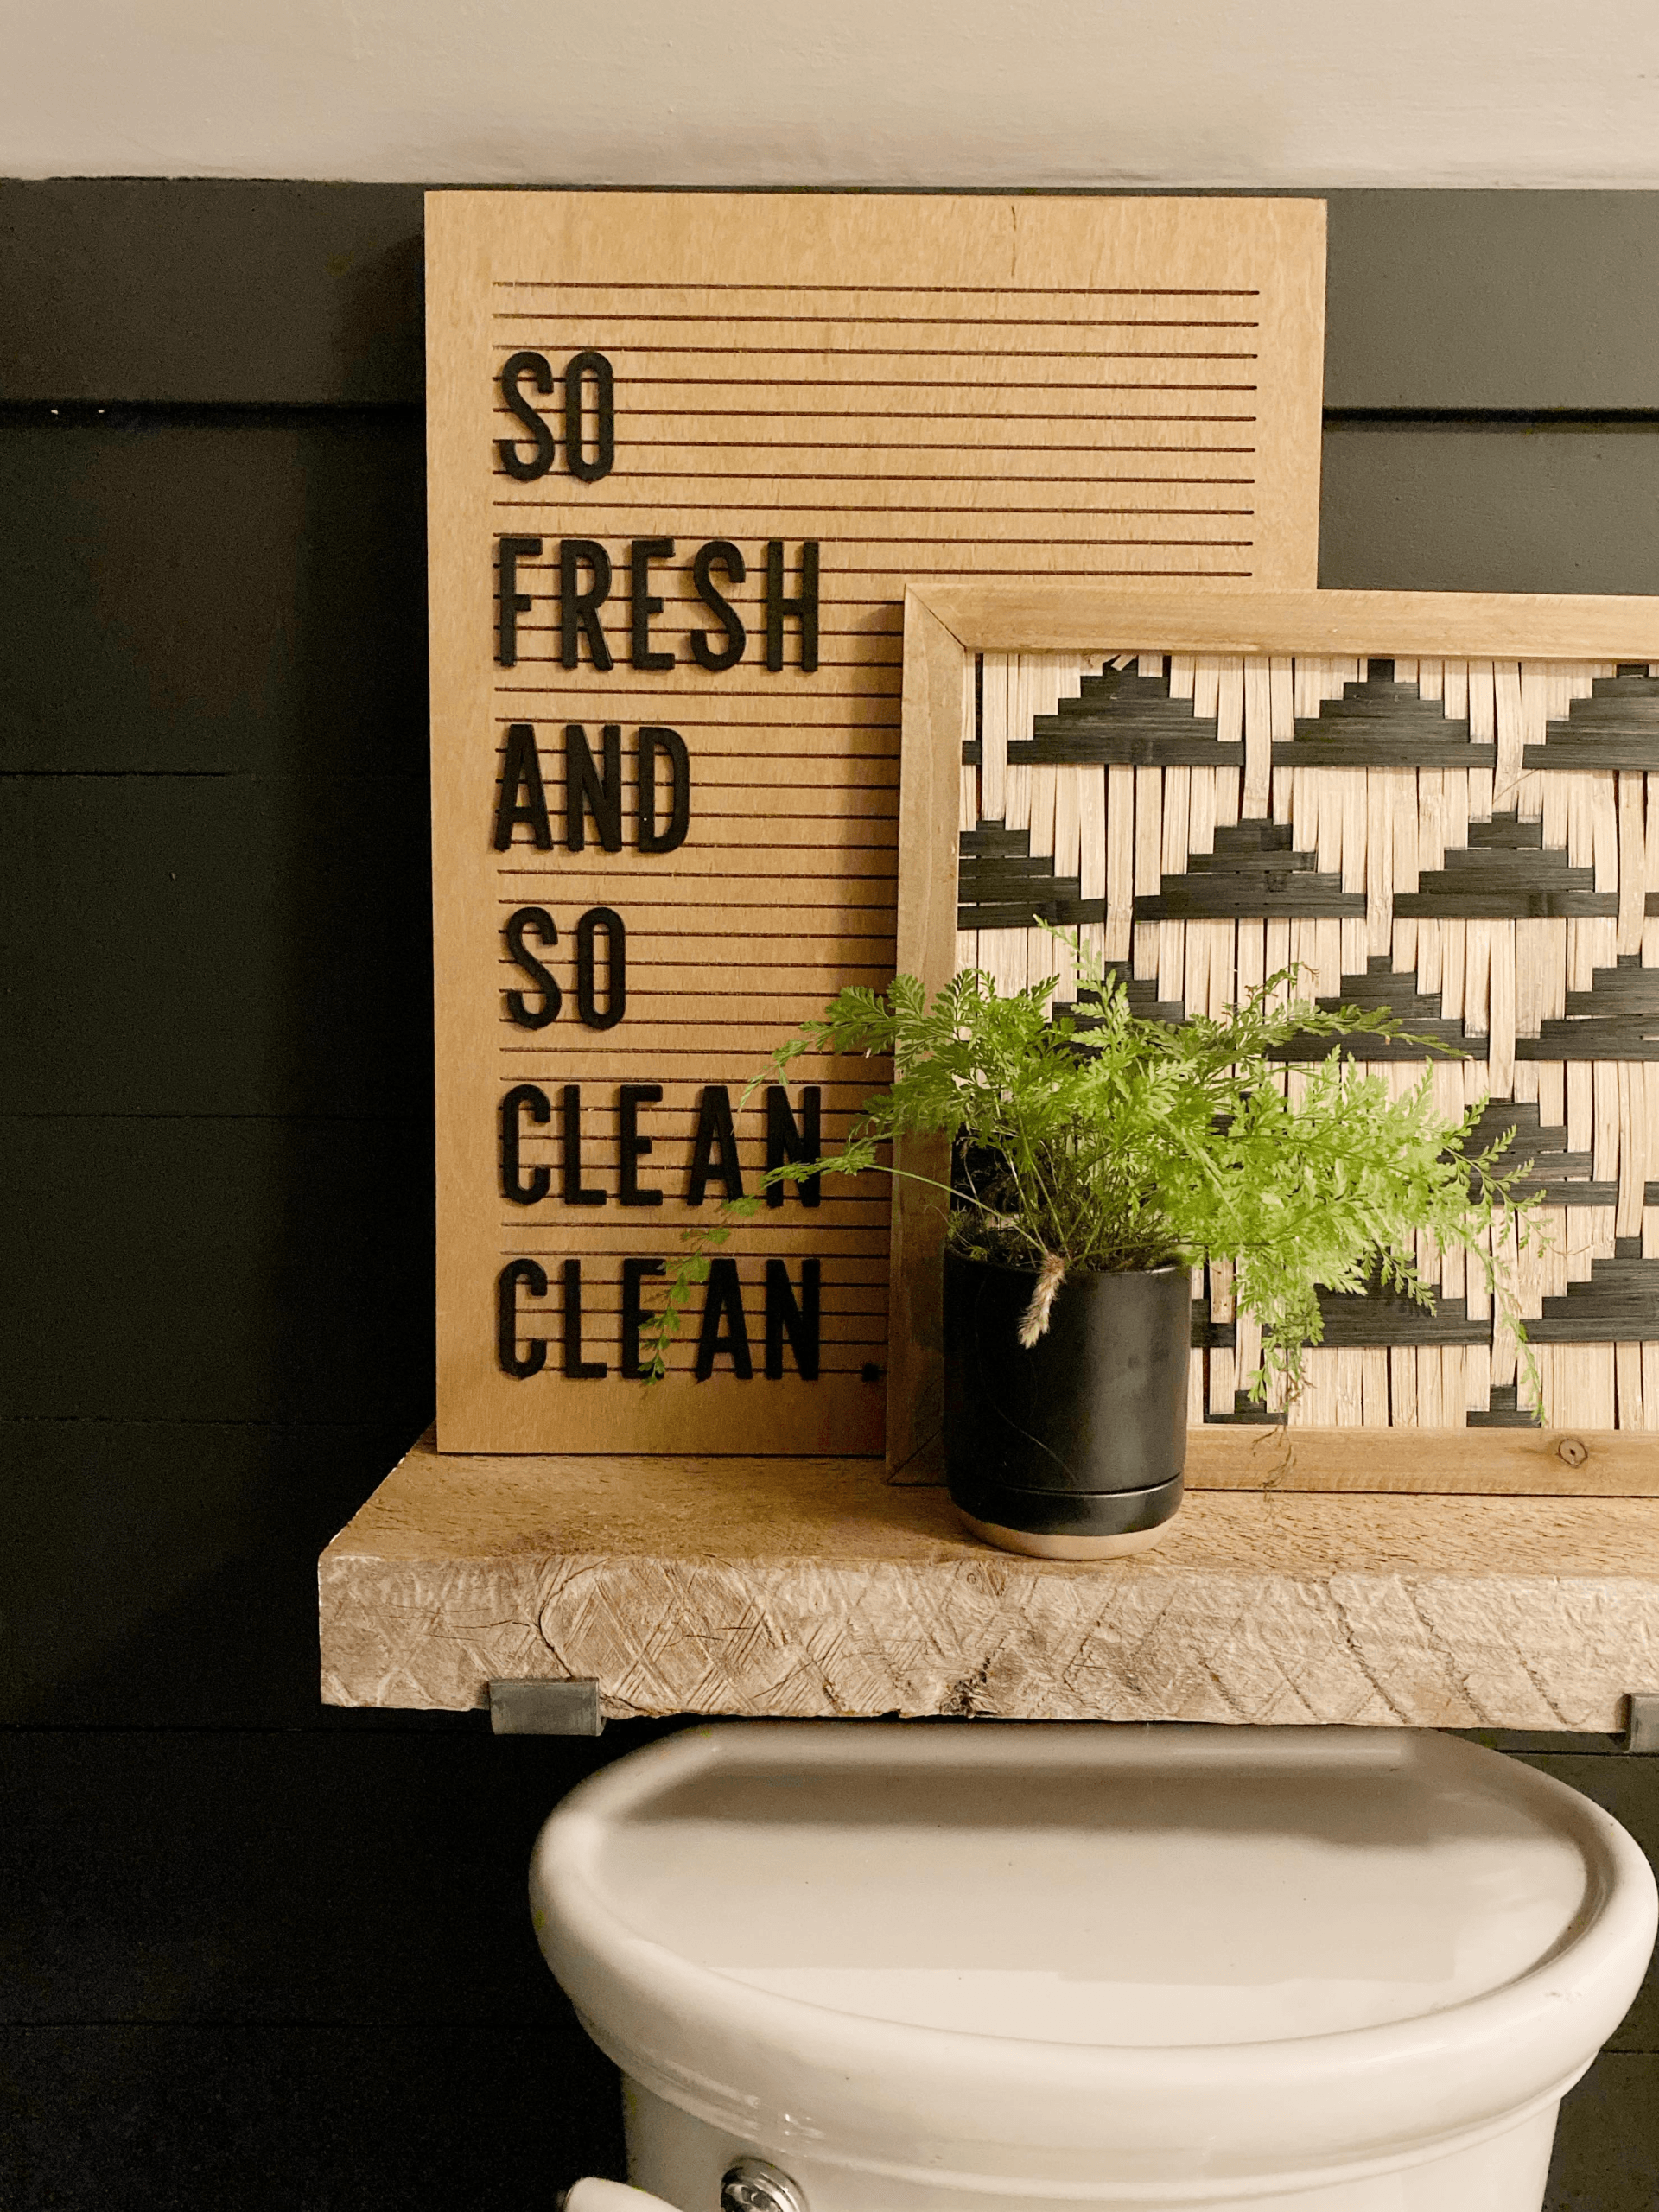
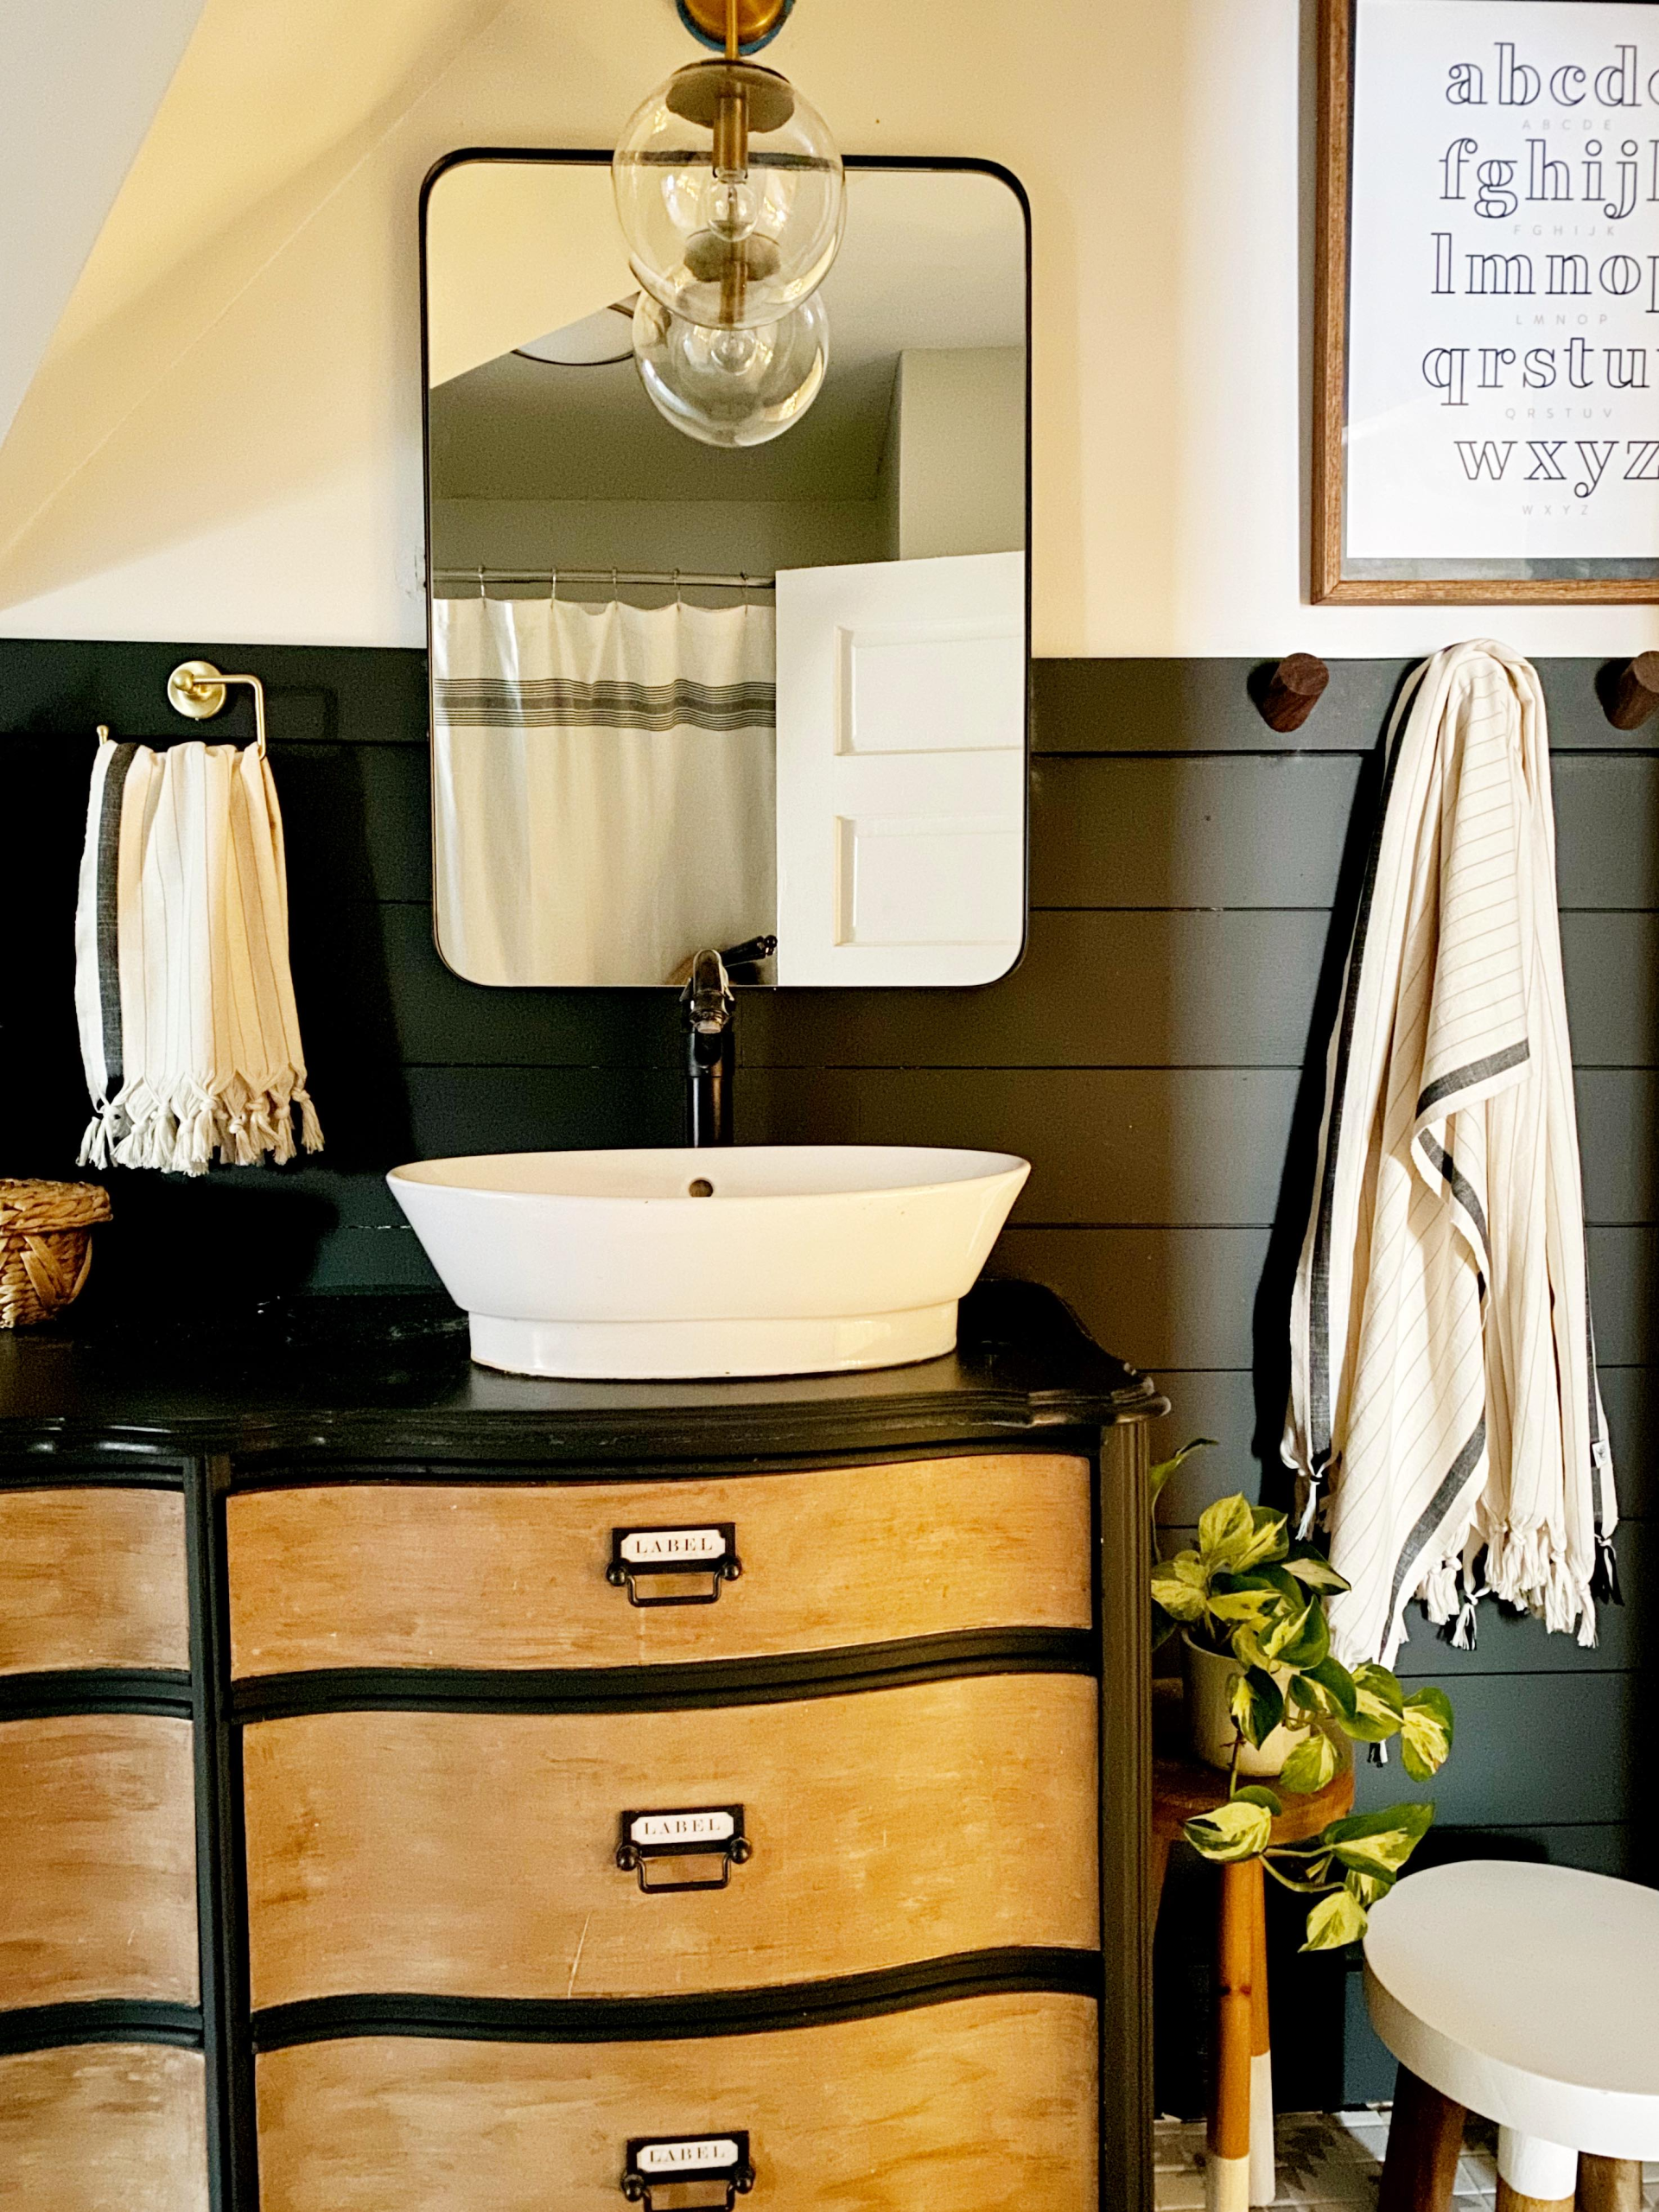
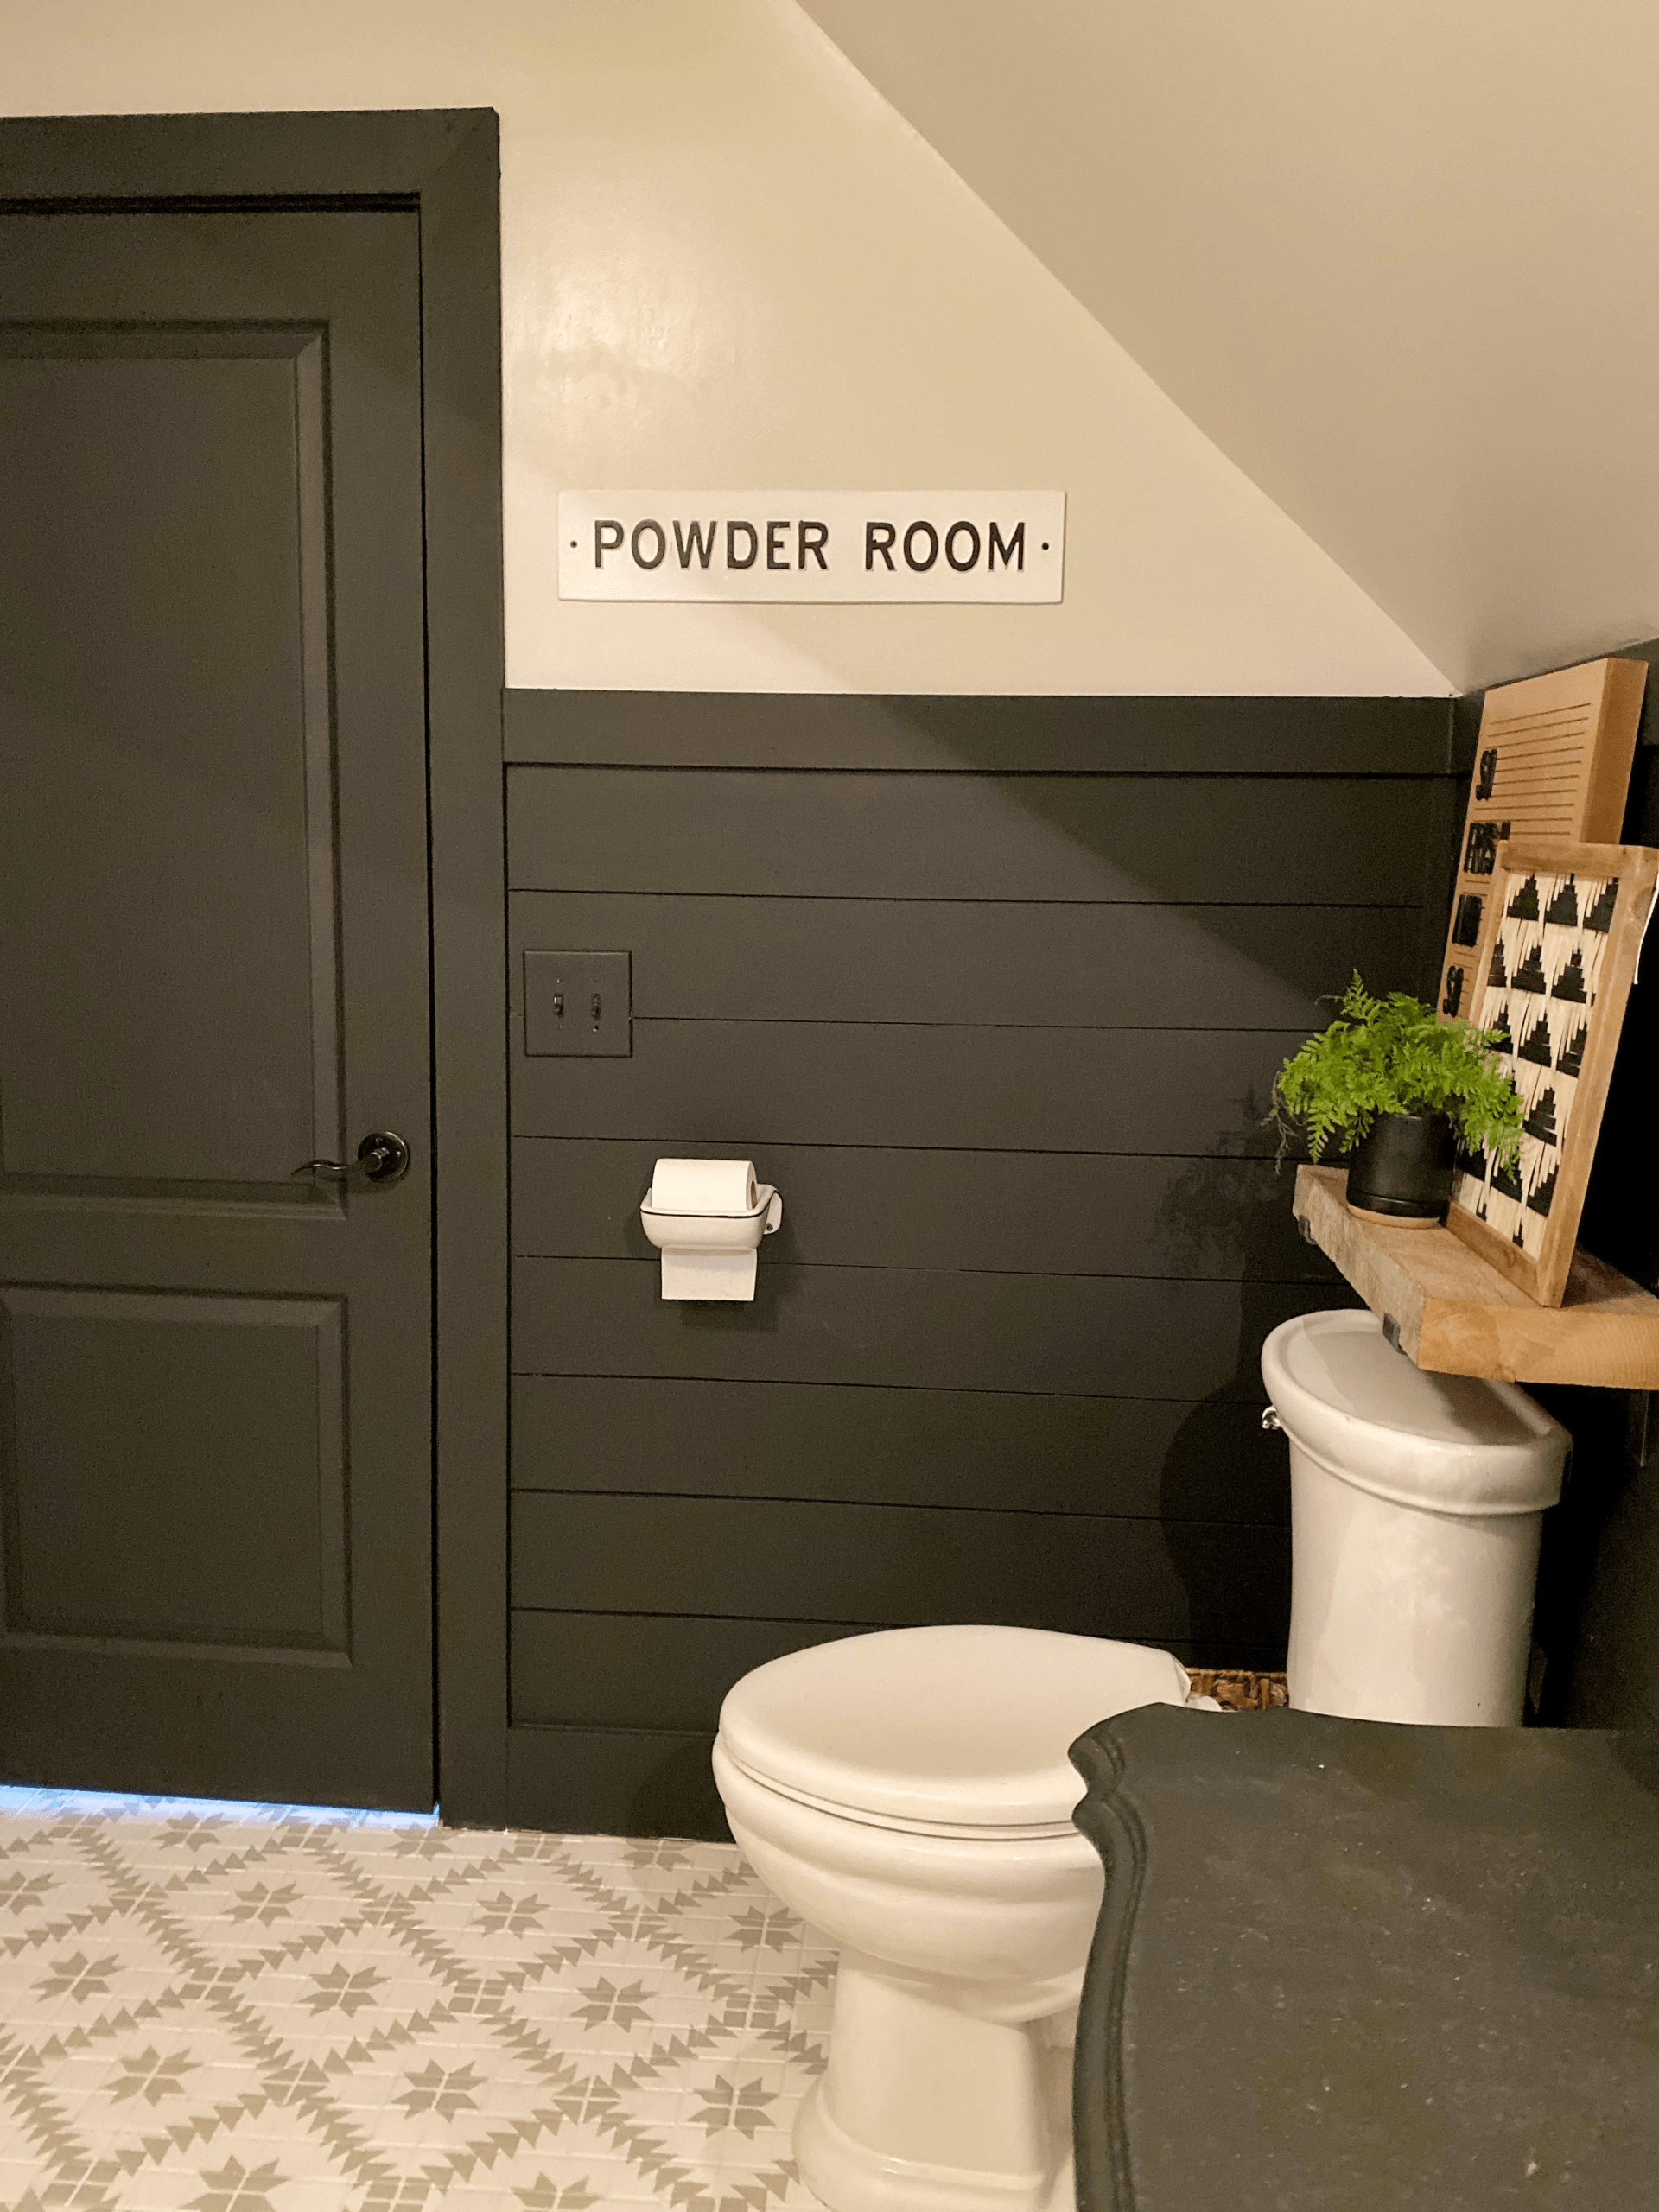
And because the whole bathroom got a remodel, I thought I’d show you some of the fun details.
I can’t believe the transformation paint can make. It seriously gets me every time. And I’m so grateful for
Rust-Oleum for continually putting out amazing products for us so that we can transform our homes ourselves on a great budget!
I’m so excited for you to try your hand at painted floors as well! Come follow along on all of my other fun (and crazy) DIY’s and ideas @prvbsthirtyonegirl
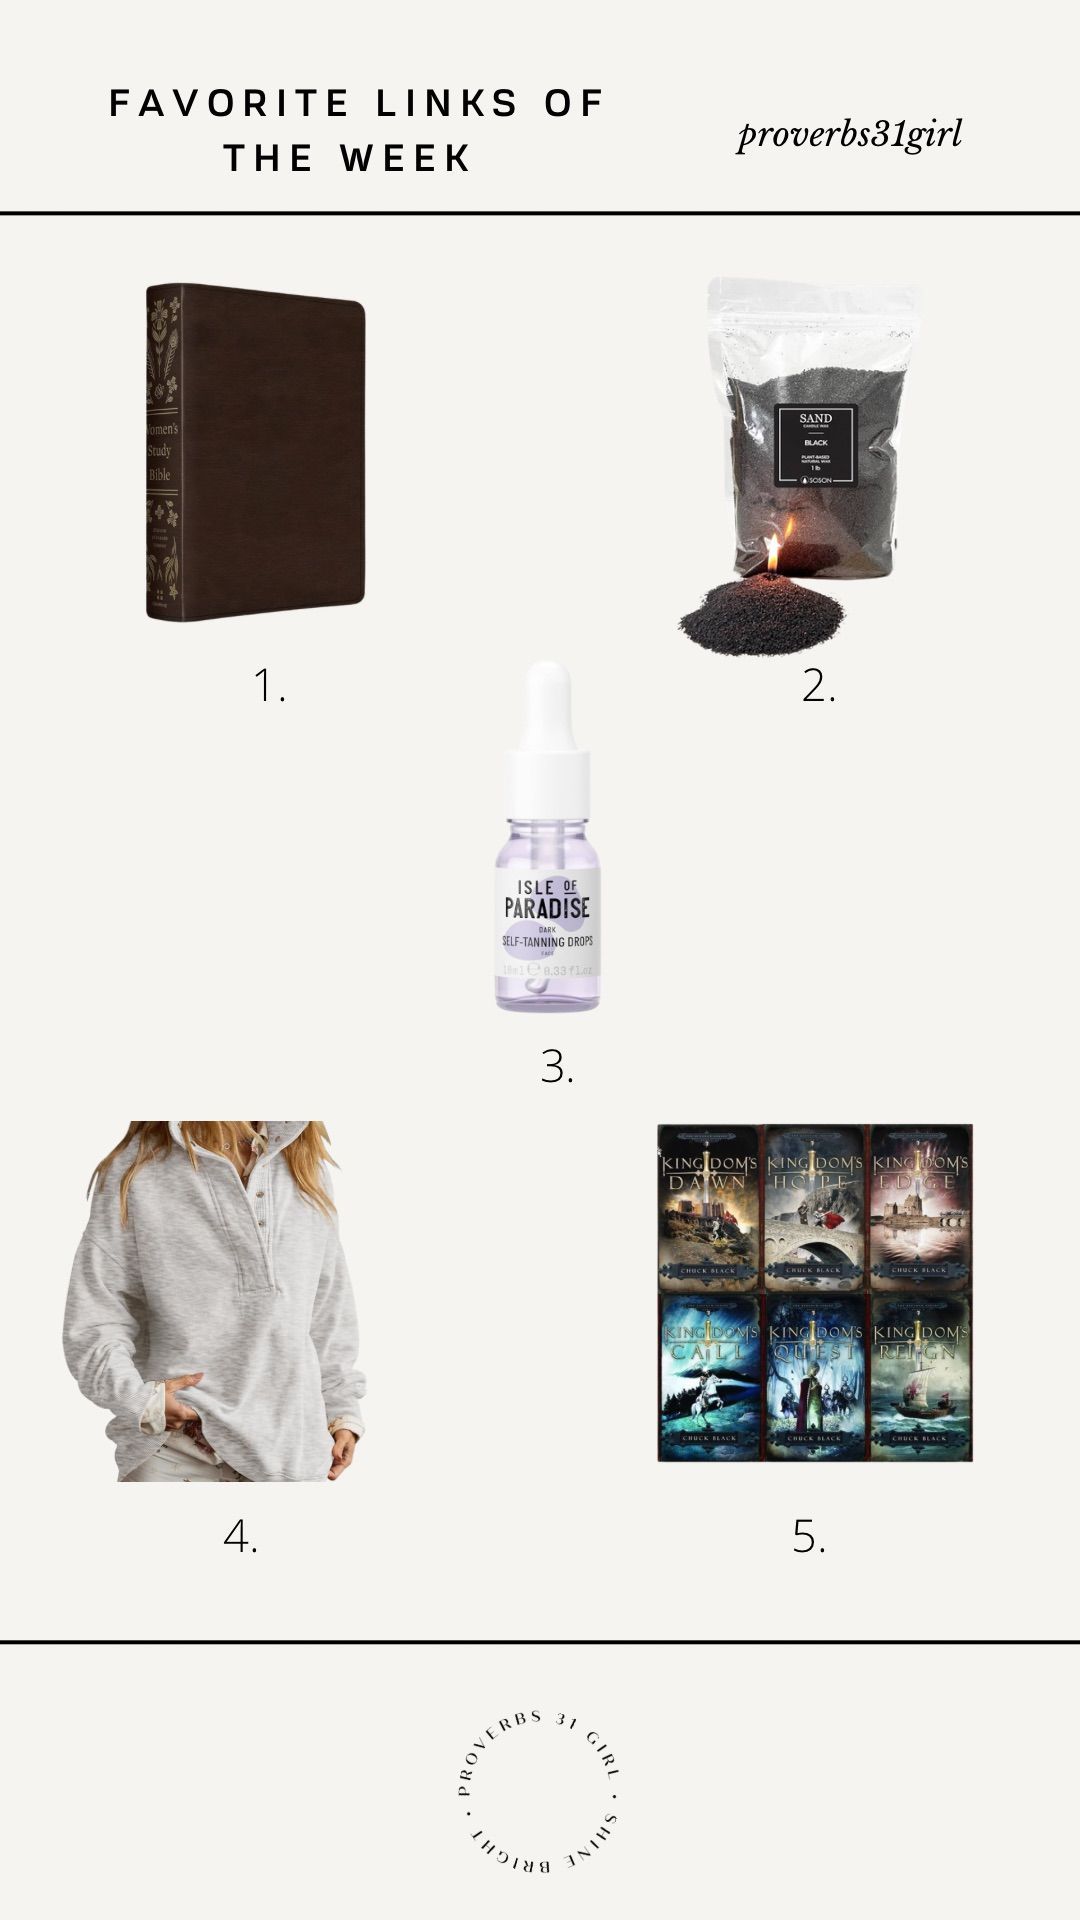
SHOP THE POST