Master Closet Door Refresh
Updating a Farmhouse Door to a Modern Door
When we put this addition on almost 6 years ago now, farmhouse was the name of the game. Of course our 120 year old house was an original farmhouse, and it was fun to create that asthetic. So we did the sliding barn door and got a premade door from Menards. This is the one we used. We painted it white and hung it up. But moving in a little more modern direction I had an idea of how to update this farmhouse looking door into a more modern looking door:)
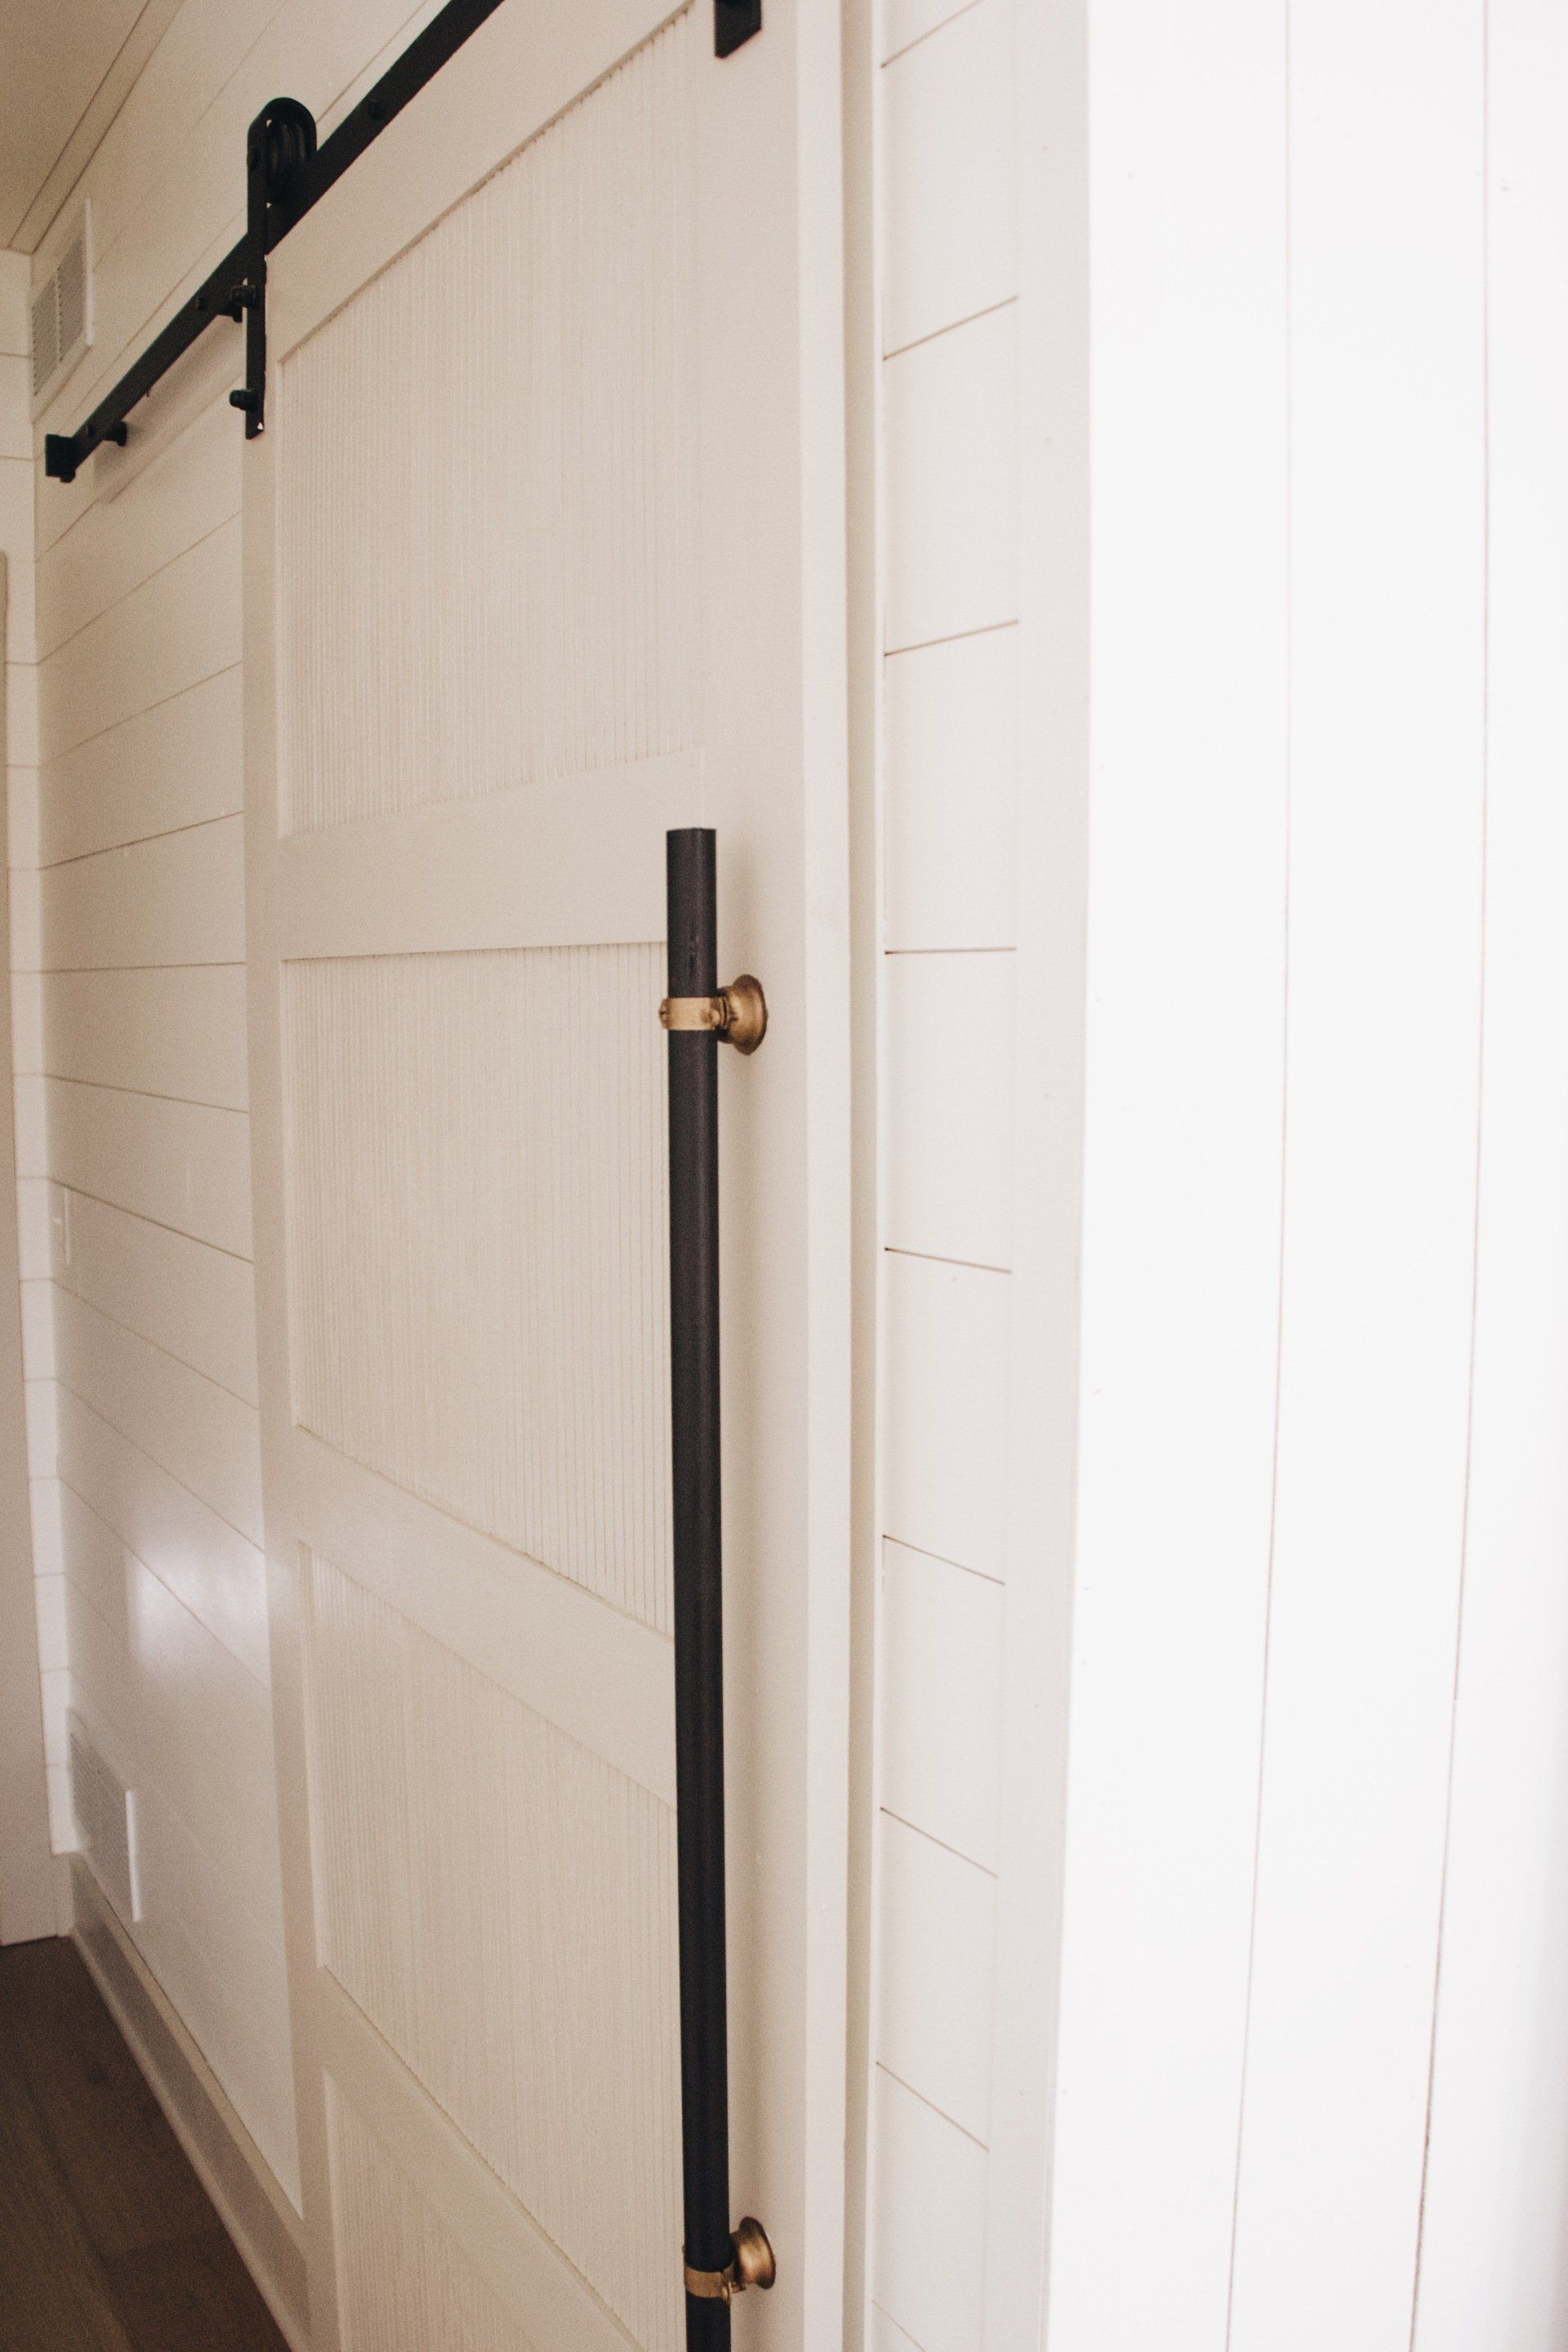
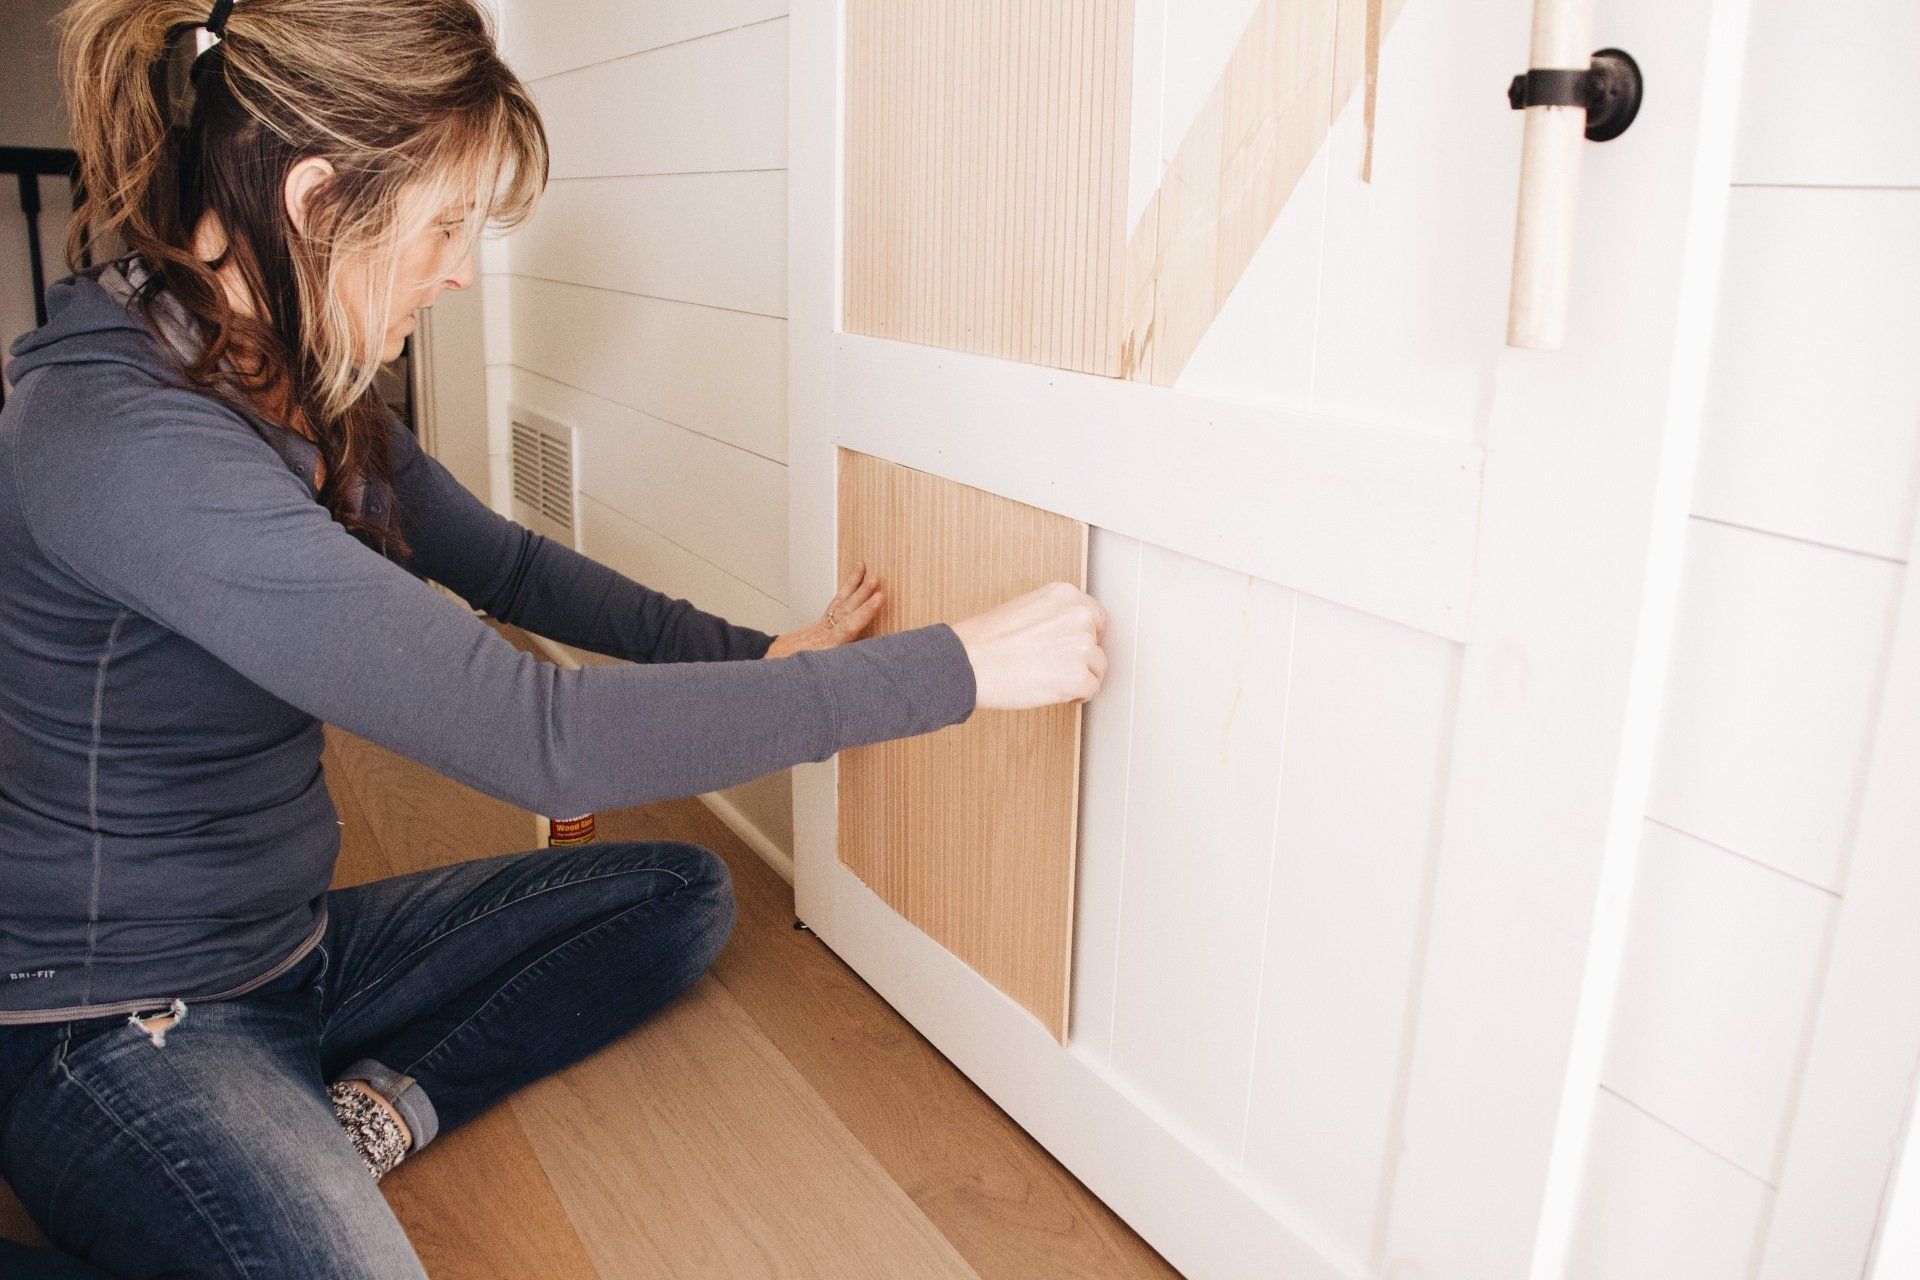
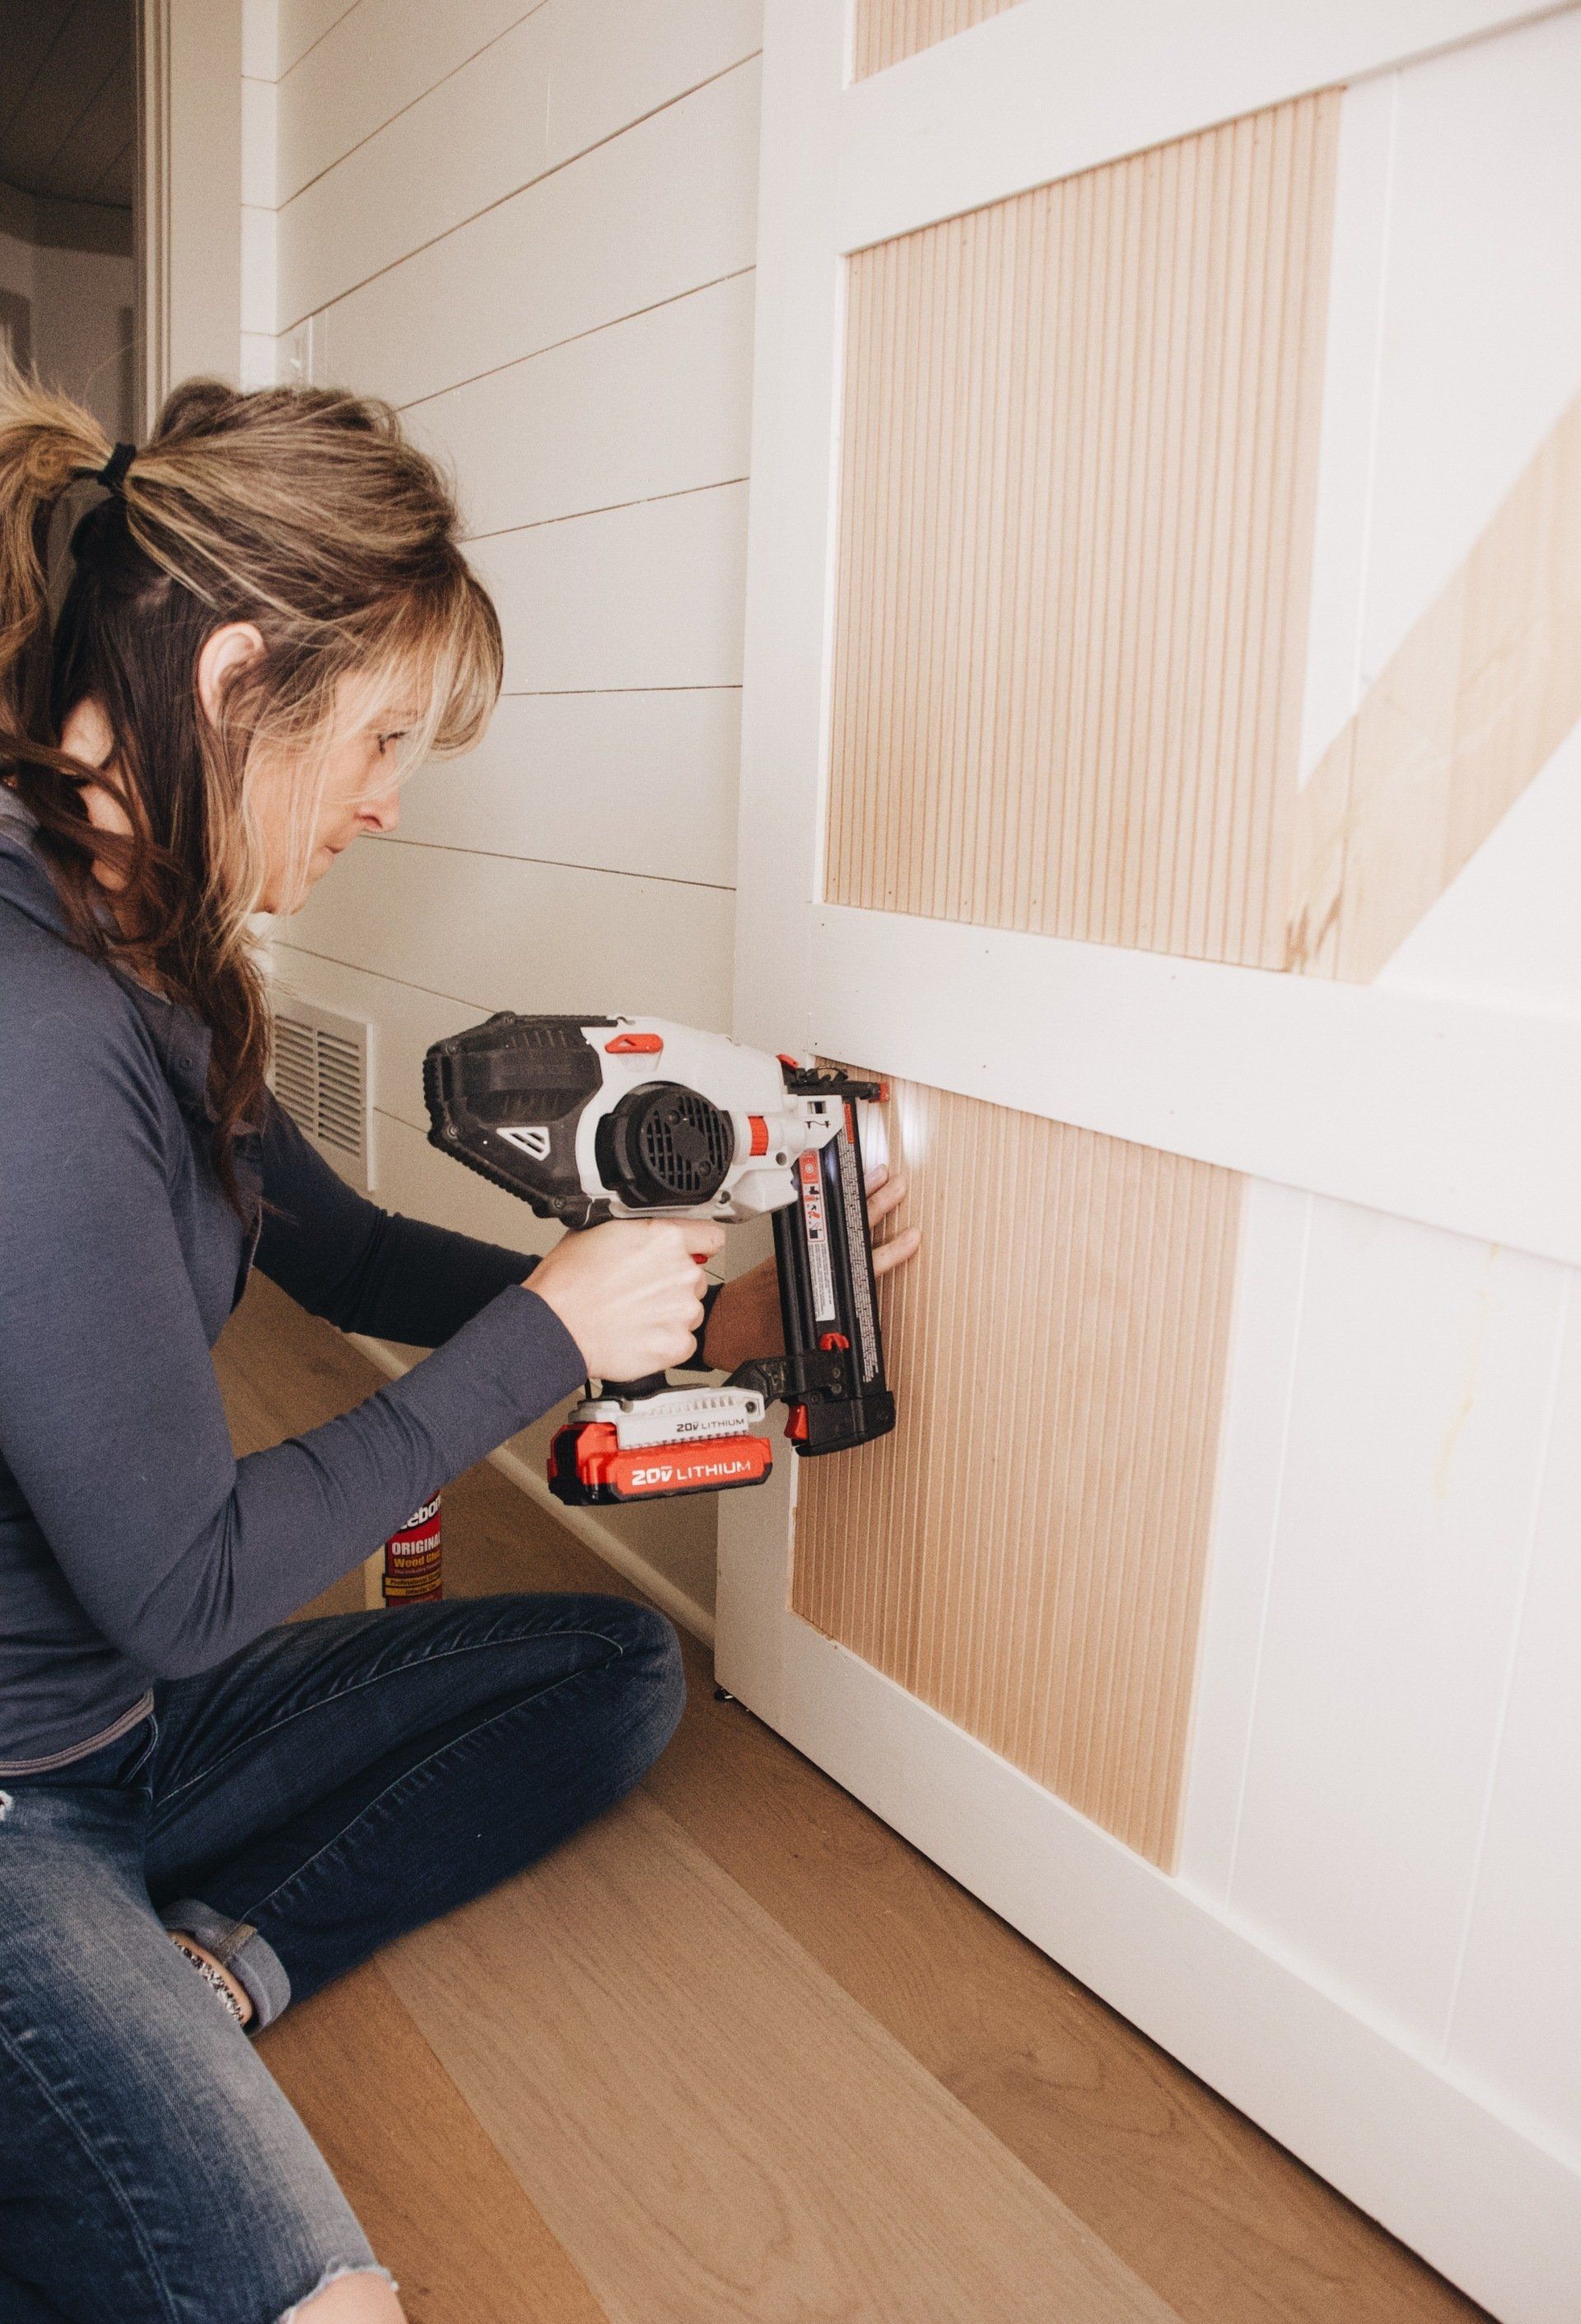
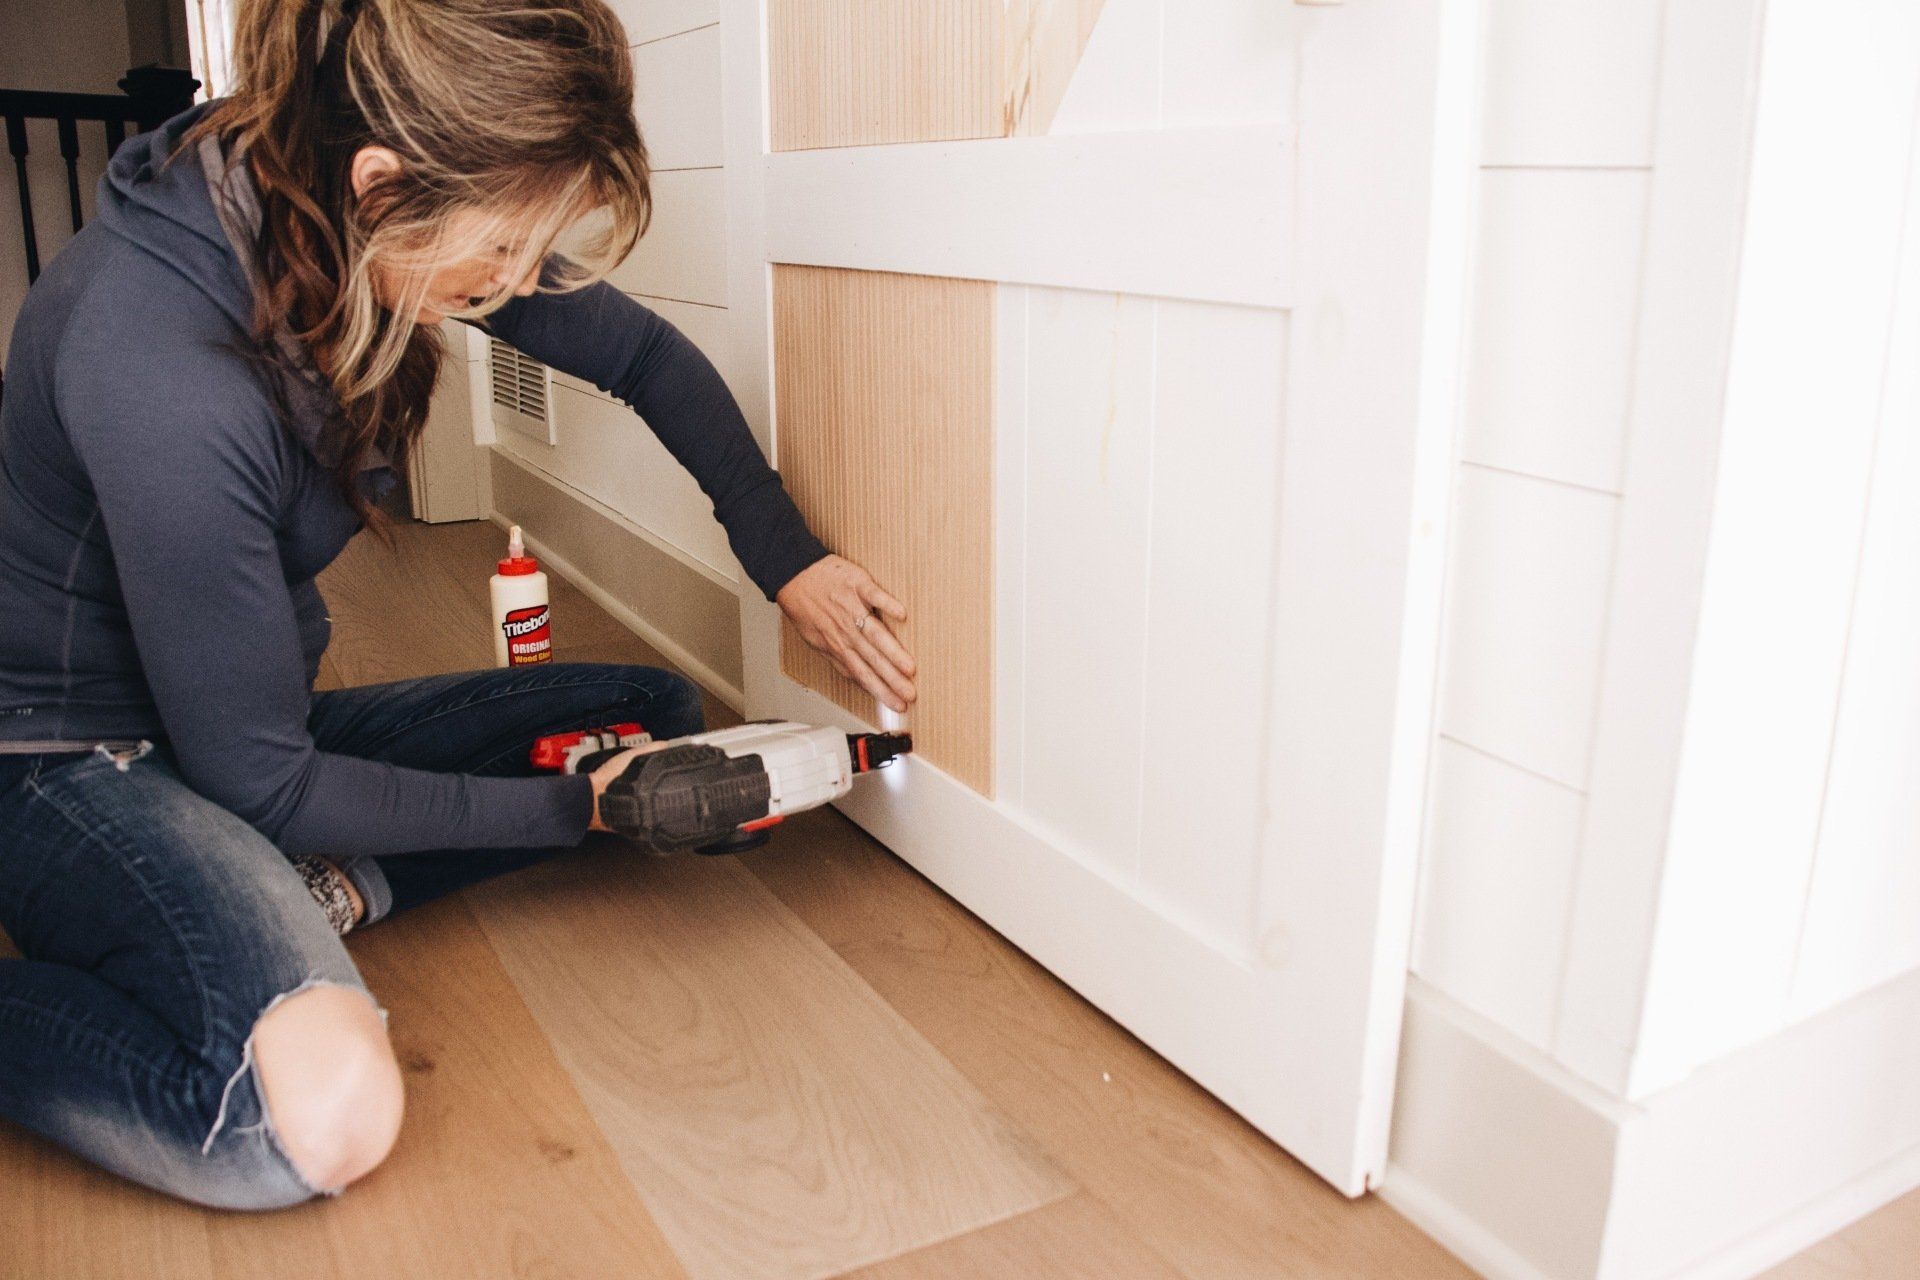
First, I used my oscillating tool to zip off the diagonal pieces. They came off quite easily. It left behind glue and some wood pieces, but i zipped those off and had a plan to cover that area as well. I ended up reusing the wood pieces, cut them to fit the width of the door, and created two more horizontal pieces in the door to separate it into 4 equal parts. I then used a product from Home Depot called pole wrap,. It was originally created to wrap around metal poles in basements and dress up them, but wow you can have some fun with this stuff!
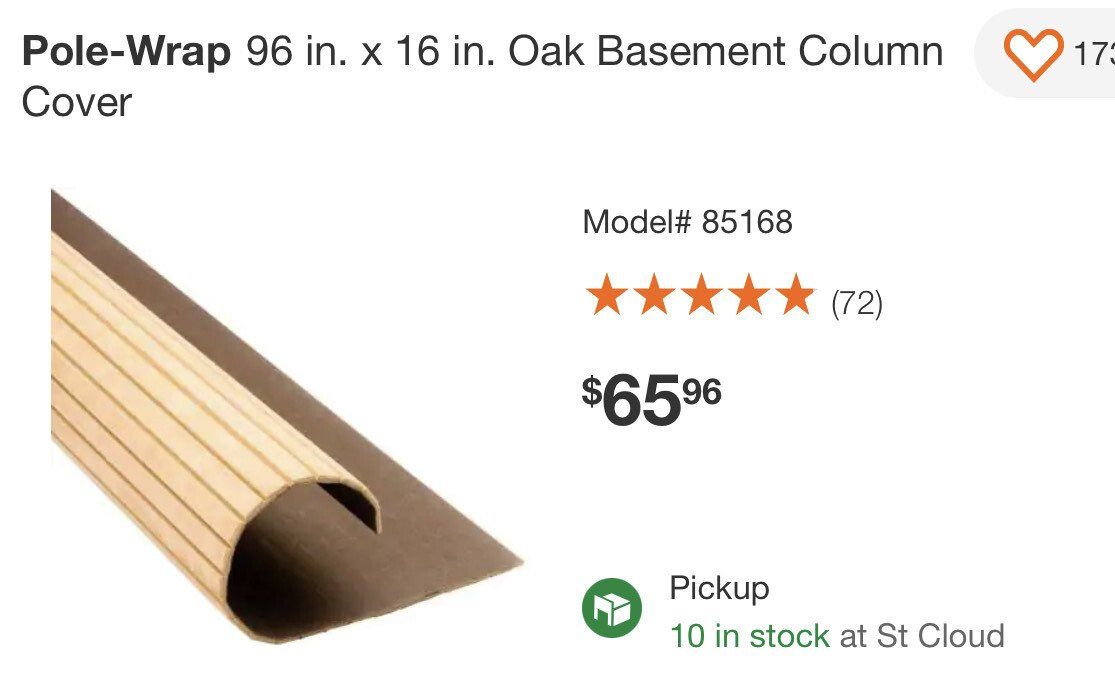
It's not super cheap, and I was hoping one roll would do the door, but I ended up being a little short. We also knew we wanted to do the bathroom door as well, so we ended up purchasing 3 rolls for 2 doors and it worked out perfectly. You can find it HERE.
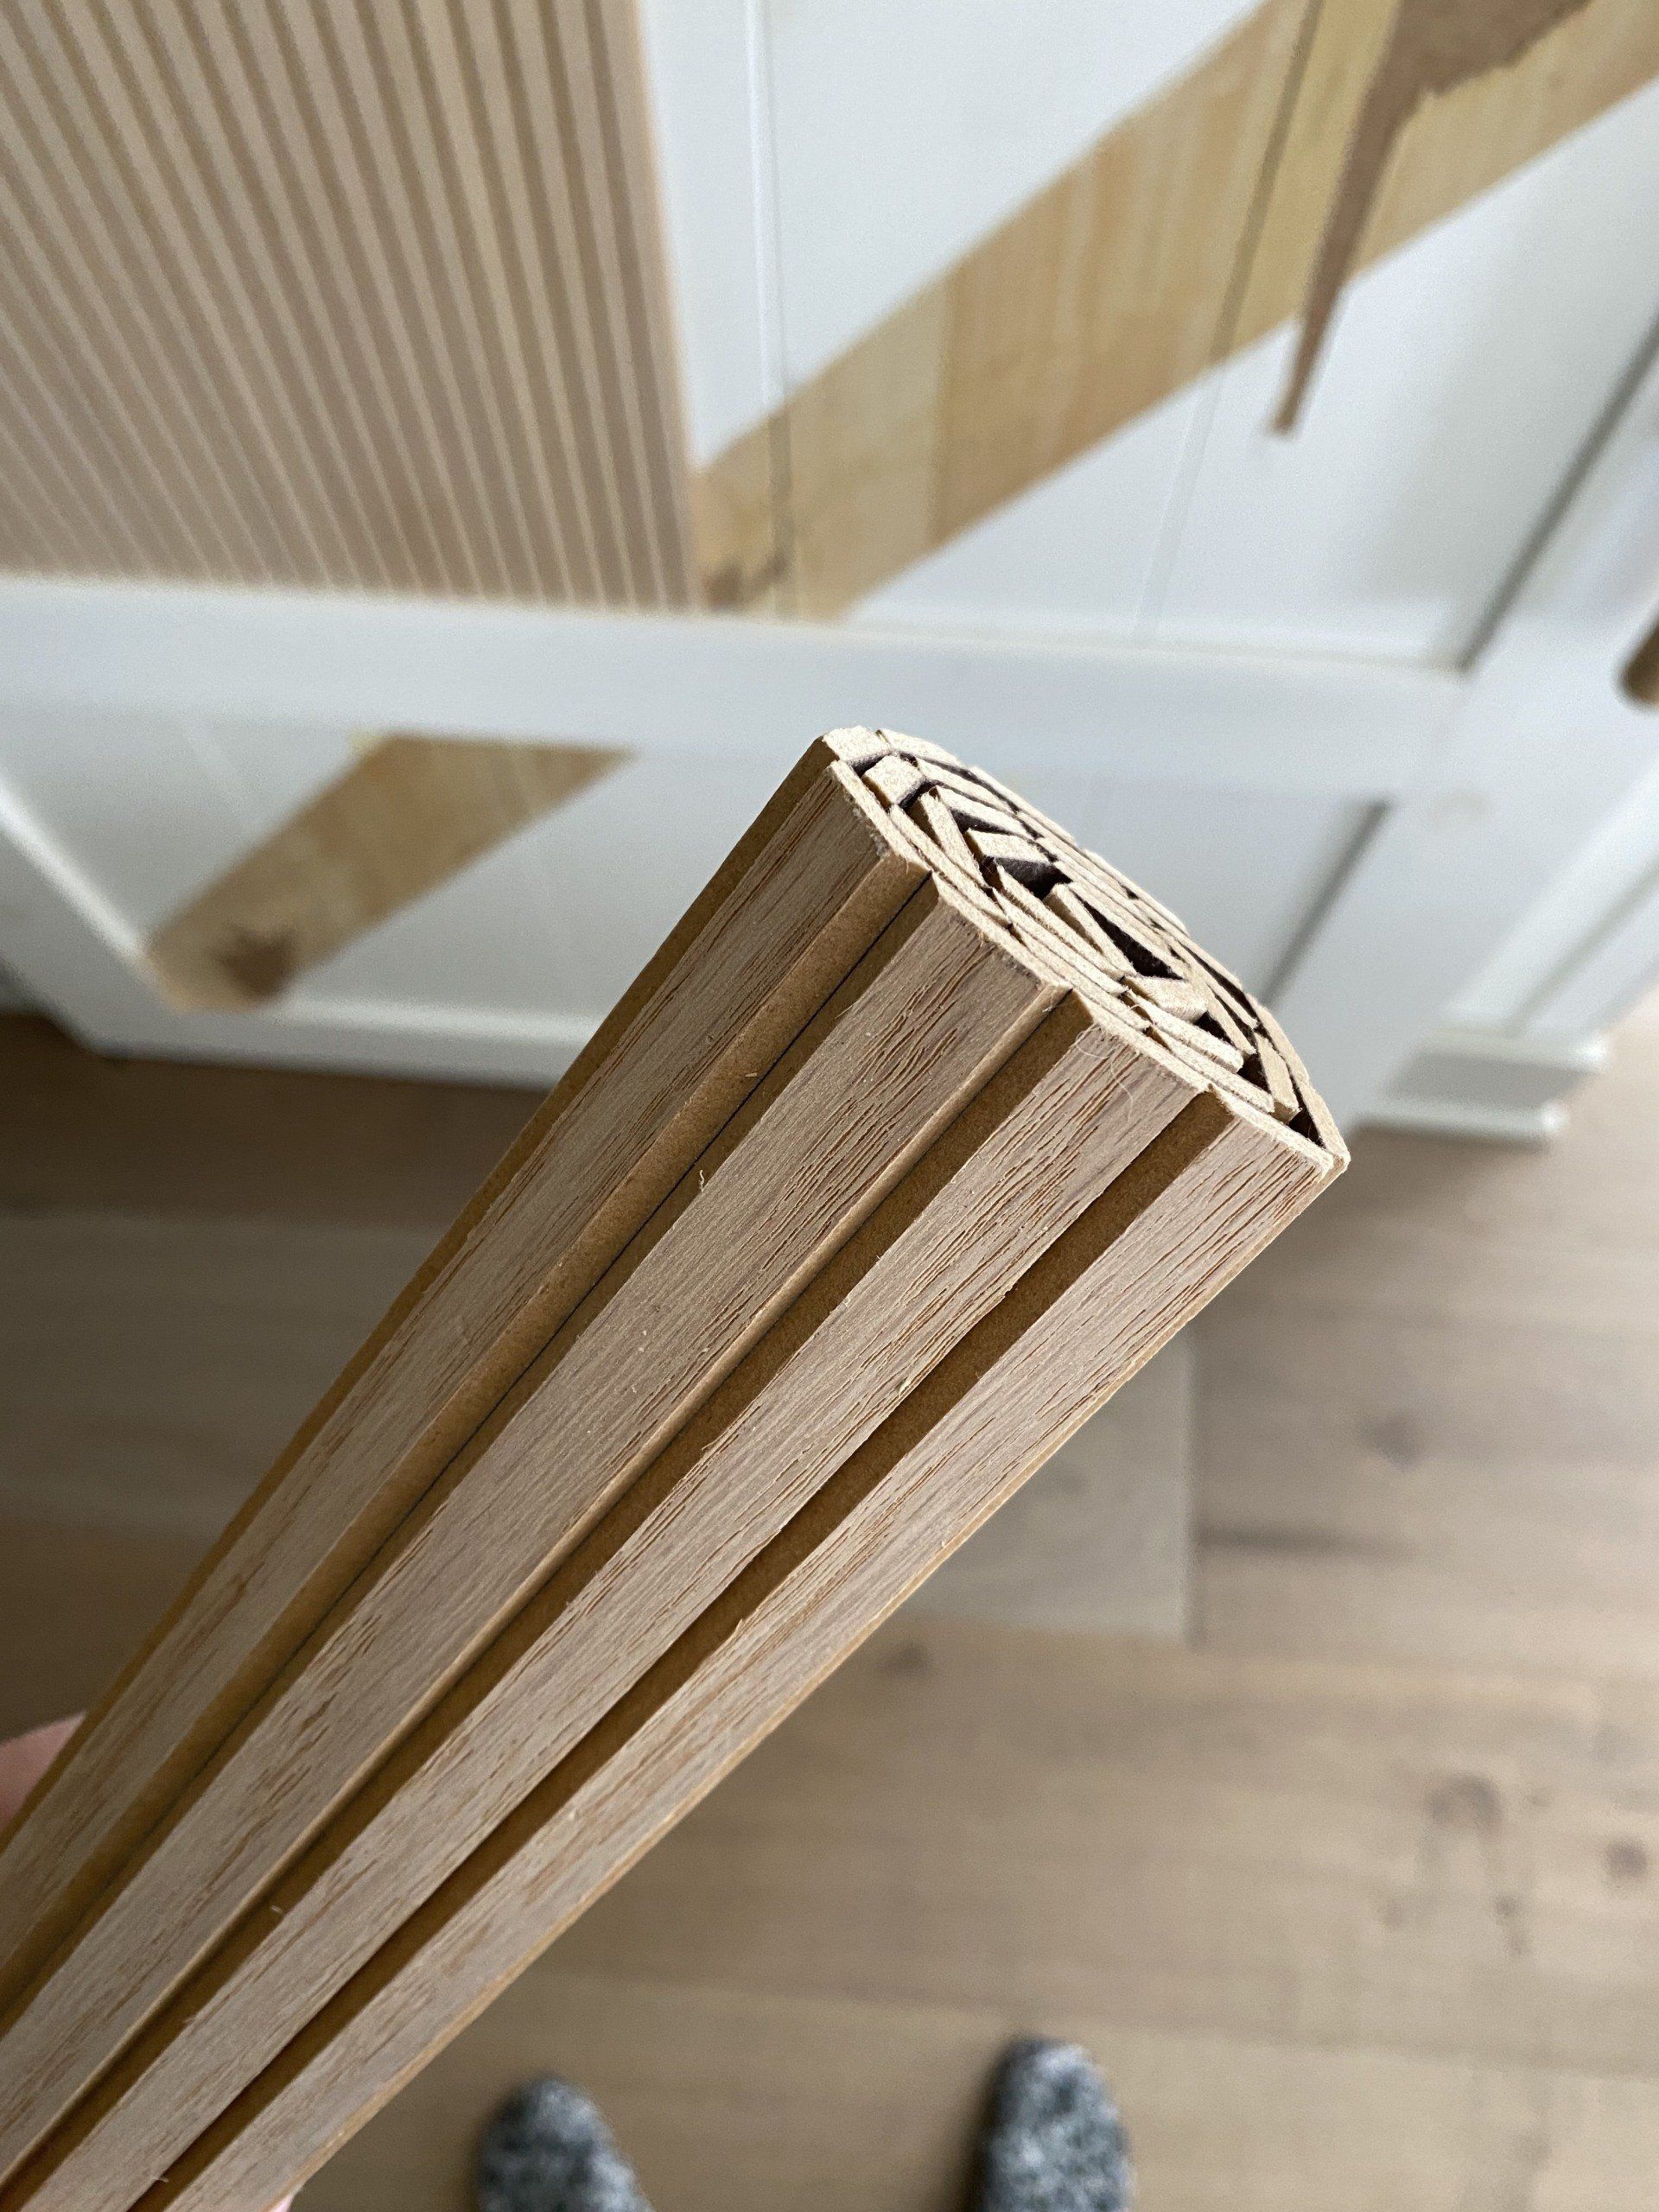
Ryan had the genius idea of keeping it rolled up to cut it with the circular saw. It worked much better this way! We then put some glue on the back and hung it up.
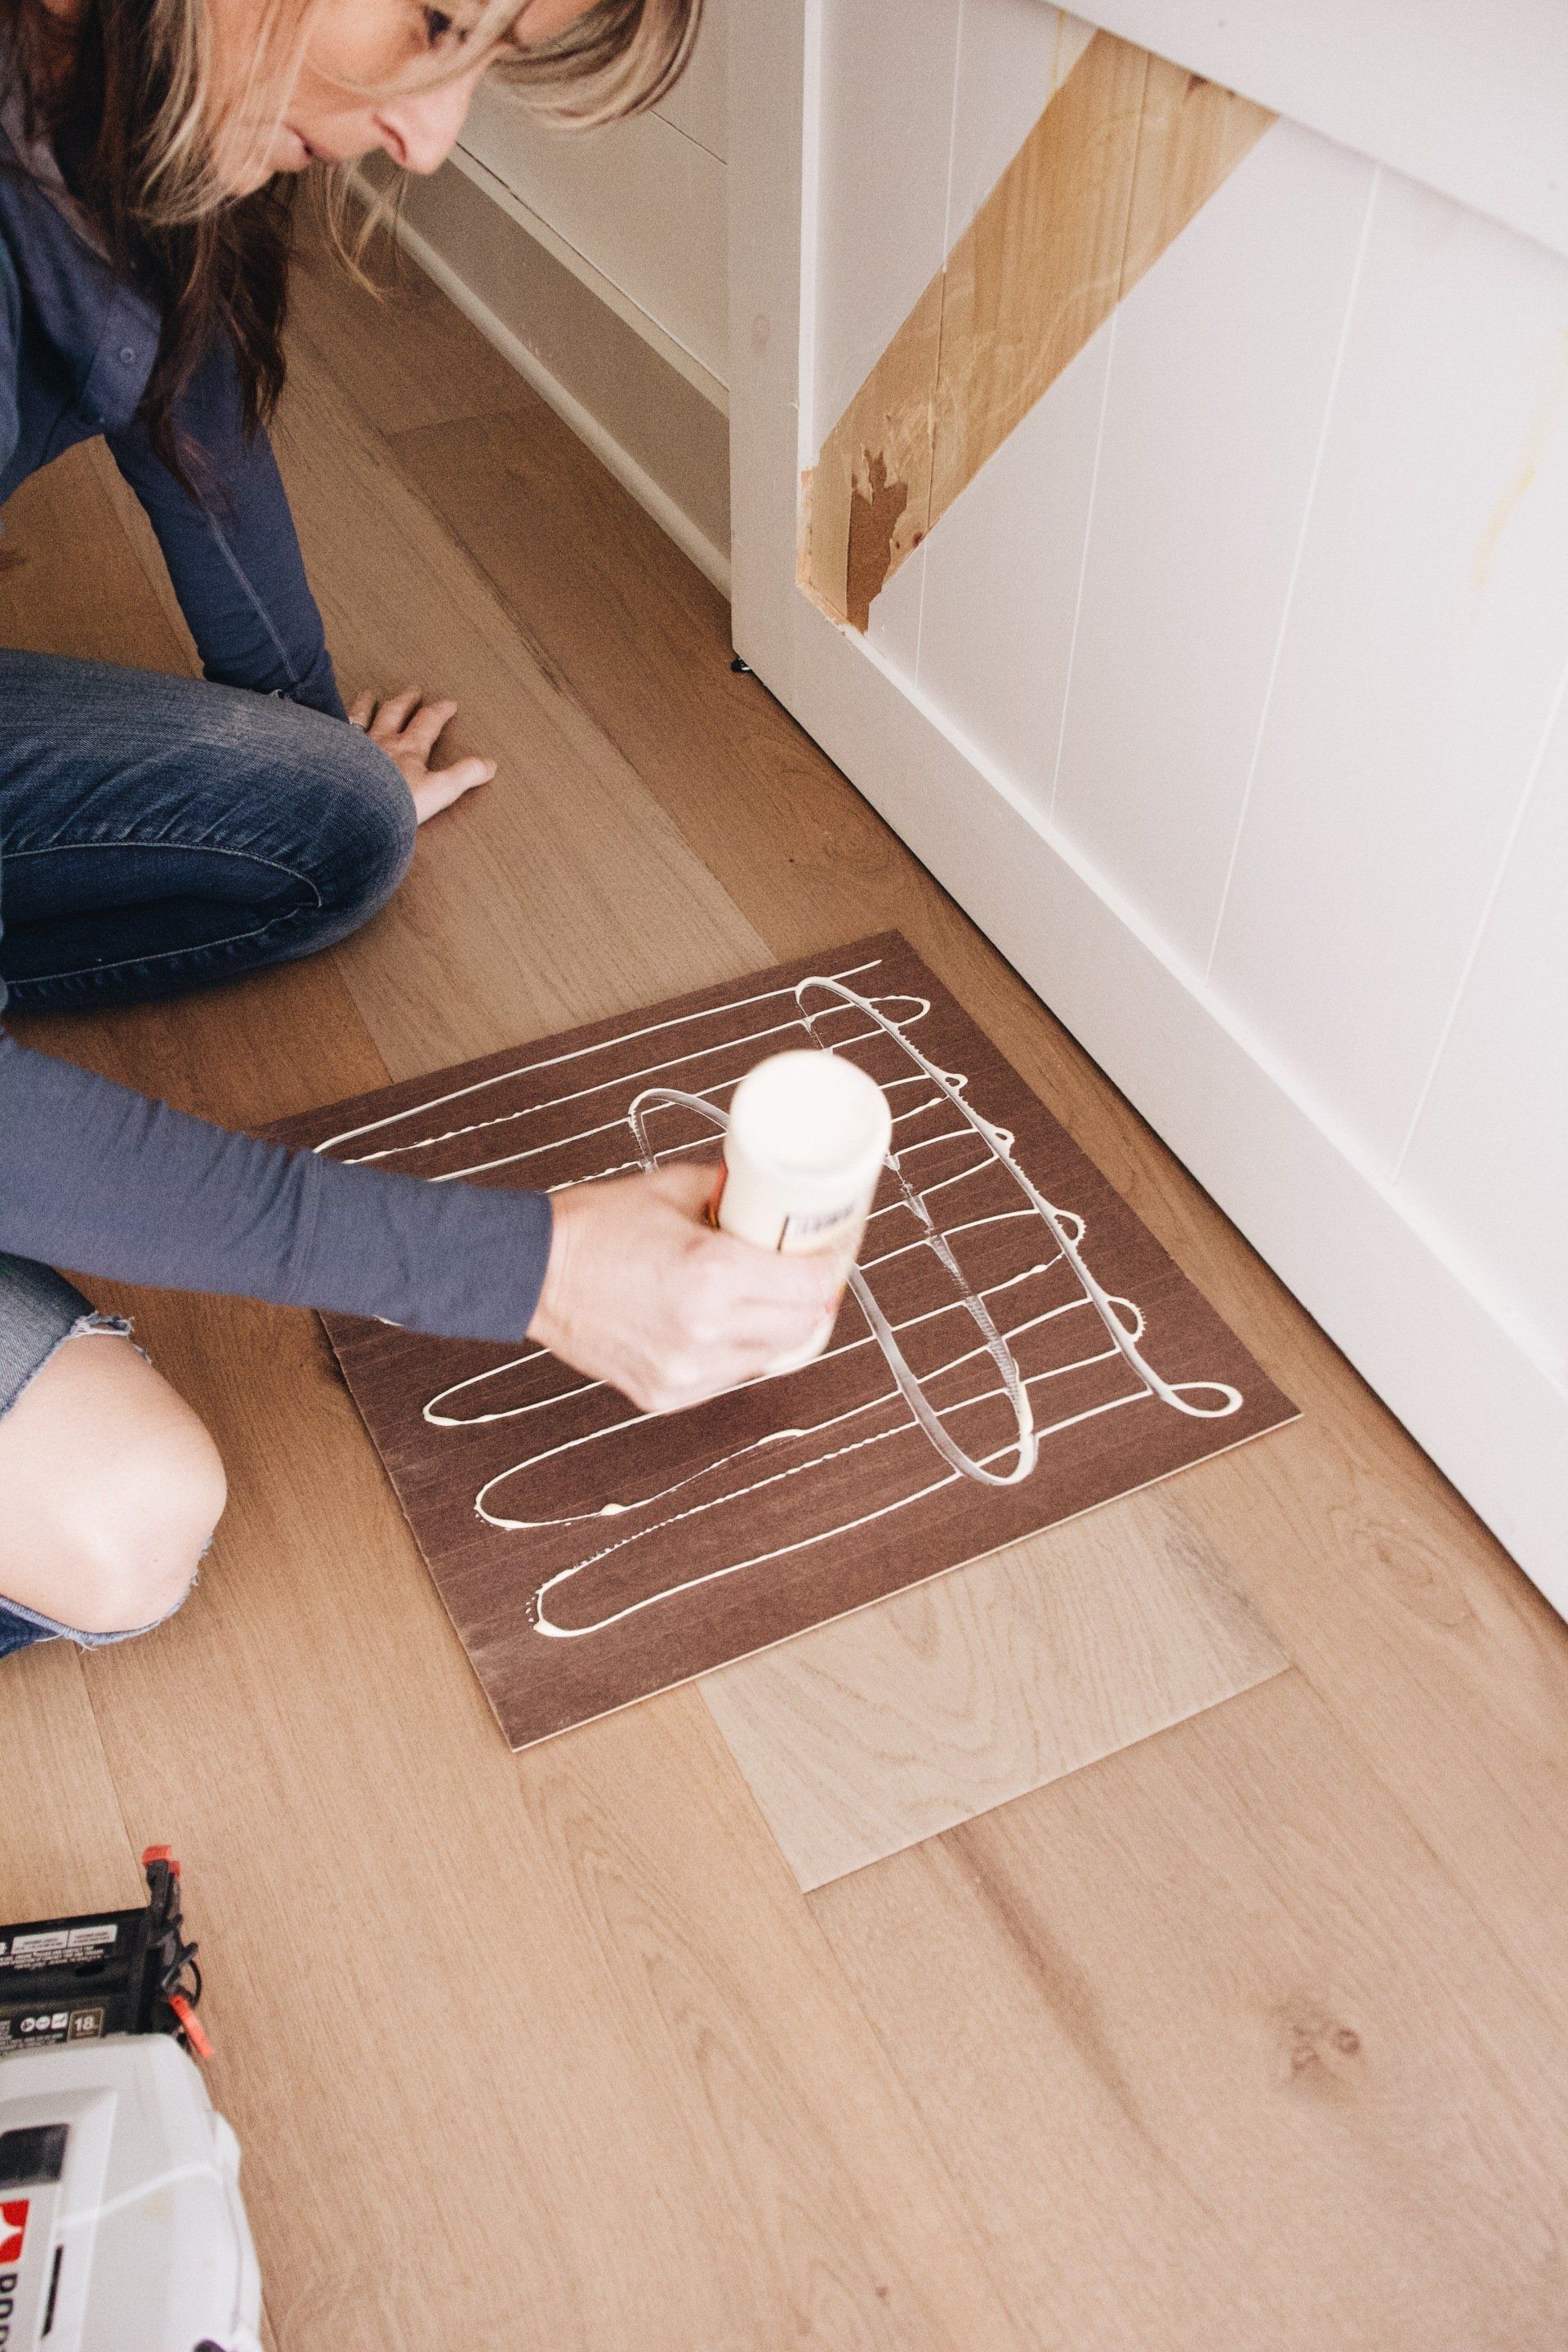
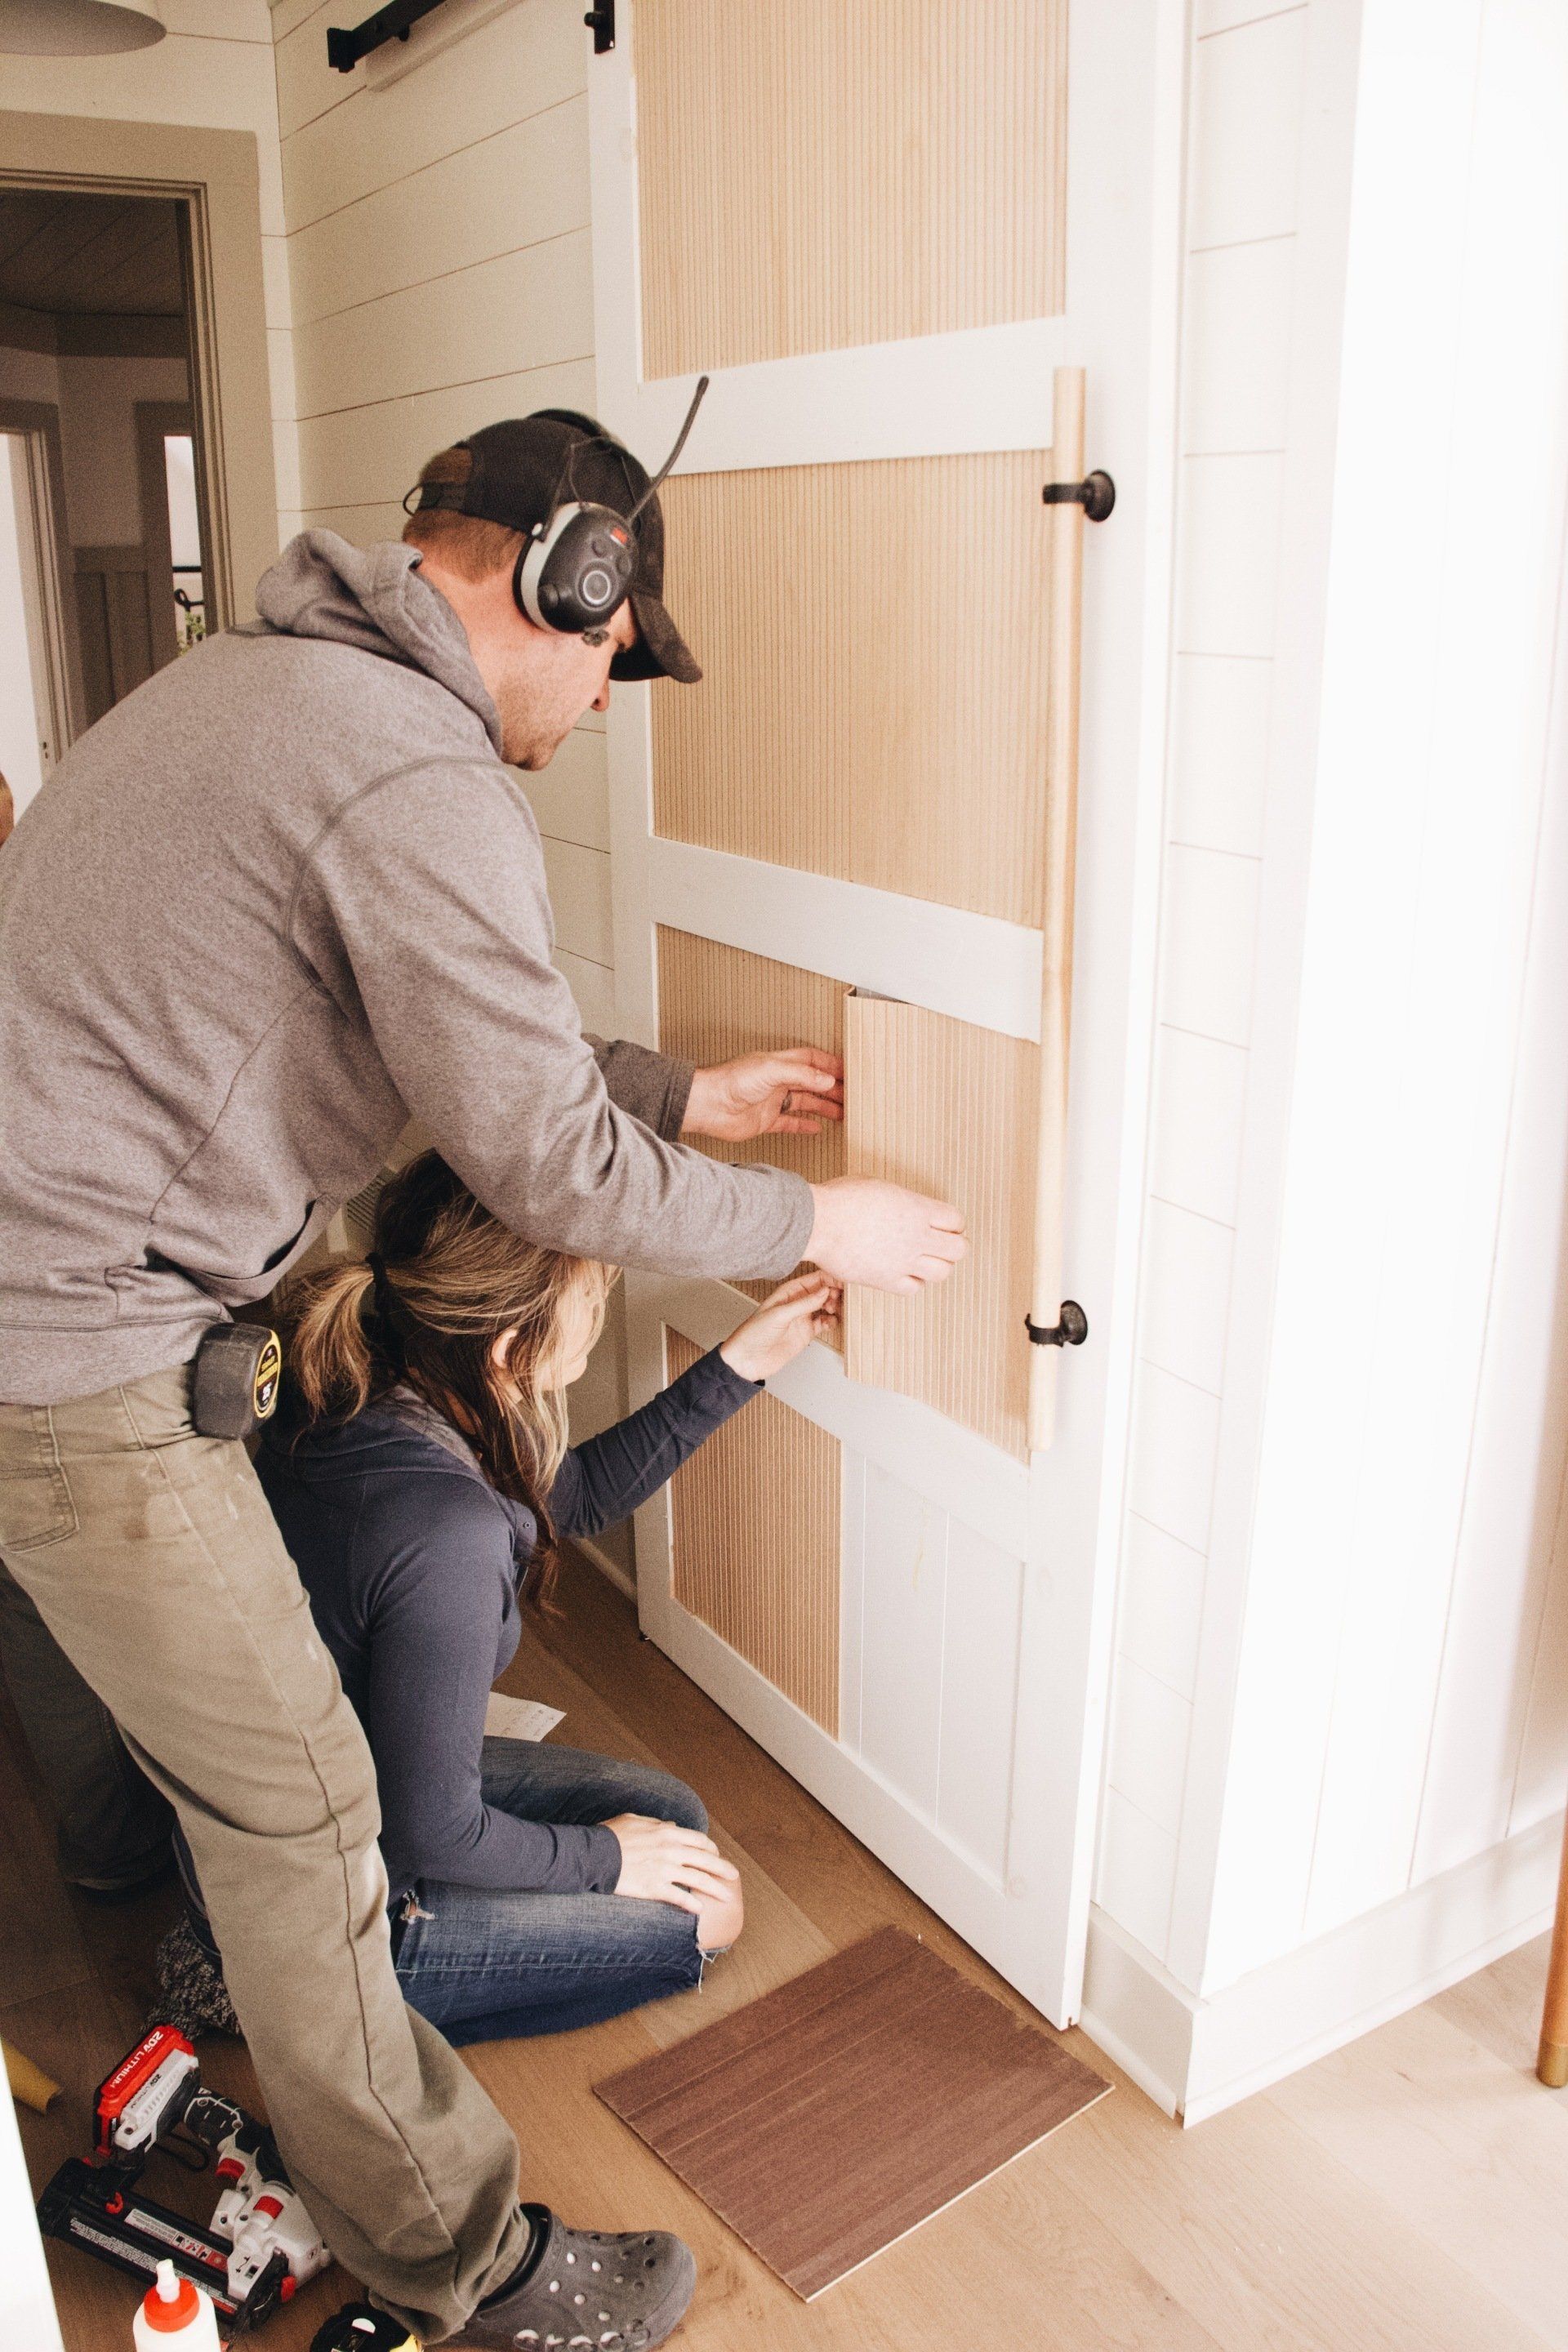
Because it had been rolled up, I nailed it about every 6 boards to keep it nice and flat while the glue dried. But know how thick your door is. This door the 3/4" nails went right through, which wasn't a big deal to me since it is inside our closet and once the glue is dry ryan will nip them off with the angle grinder. But our bathroom door is quite visible on the inside, so obviously we don't want a bunch of nails popping through. So for that one we took the door off and laid it on the ground. Then we glued the pole wrap down and set heavy items on top so it lays flat until the glue dries.
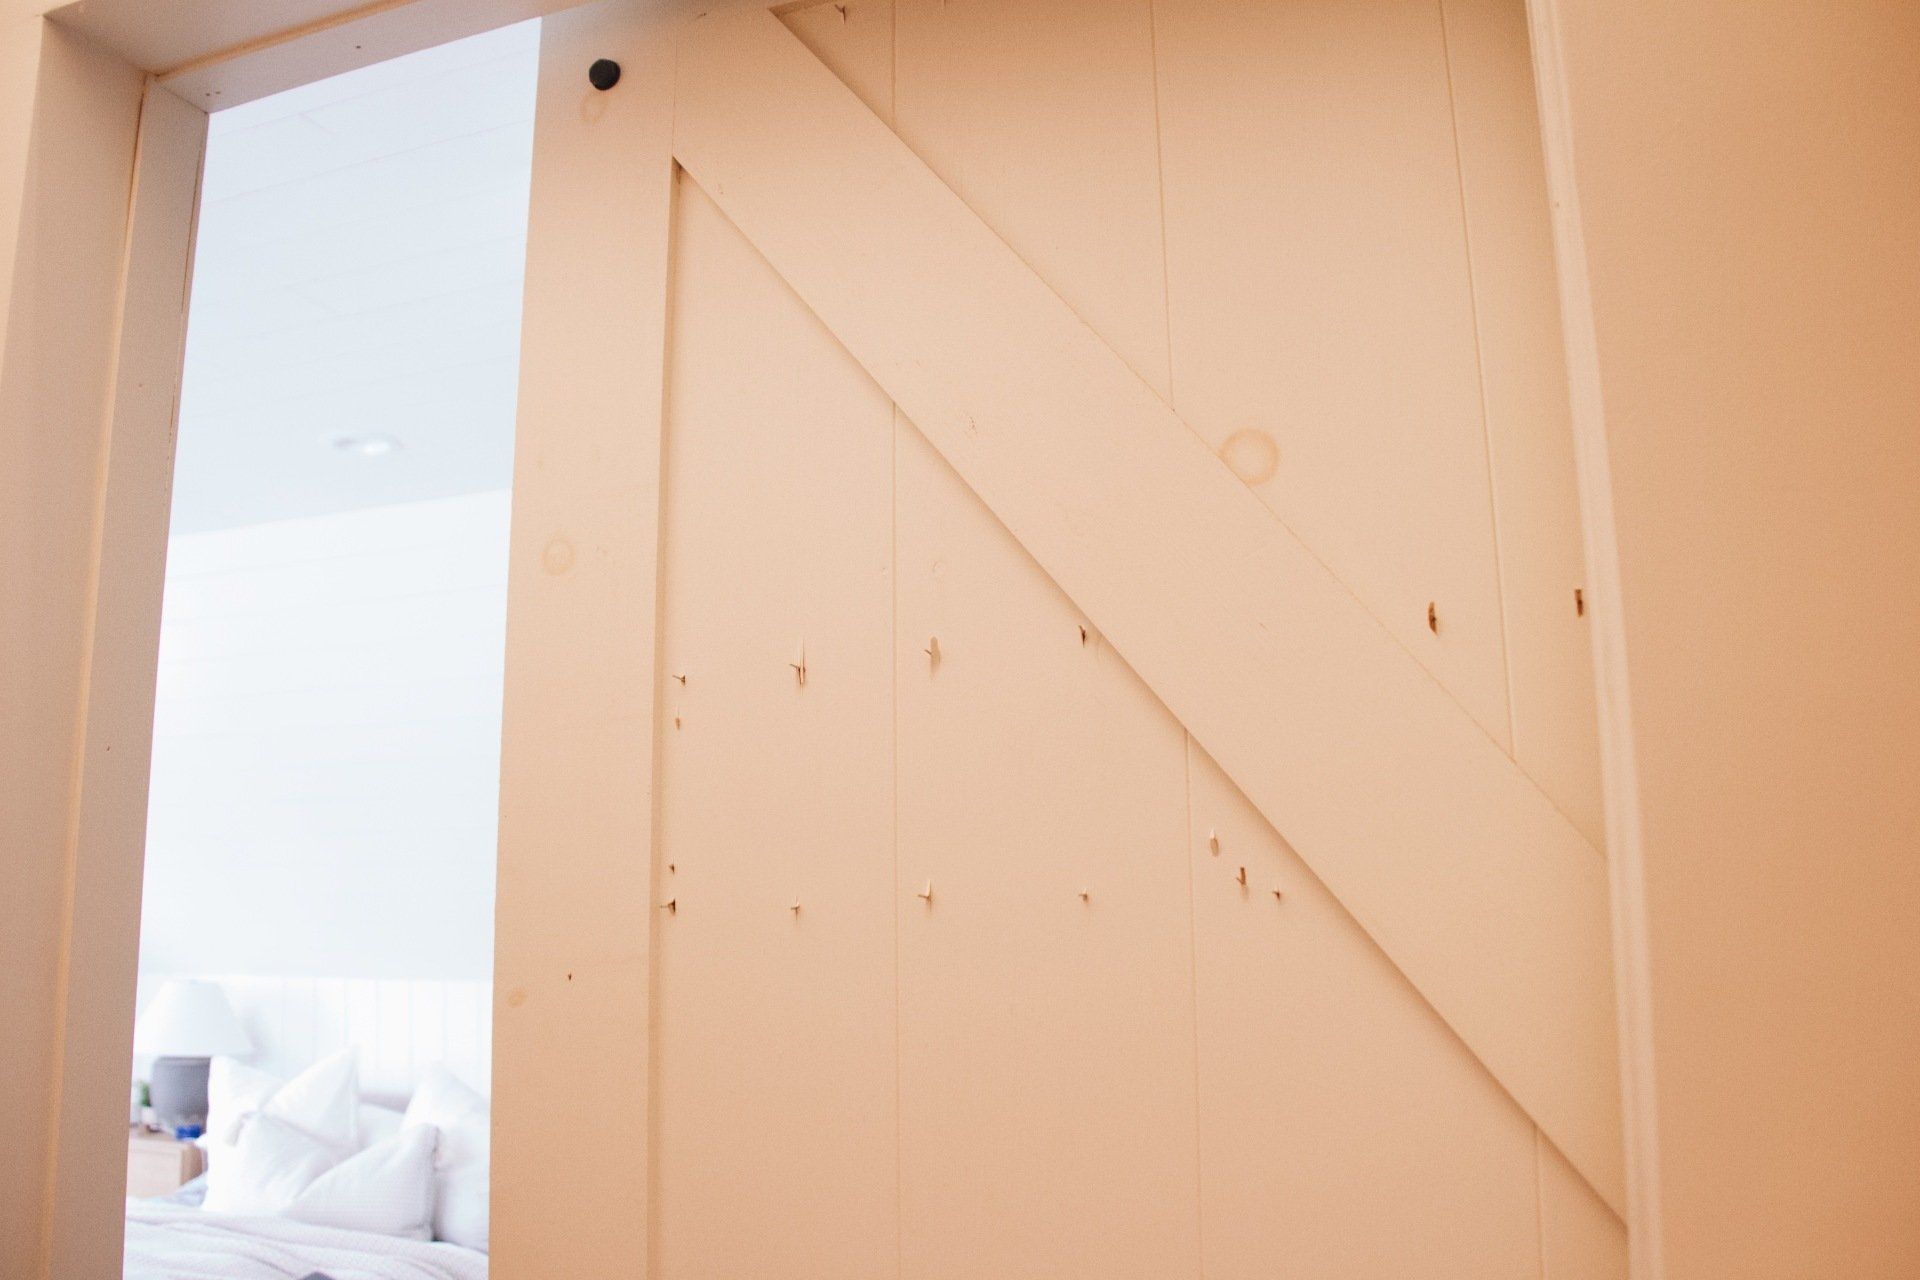
Here's a little peek of the inside of the door:) ryan hasn't zipped the nails off yet:)
Teamwork makes the dreamwork:)
Whats awesome about this pole wrap is that it is really pretty wood as is. You could stain it and it would make an awesome wood detail! Since our doors were already painted I knew I'd need to paint it, but if you had a wood door it could be incredible!
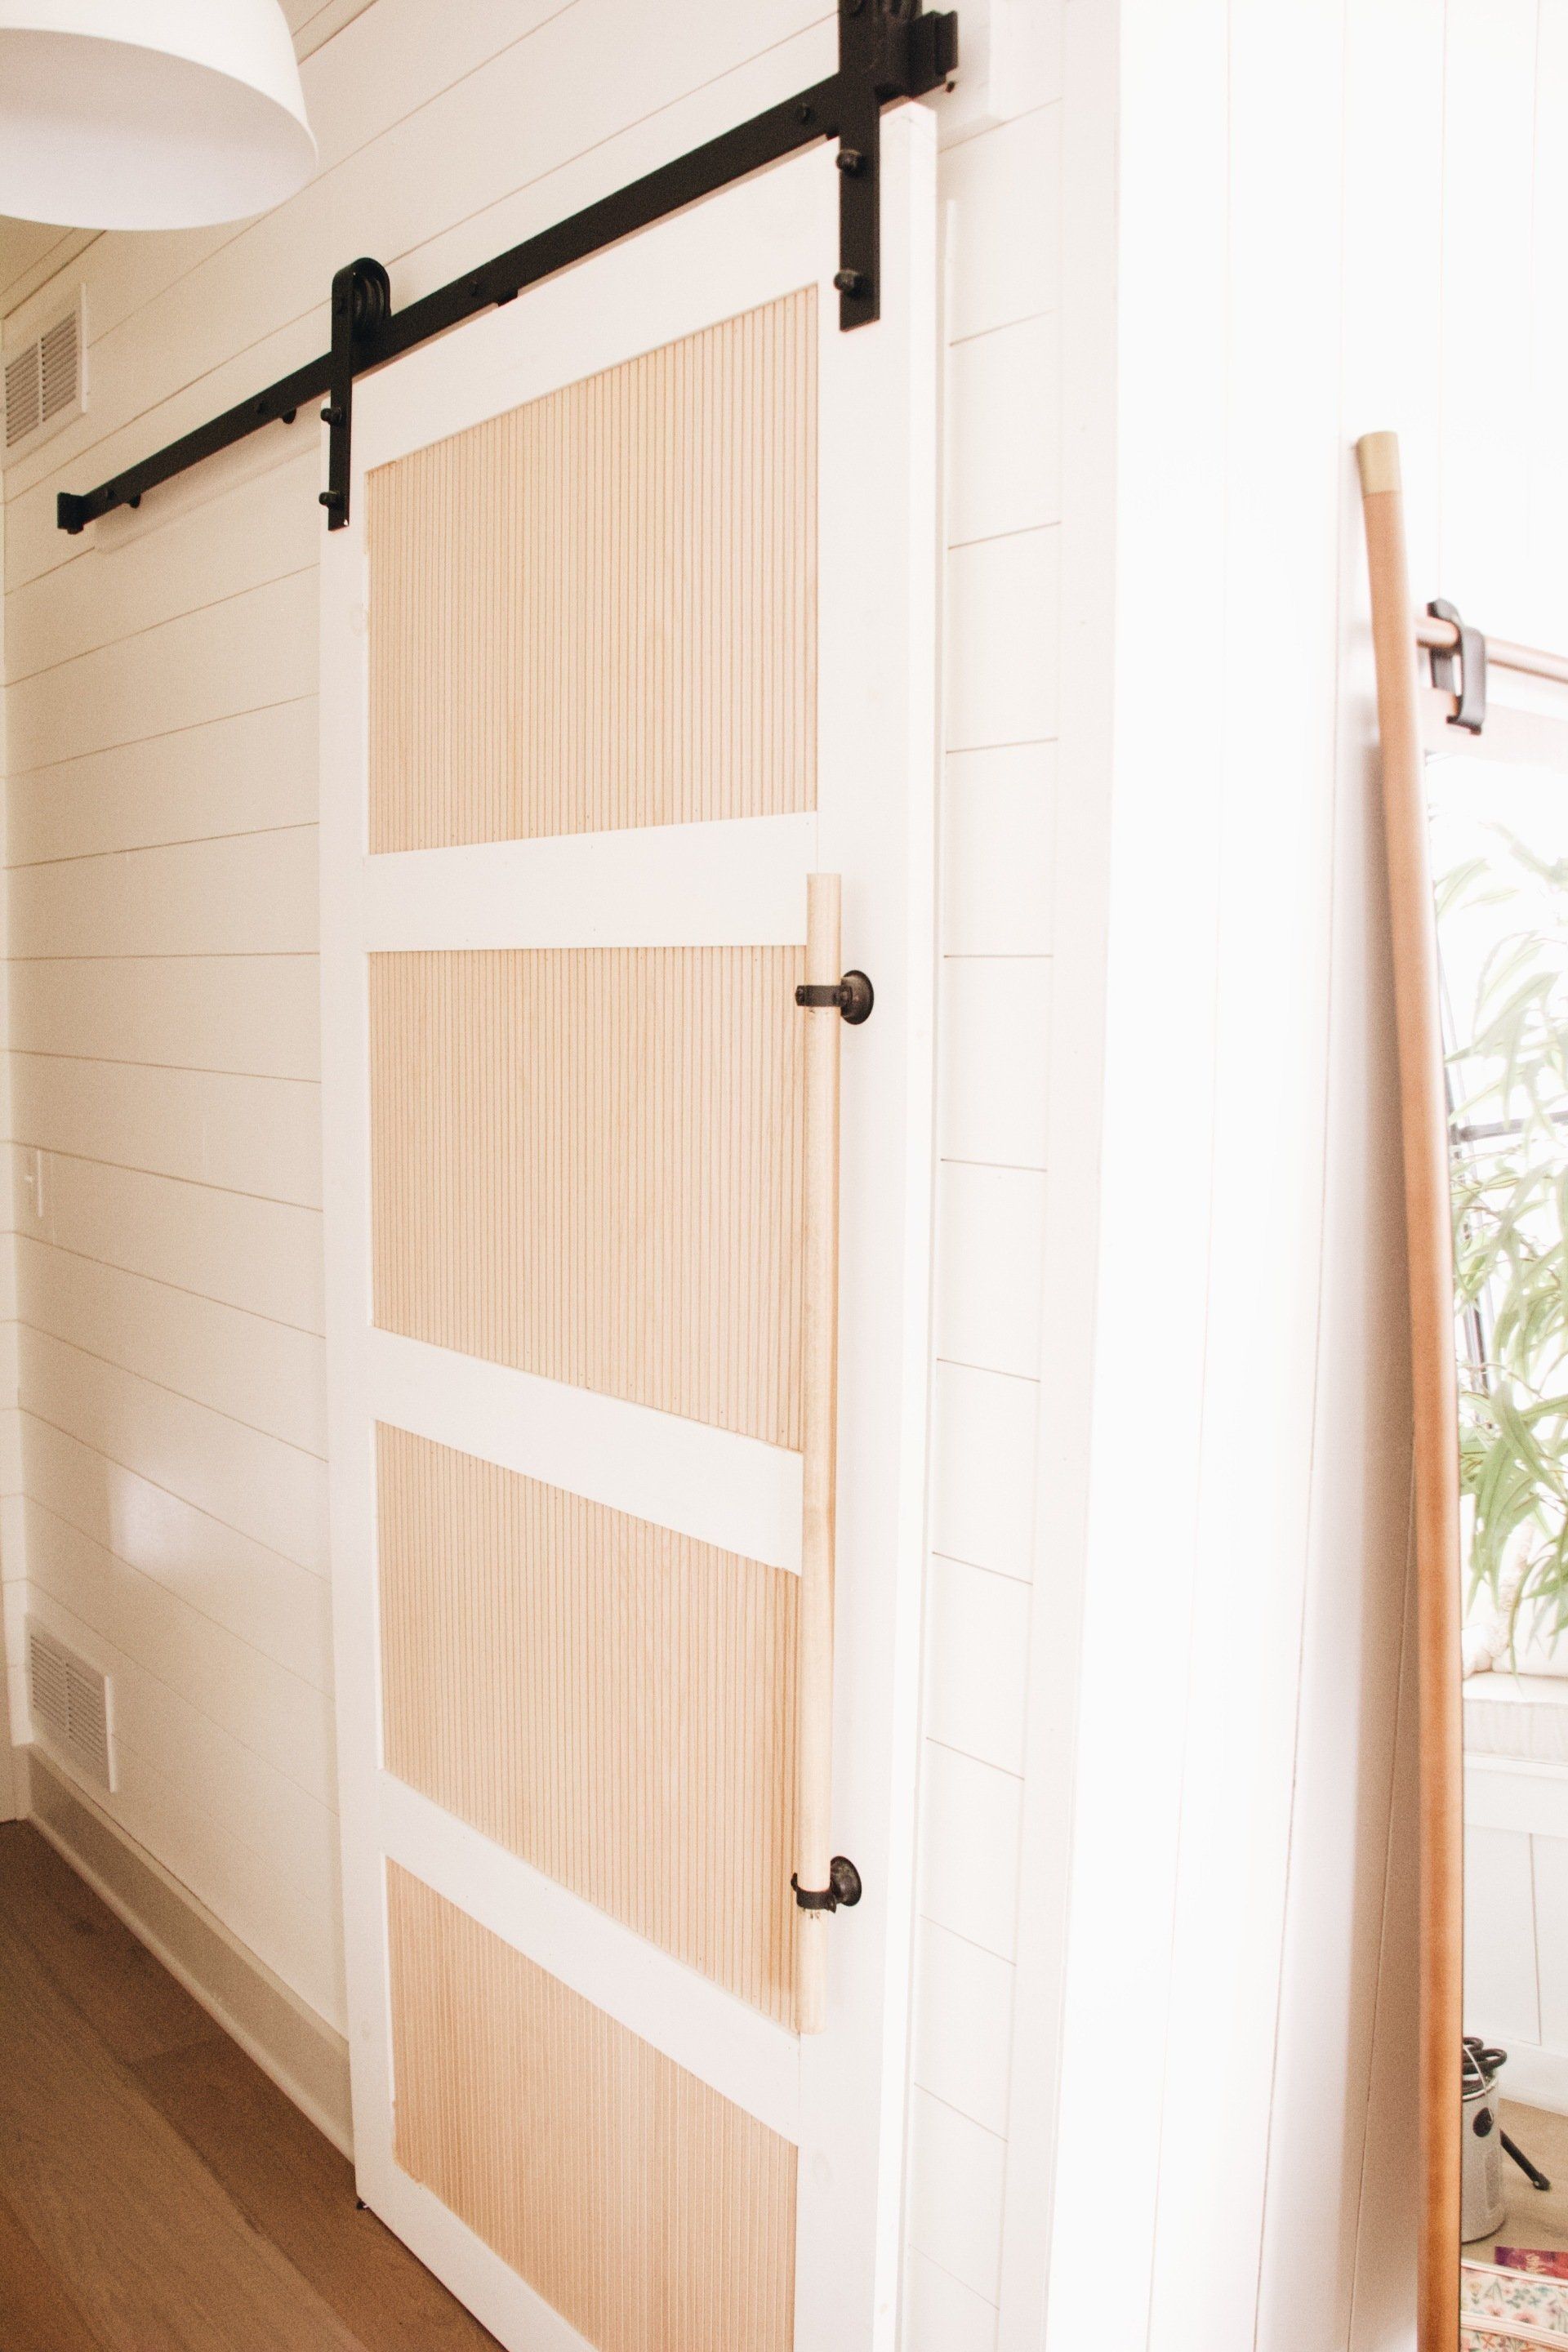
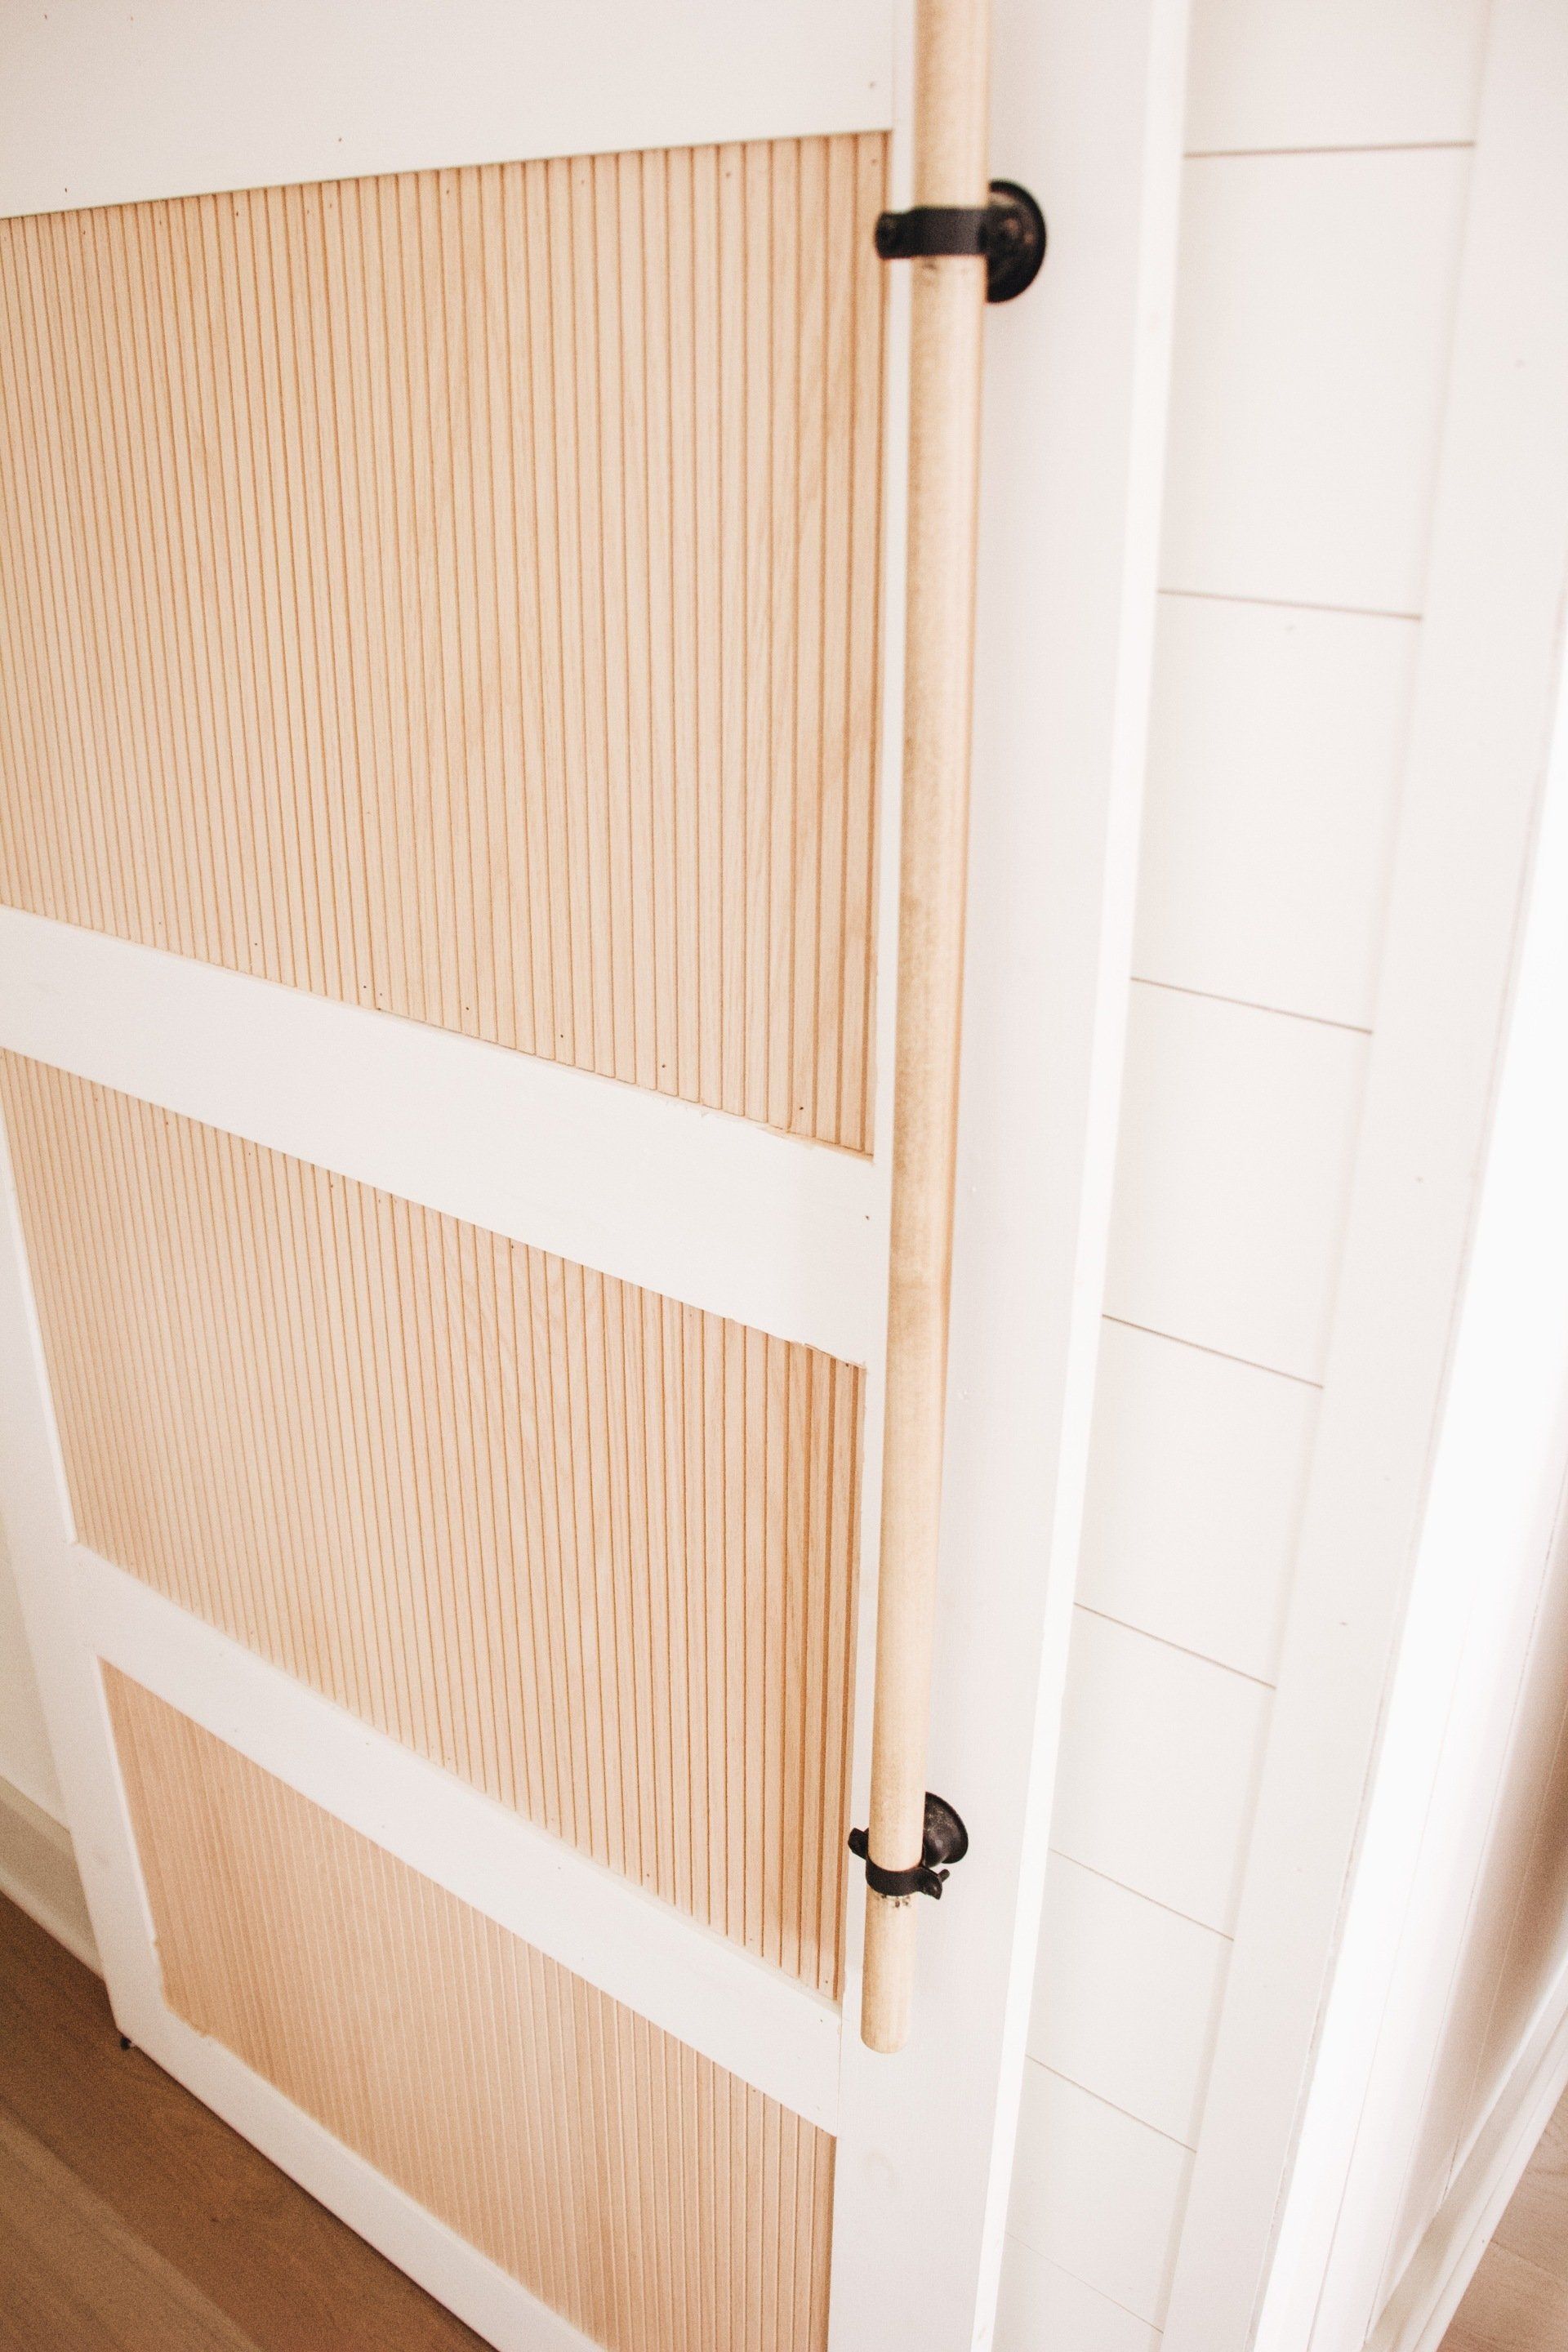
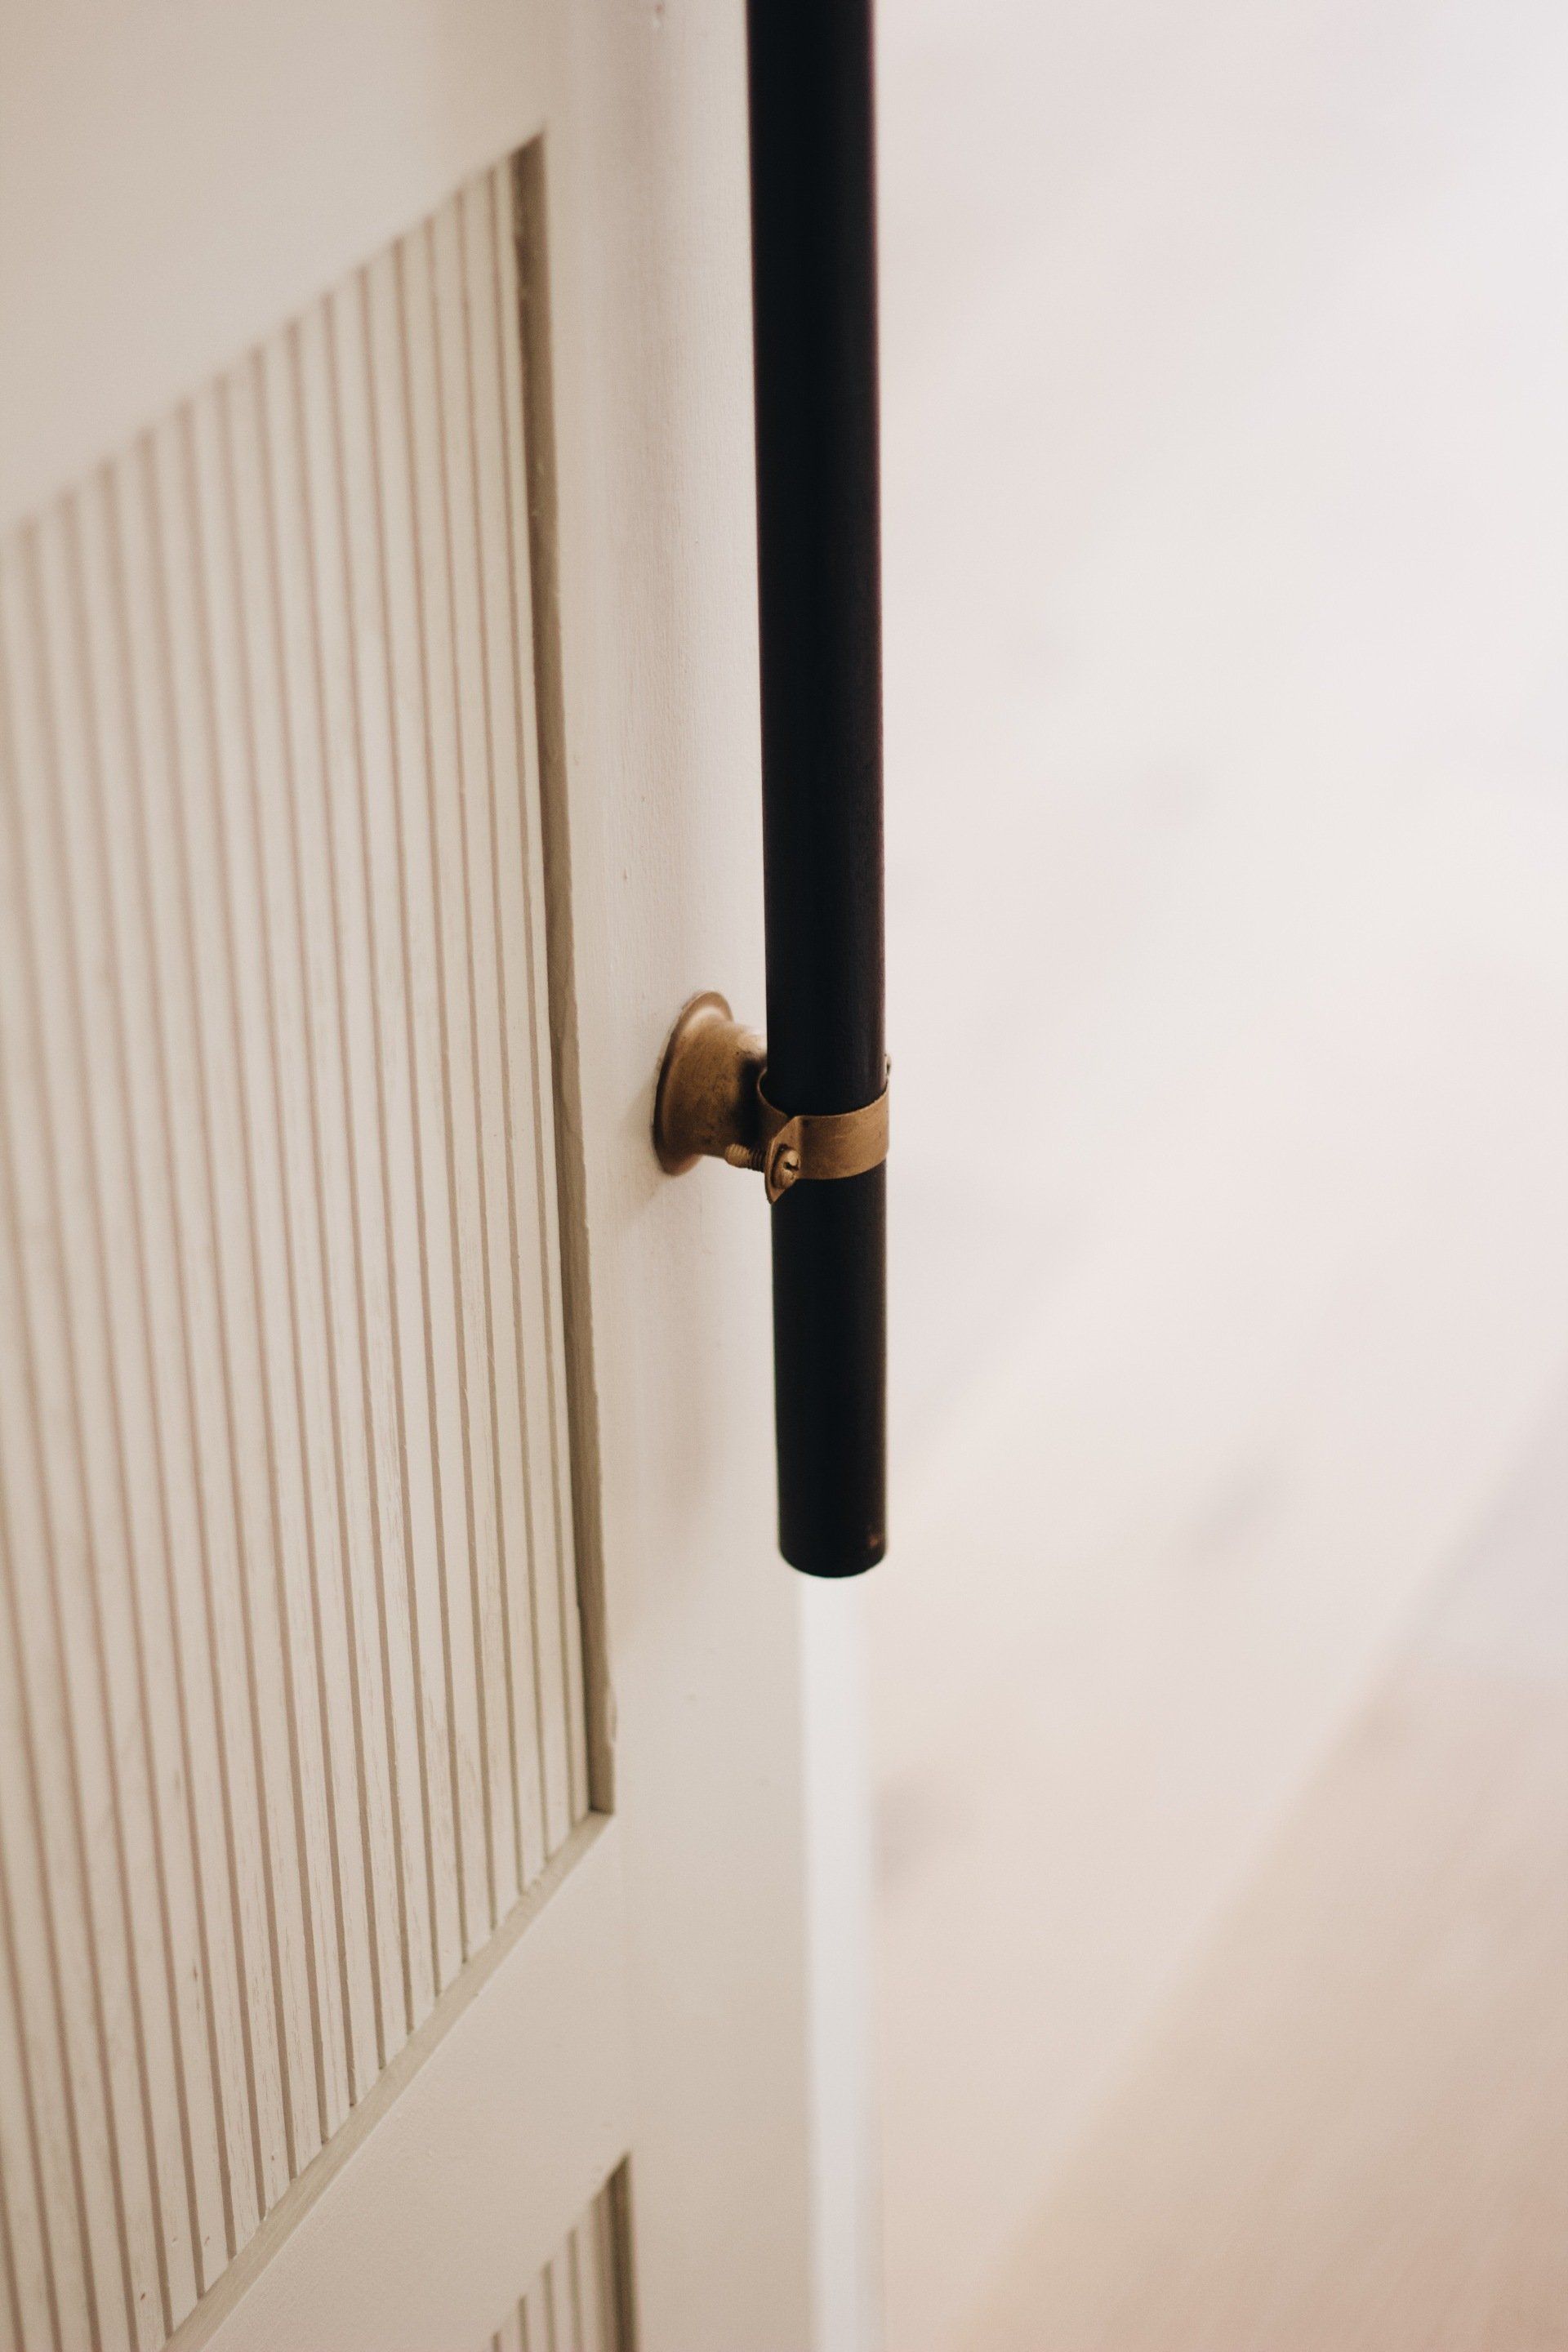
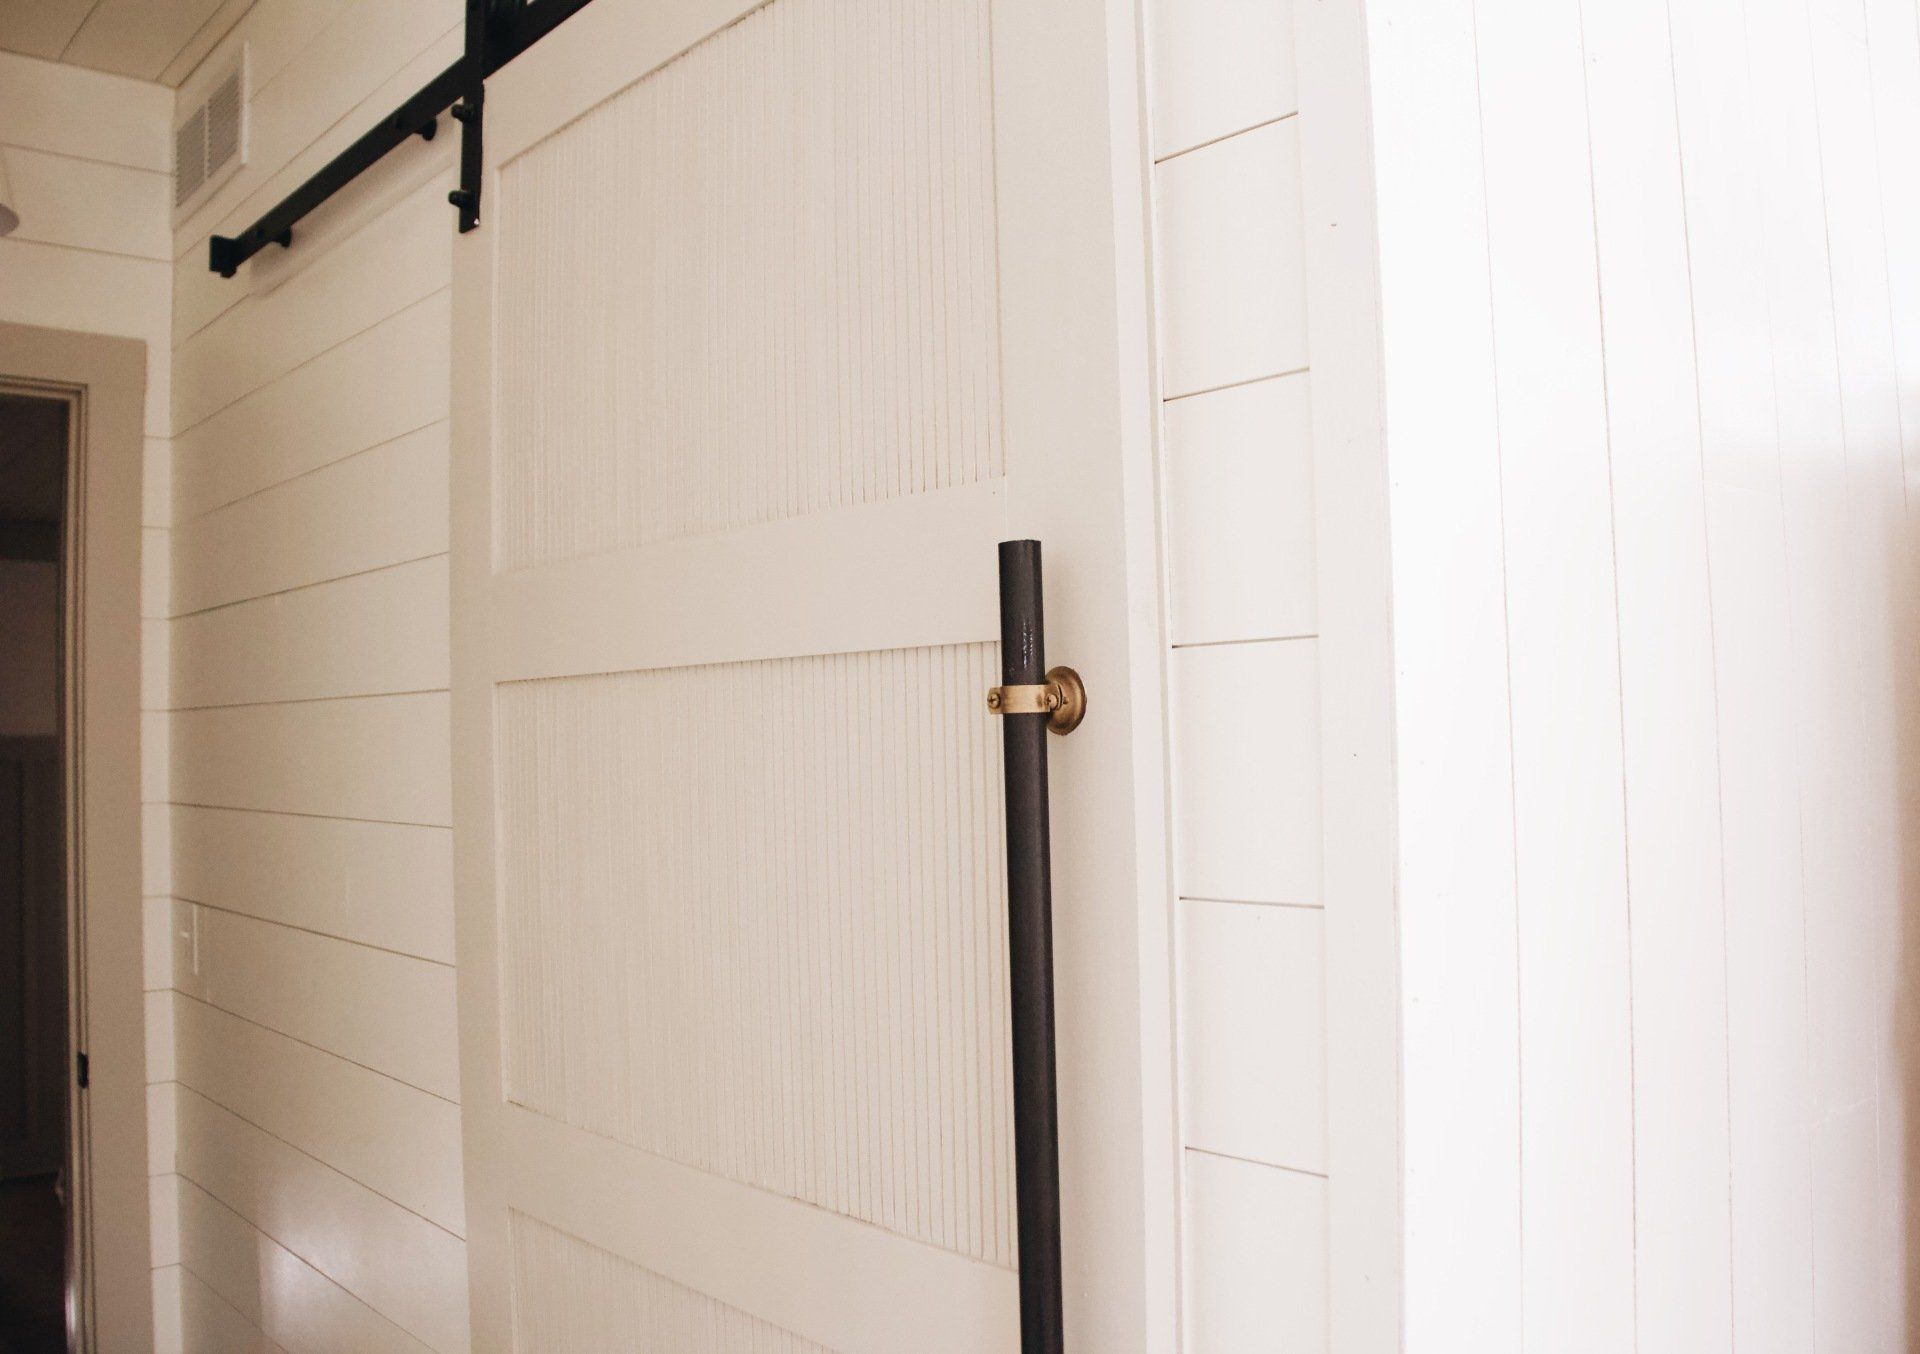
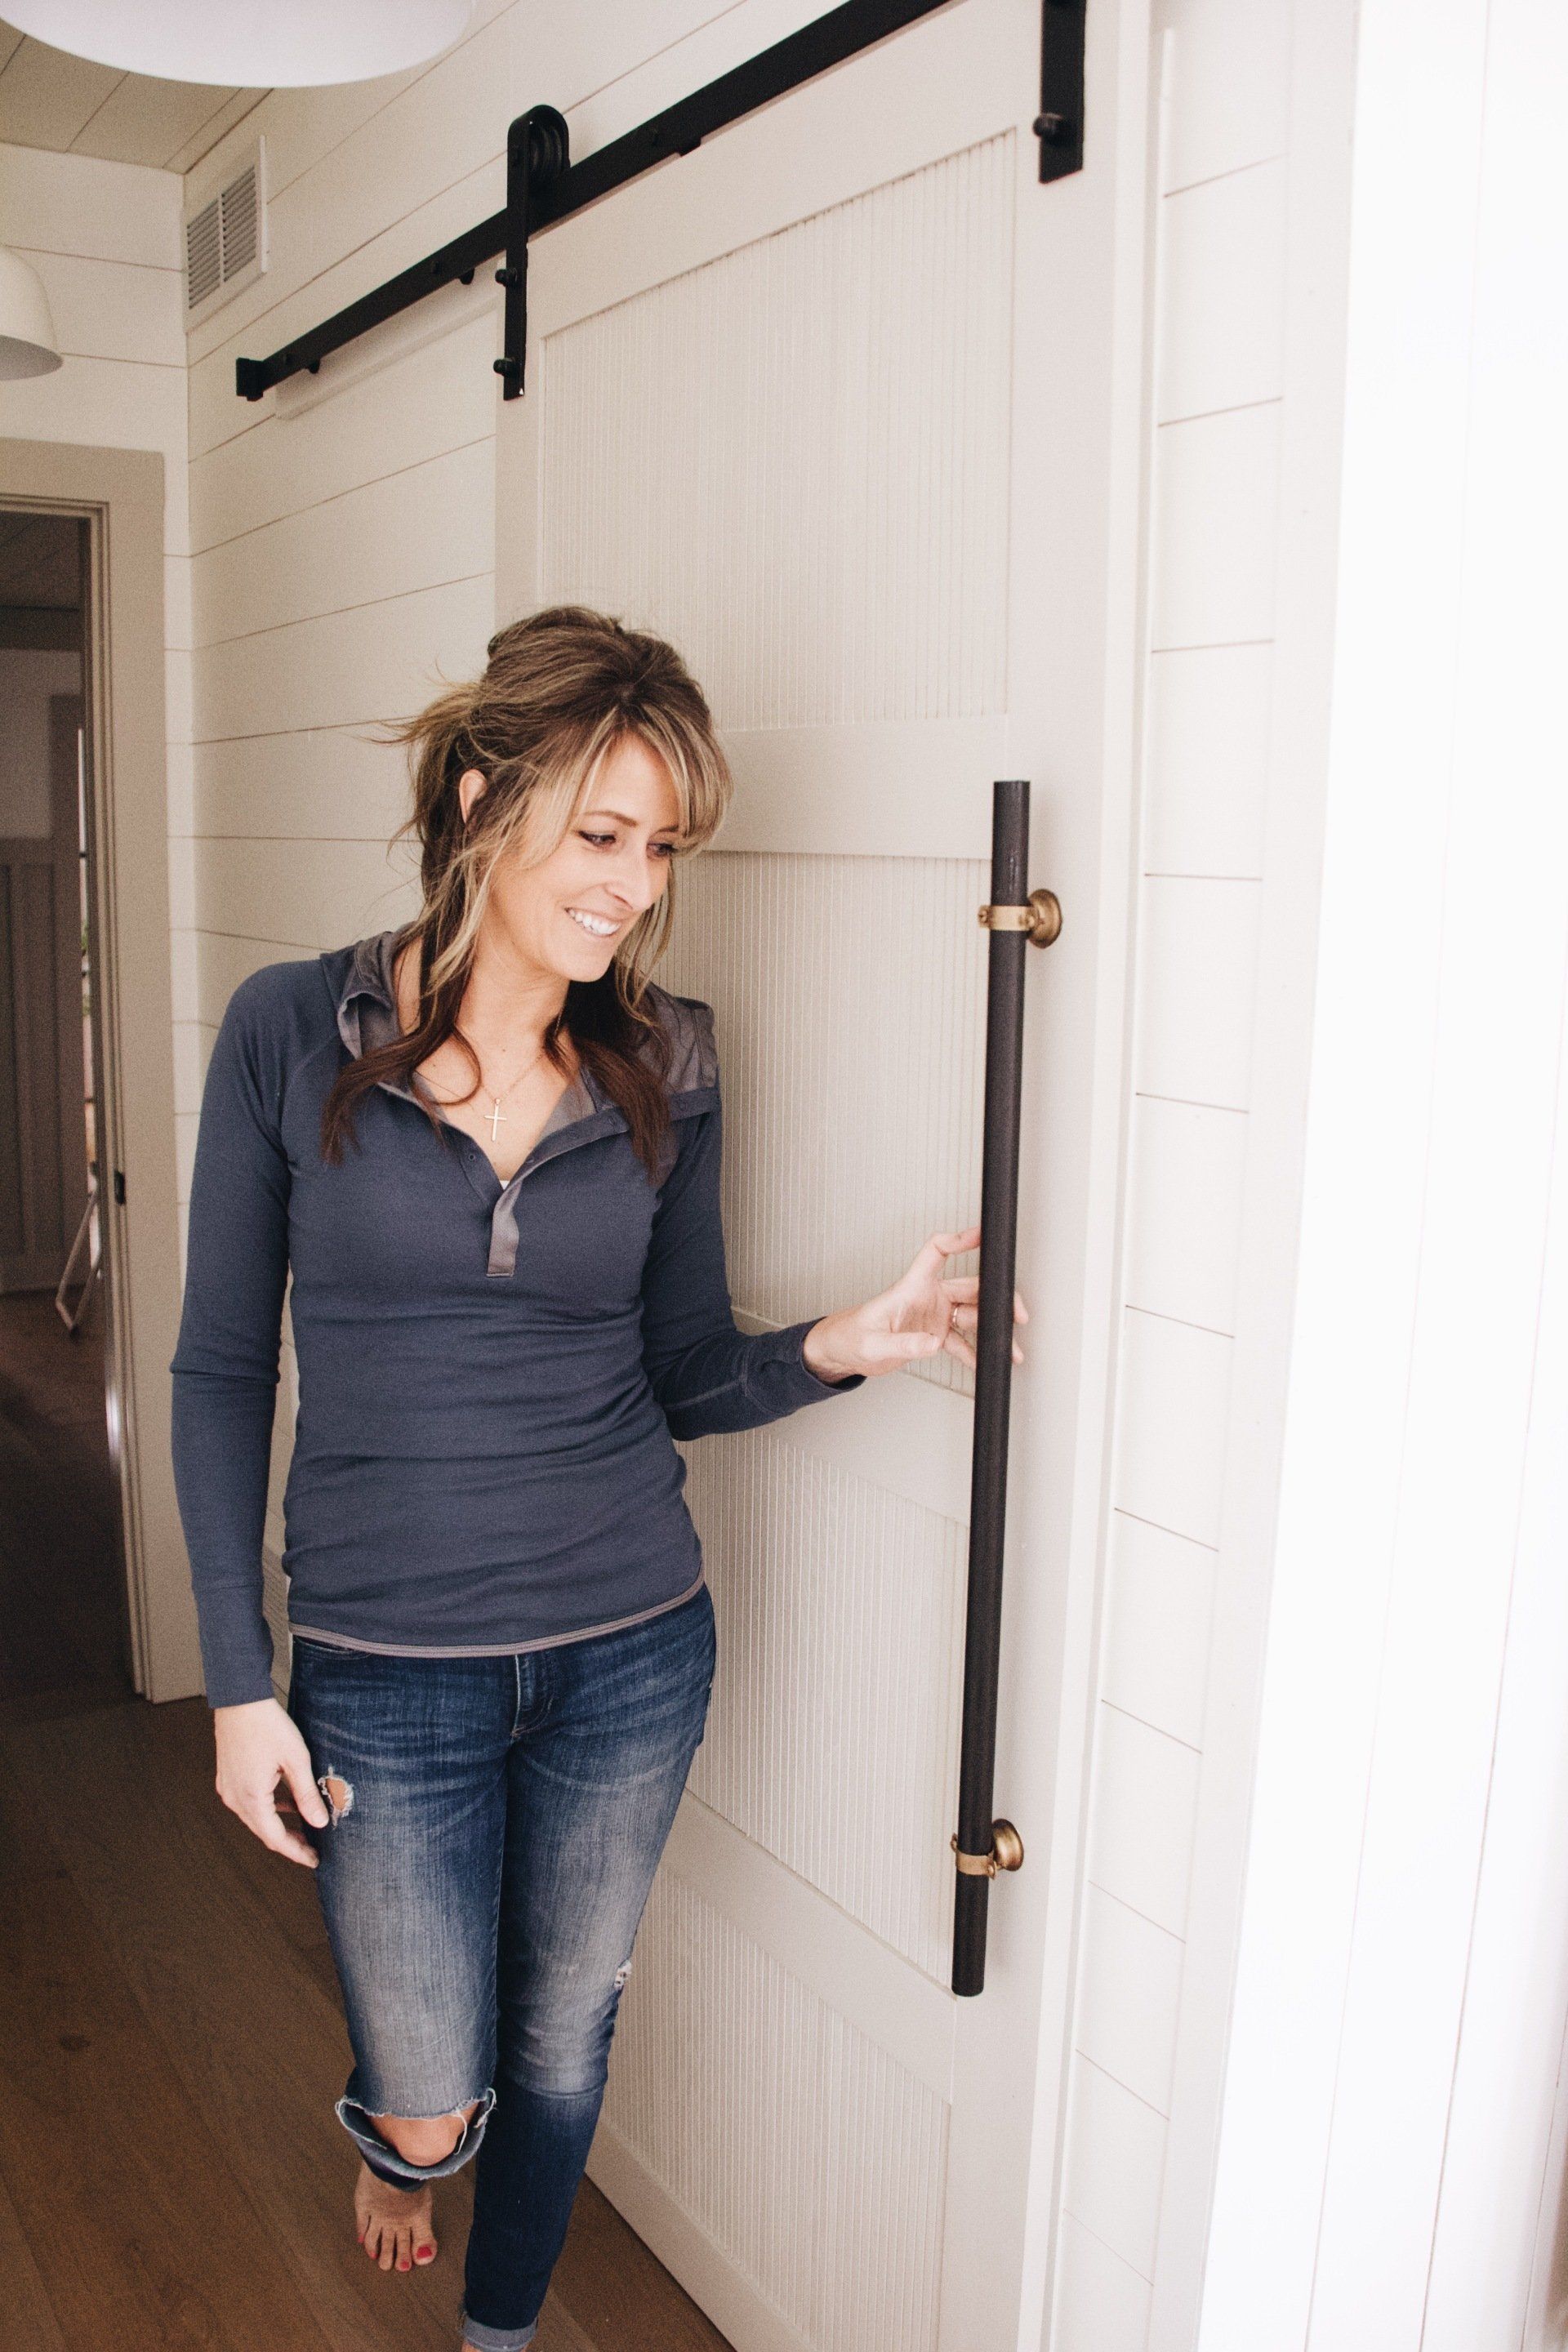
Painting proved to be a bit of a bugger. I used my 4" foam roller first on the door and the pole wrap, and then used a paint brush to get in the cracks. I ended up painting the DIY dowel handle black and using my favorite European Gold rub n buff on the hardware for a whole new look! You can find my full tutorial on how to make this handle for $10 HERE. The door is painted in Benjamin Moore Revere Pewter, which is the same color as all of my trim.

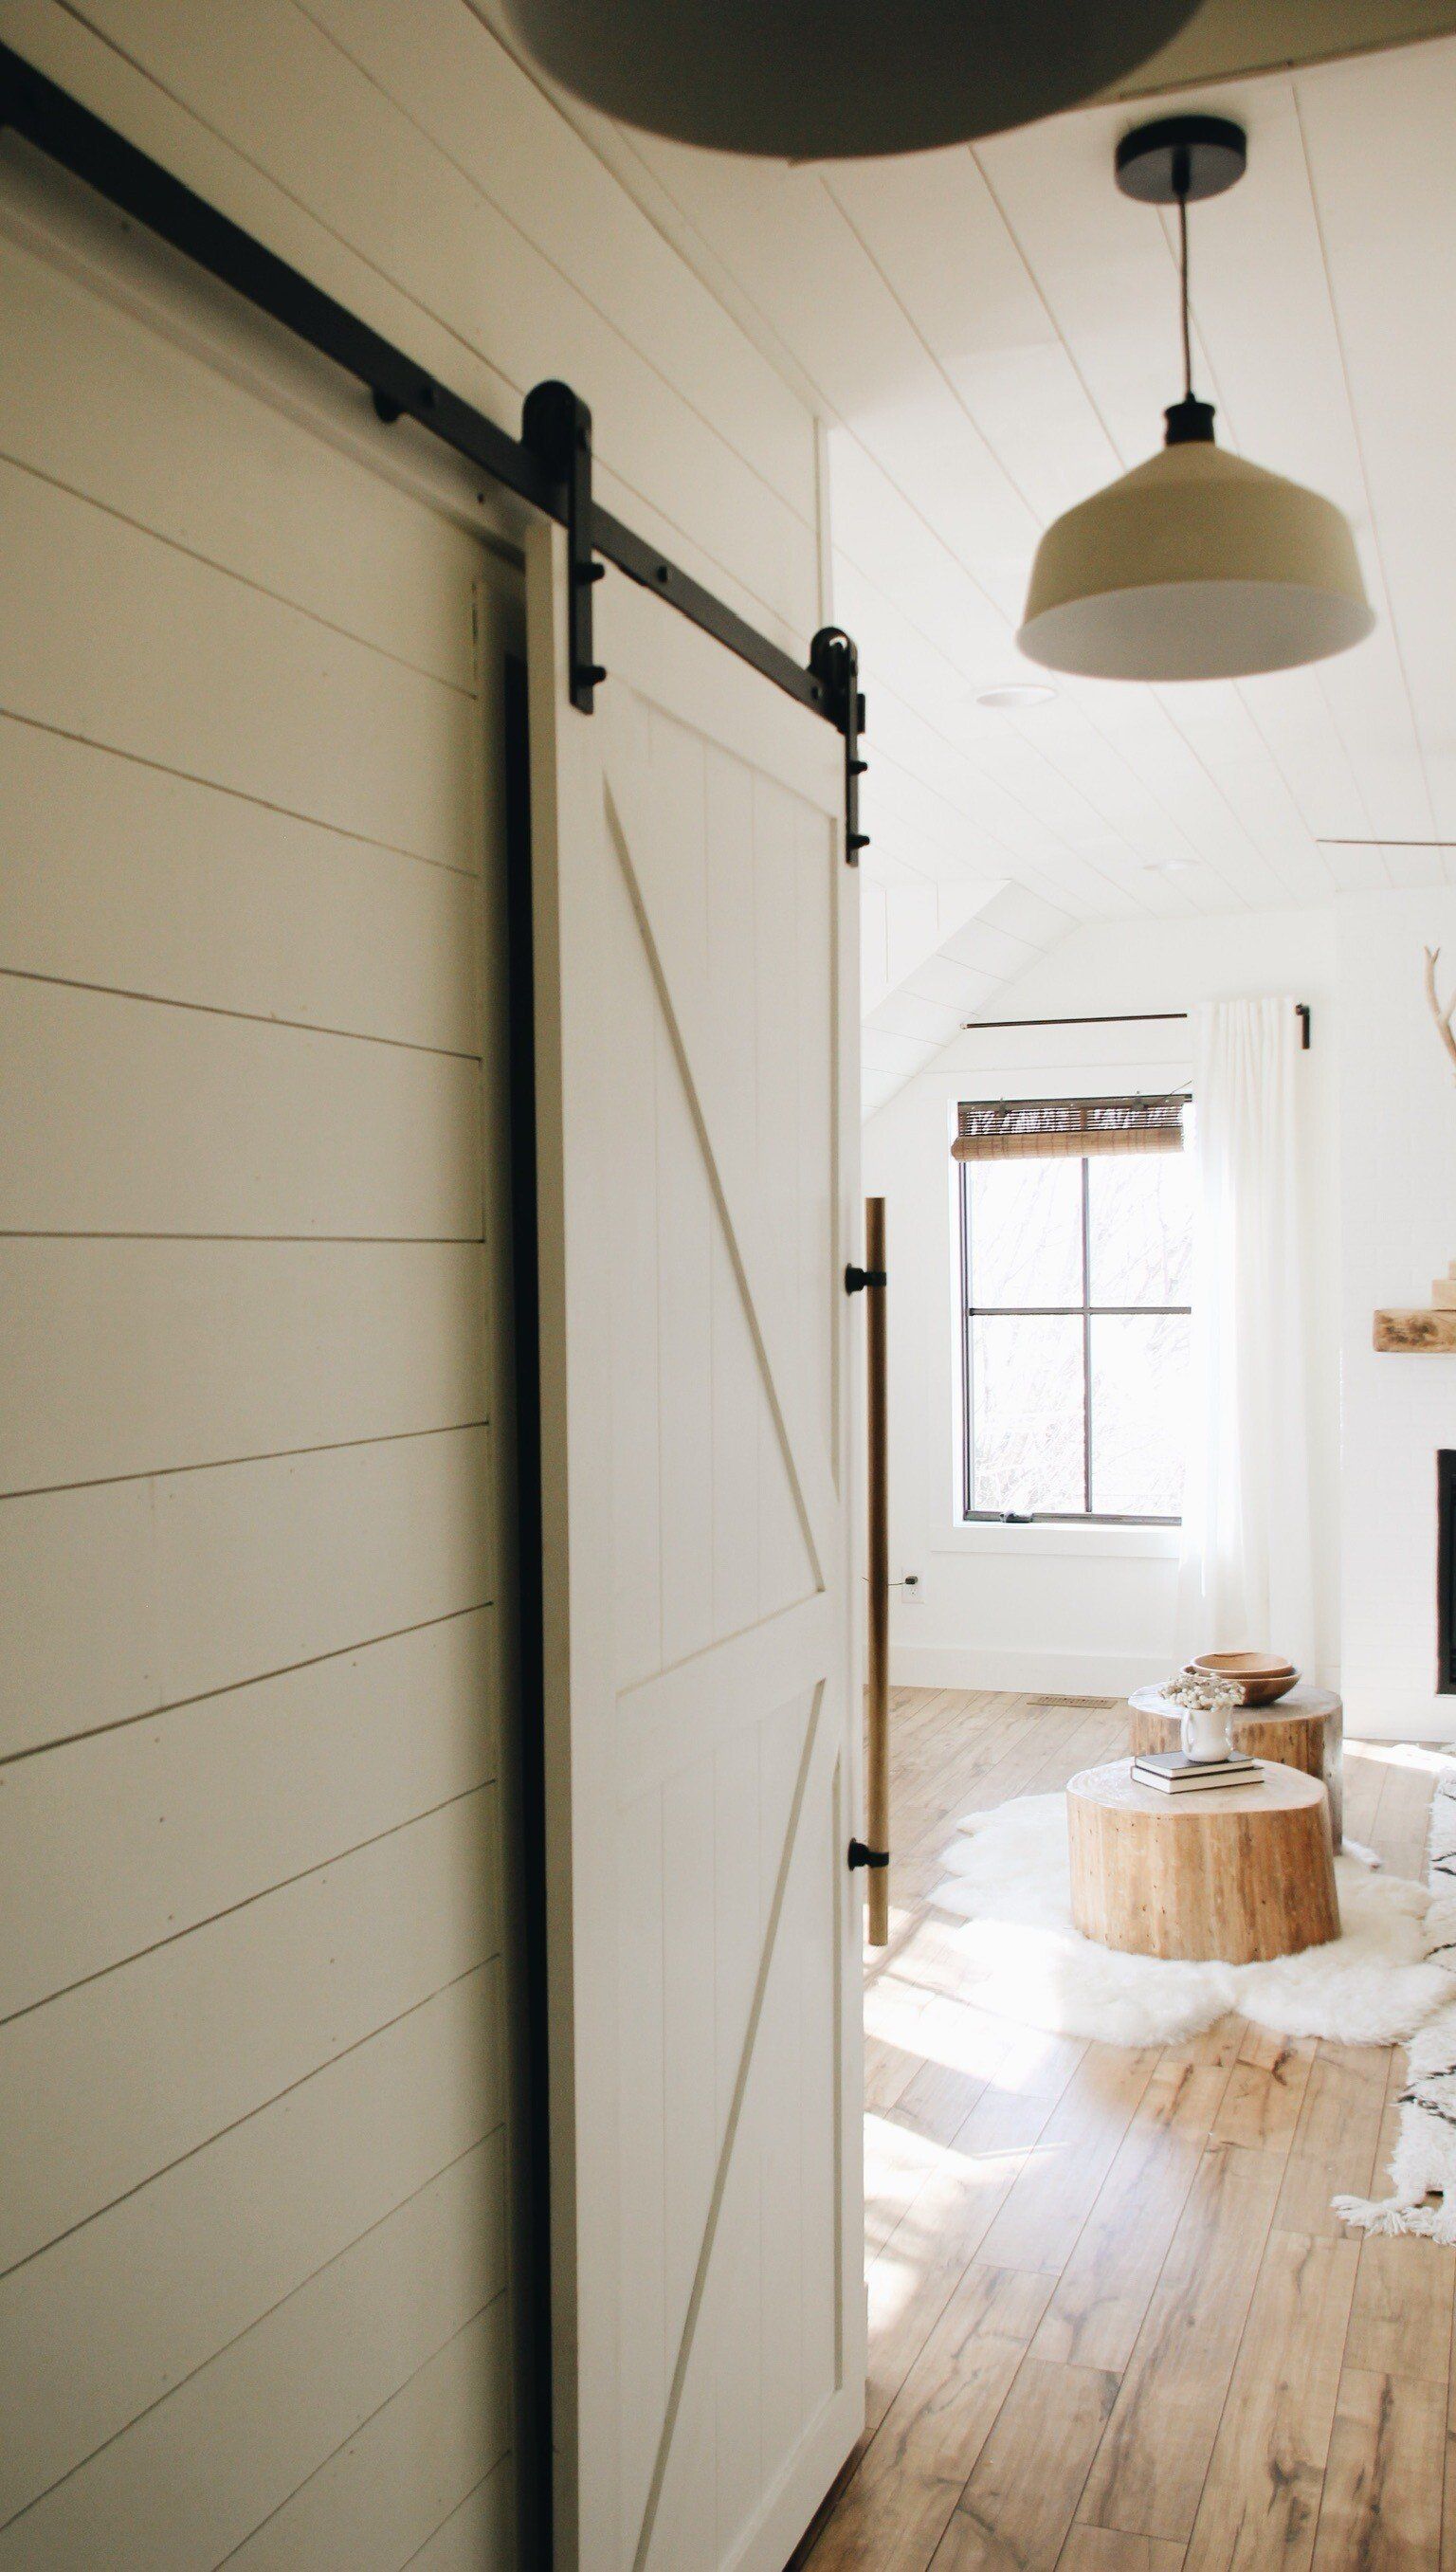
I'm in love! It's hard to capture the detail of this door, but it's good and adds so much texture! I was debating before I started this process of taking down the vertical shiplap, and after I finished this door, I decided I will be taking it down. It's competing too much and I think the door will be a showstopper if the walls are plain. I also just got the prettiest lights to go in this hallway, so stay tuned for the full reveal!
All the little details!