DIY: Shelving
So, remember when I said before my dark dirty little secret?? My lack of organization?? Well that was one of my goals for this year and I have done a couple of things…or maybe just this one (more are in the works) to help simplify my life. You know that spot in your house that tends to accumulate junk. You know, the place that you set stuff that you don’t have a place for. Yeah, I accumulate a lot of that, and this was my spot…
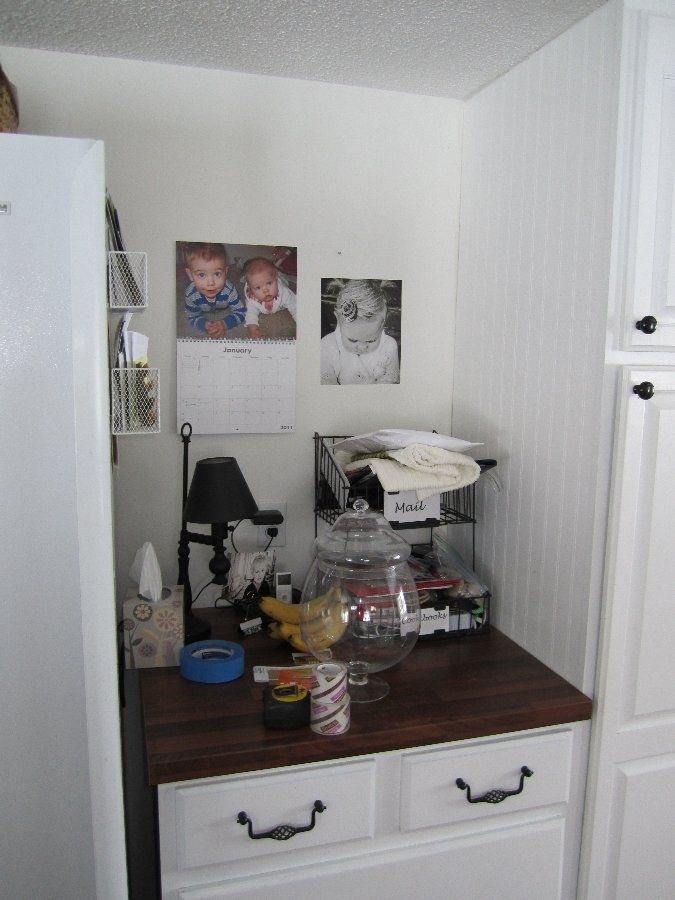
I know, seriously?? On the good days, or when company came over I would at least hide some of the stuff in my “other” problem areas…behind closed doors:)
So needless to say, this has been an area that has been haunting me since we moved in. I knew it was a fun little nook but didn’t know what to do about it. I mean, of course built-ins would be great, but those are expensive, and an unnecessary expense for both of us…so I decided on shelving.
I went on another IKEA run with a friend of mine and was on the lookout for shelves. I had seen some cute wood ones earlier but never measured or looked at price. When we got there I found out that they were $45 a piece…ouch…and the size wasn’t right. So I ended up buying some black metal brackets for $5 a piece, and a wood top for $5 a piece. Grand total for three shelves…$45. Now that I can afford.
I got home and was super excited to hang the shelves, so I started right away. I cleared the area and marked with a pencil where I wanted the height of the shelves, and then where I wanted the brackets. Definitely use a level for this part, you don’t want crooked shelves.
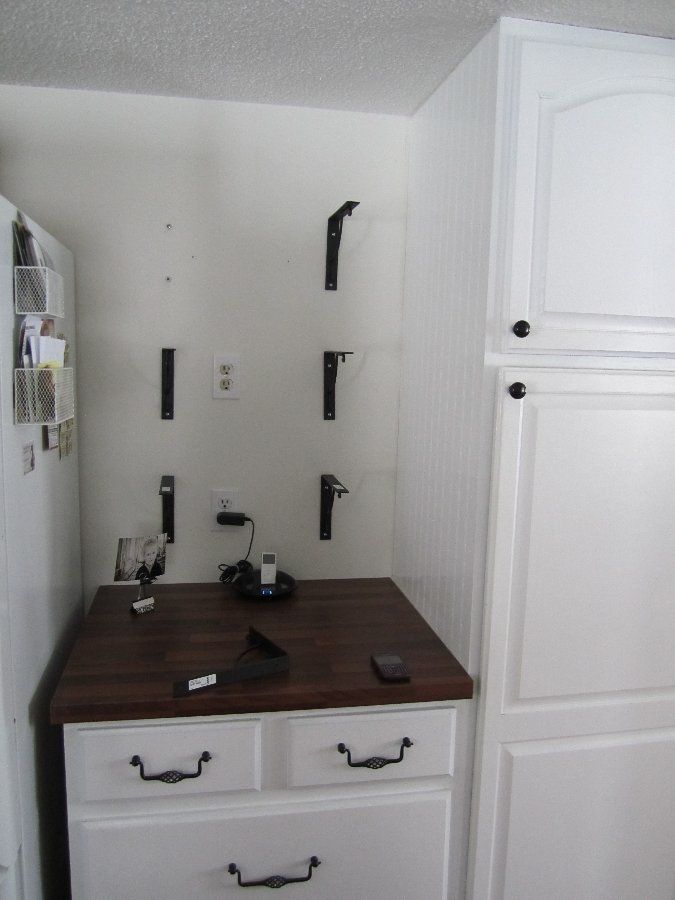
New paragraph I know I’ve said it before, but sometimes that best thing I have going for me is that I am not a perfectionist…It may not be quite as high of quality but I am never afraid to try, even if it is a little uneven:)
Oh course I ran into a problem…it can never go smooth the first time. I got all but one bracket hung and the last one I put in my anchors (you have to use these if you are putting any sort of weight on your shelf, a girls best friend:)
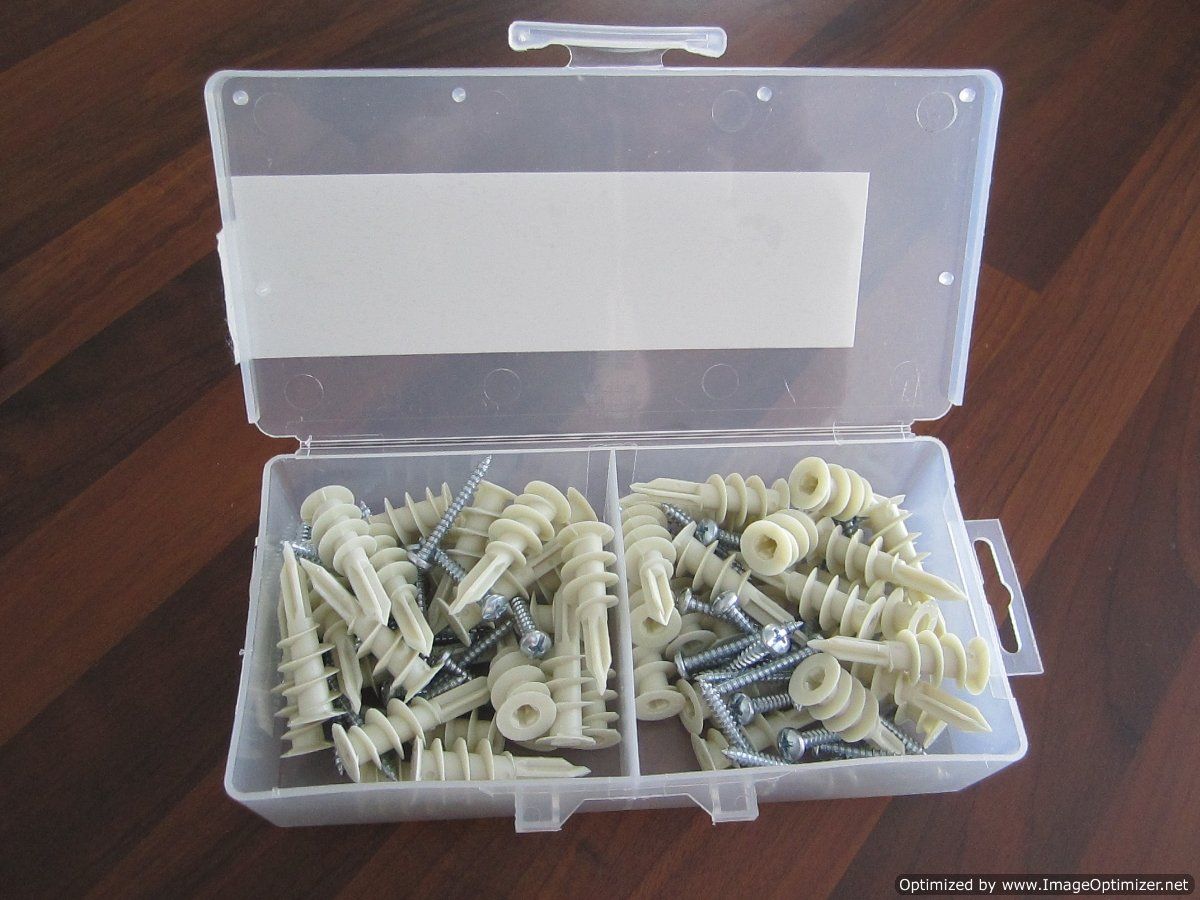
You just drill the plastic screw into the wall like a normal screw and then drill the normal screw into that. Wall-ah!!
Anyhow, when I was hanging my last one I hit a piece of duct work and stripped the wall out. Frustrating!! So, I did have to wait for Ry to get home to help me fix that problem. Also, when I bought my $5 boards, they were too long but knew that they could just be cut down to size. I happened to mention that to Ryan the same day I asked him to fix my anchor the second he stepped into the house. Did I mention I love projects:) Well, he wasn’t too keen on doing that right away, and we were heading out on a date that night…so I decided that I was going to try to do that myself. The next day I pulled out the table saw and ripped down my first boards. I was pretty proud of myself. Then I screwed them into the brackets and it looked something like this…
Also, I was going to mention…when you are decorating shelves it’s great to have some unity and groupings. You don’t want it to look too hodge podge.
I found these baskets at Ikea for $4 a piece.
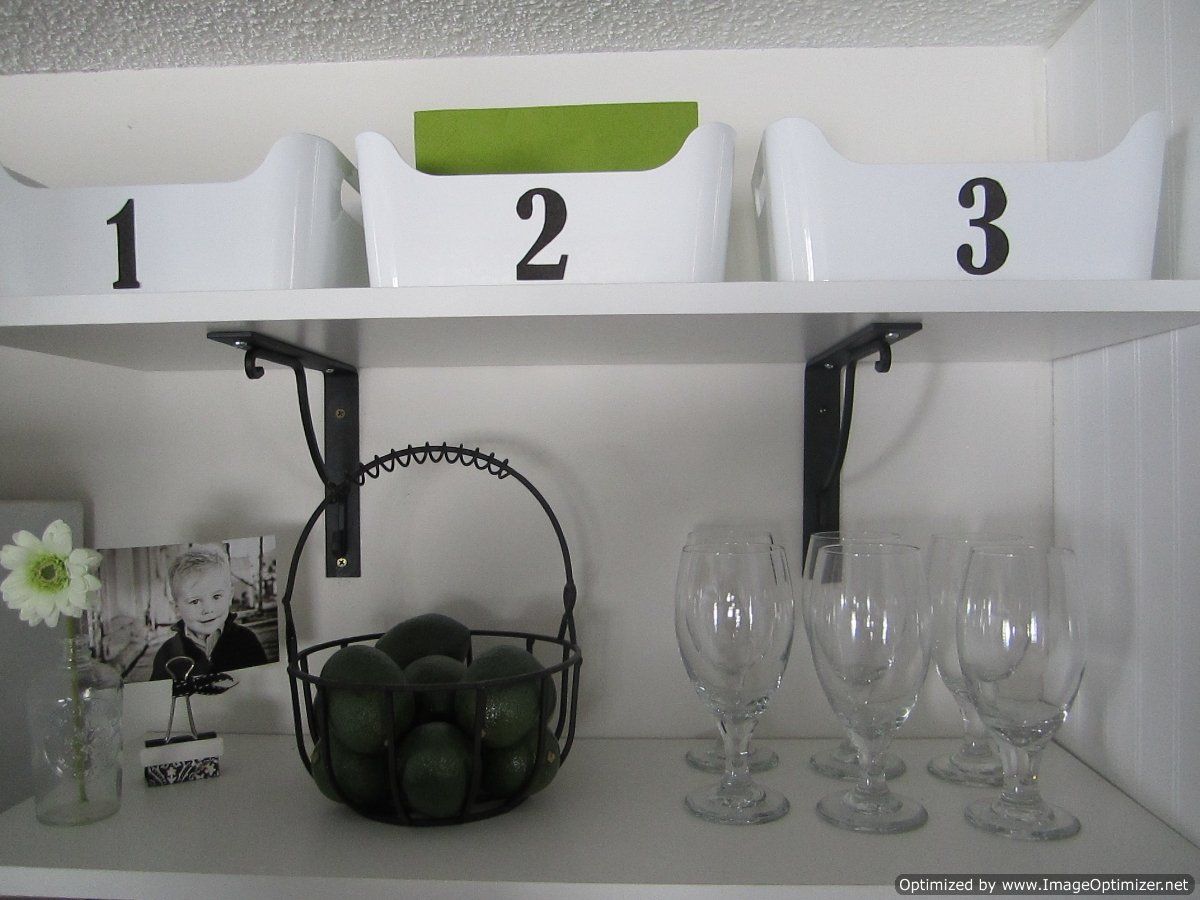
Then I just printed out some numbers, cut them out, stuck them on with double sided tape, and they look like they serve a purpose. I also grouped together glasses and coffee cups to give a cohesive look.
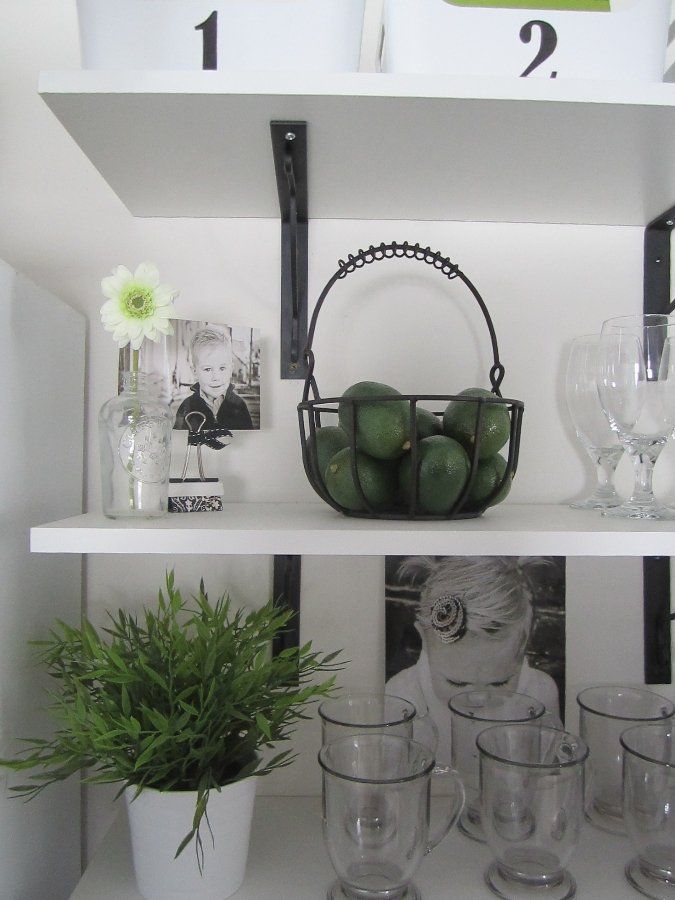
And that’s it! Not bad for $45 and some change to have an organized and useful space. Yes, I actually use those coffee cups and glasses that are sitting on the shelf! I hope this helps to motivate you to clean up one of your drop zone areas:) I only have a couple..several…whose kidding, LOTS to go!
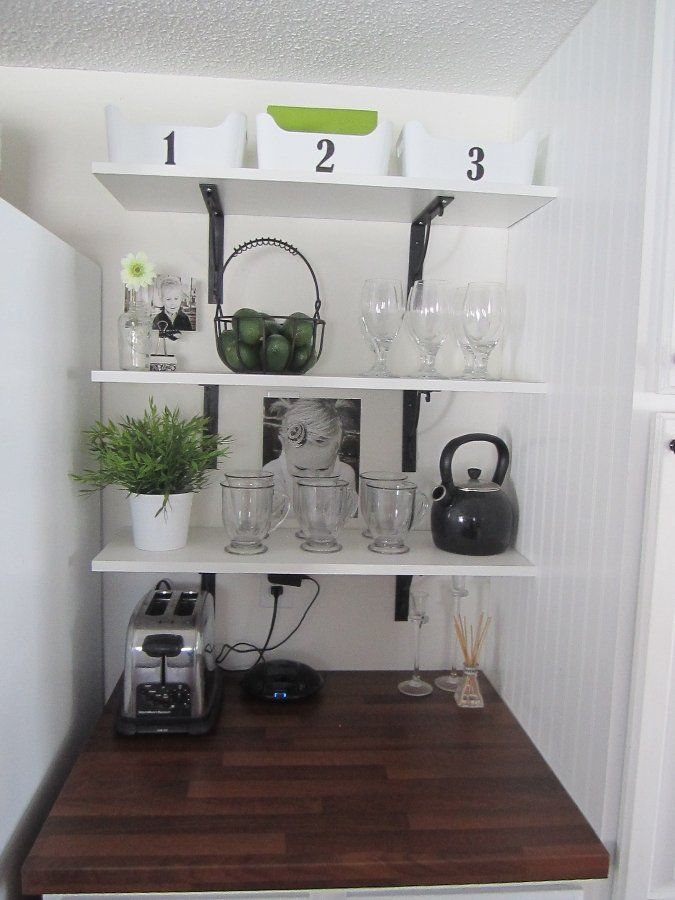
I think that looks a little more pulled together than before. I do want to get a smart station for our i-pods and phones..someday:)

