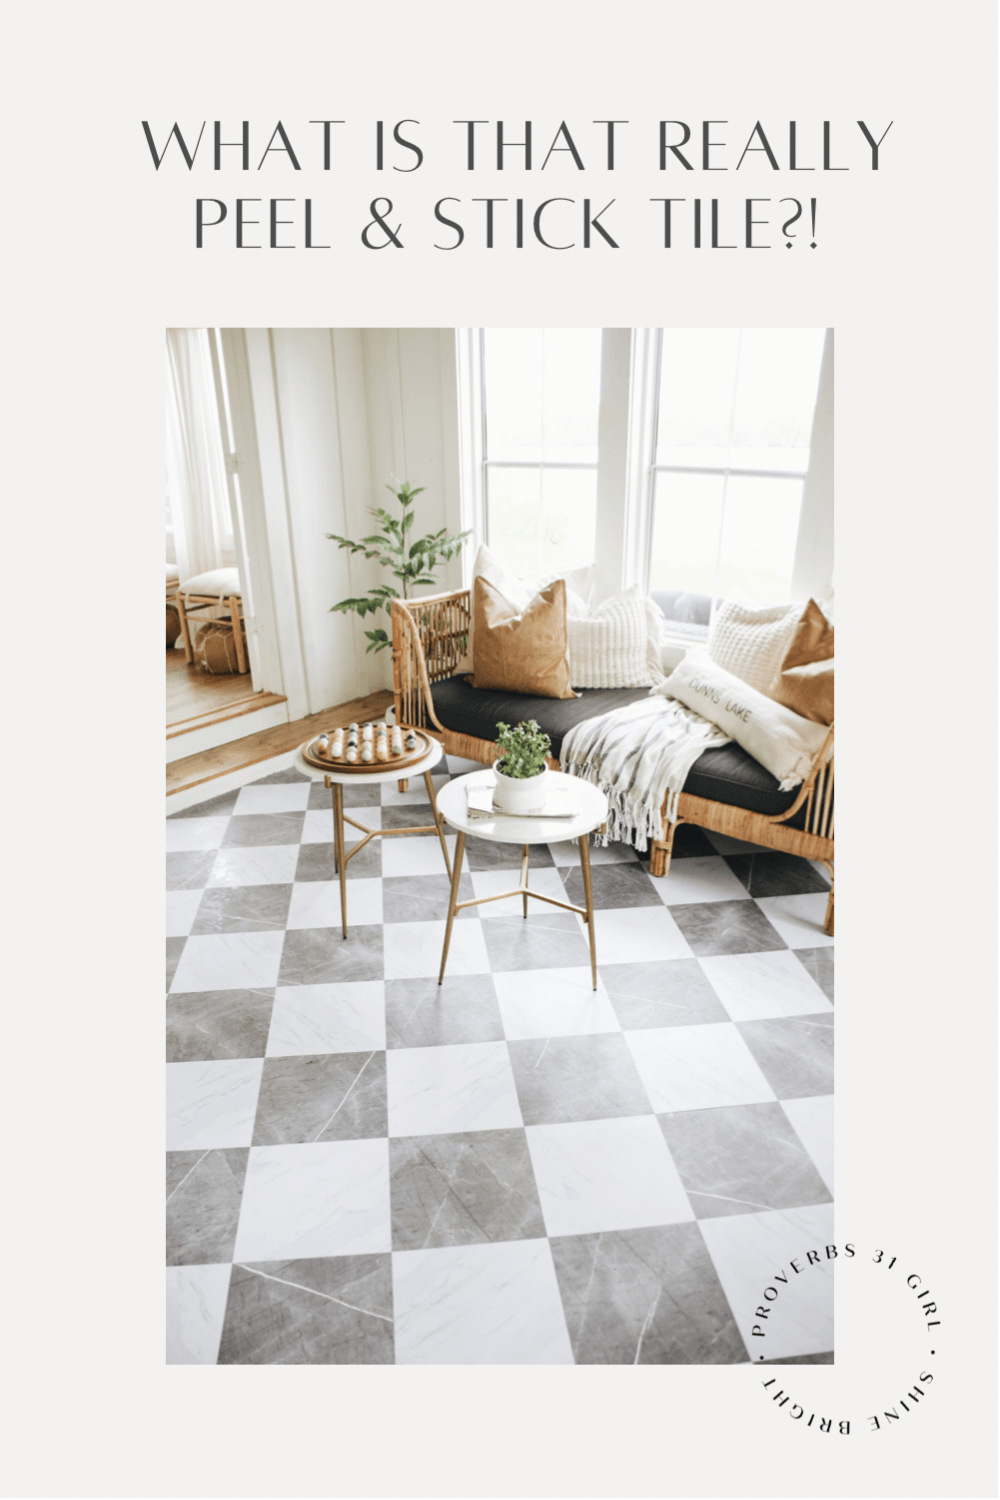
What, it is really Peel and Stick ? THE CABIN PORCH BEFORE & AFTER
Cabin Porch Reveal!
Woah isn't that pretty!!!
Okay but first a little back story - I don't think I've ever officially shared this porch space before.
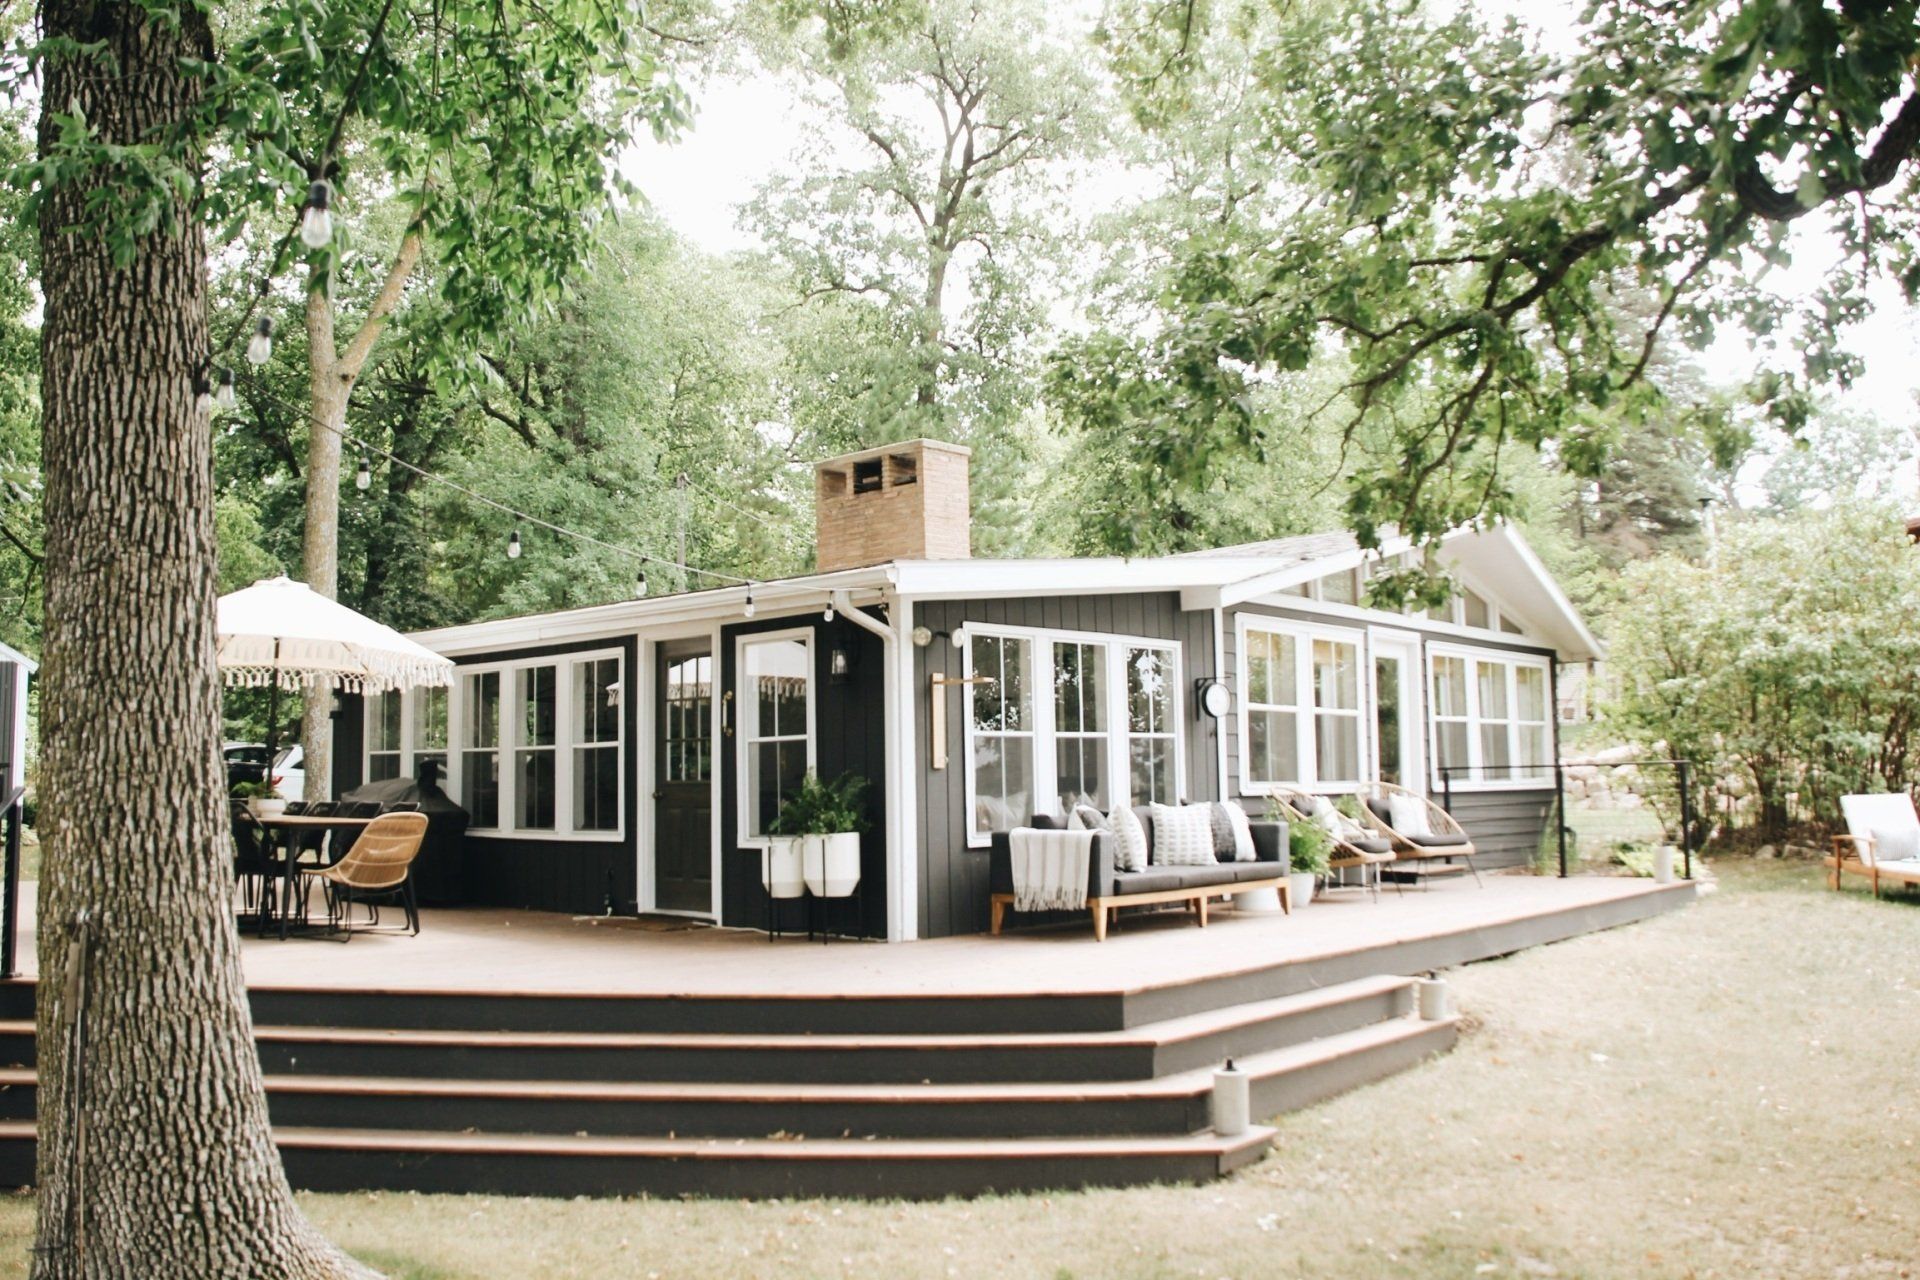
This is the large porch we have out at our cabin 6 miles from our home..
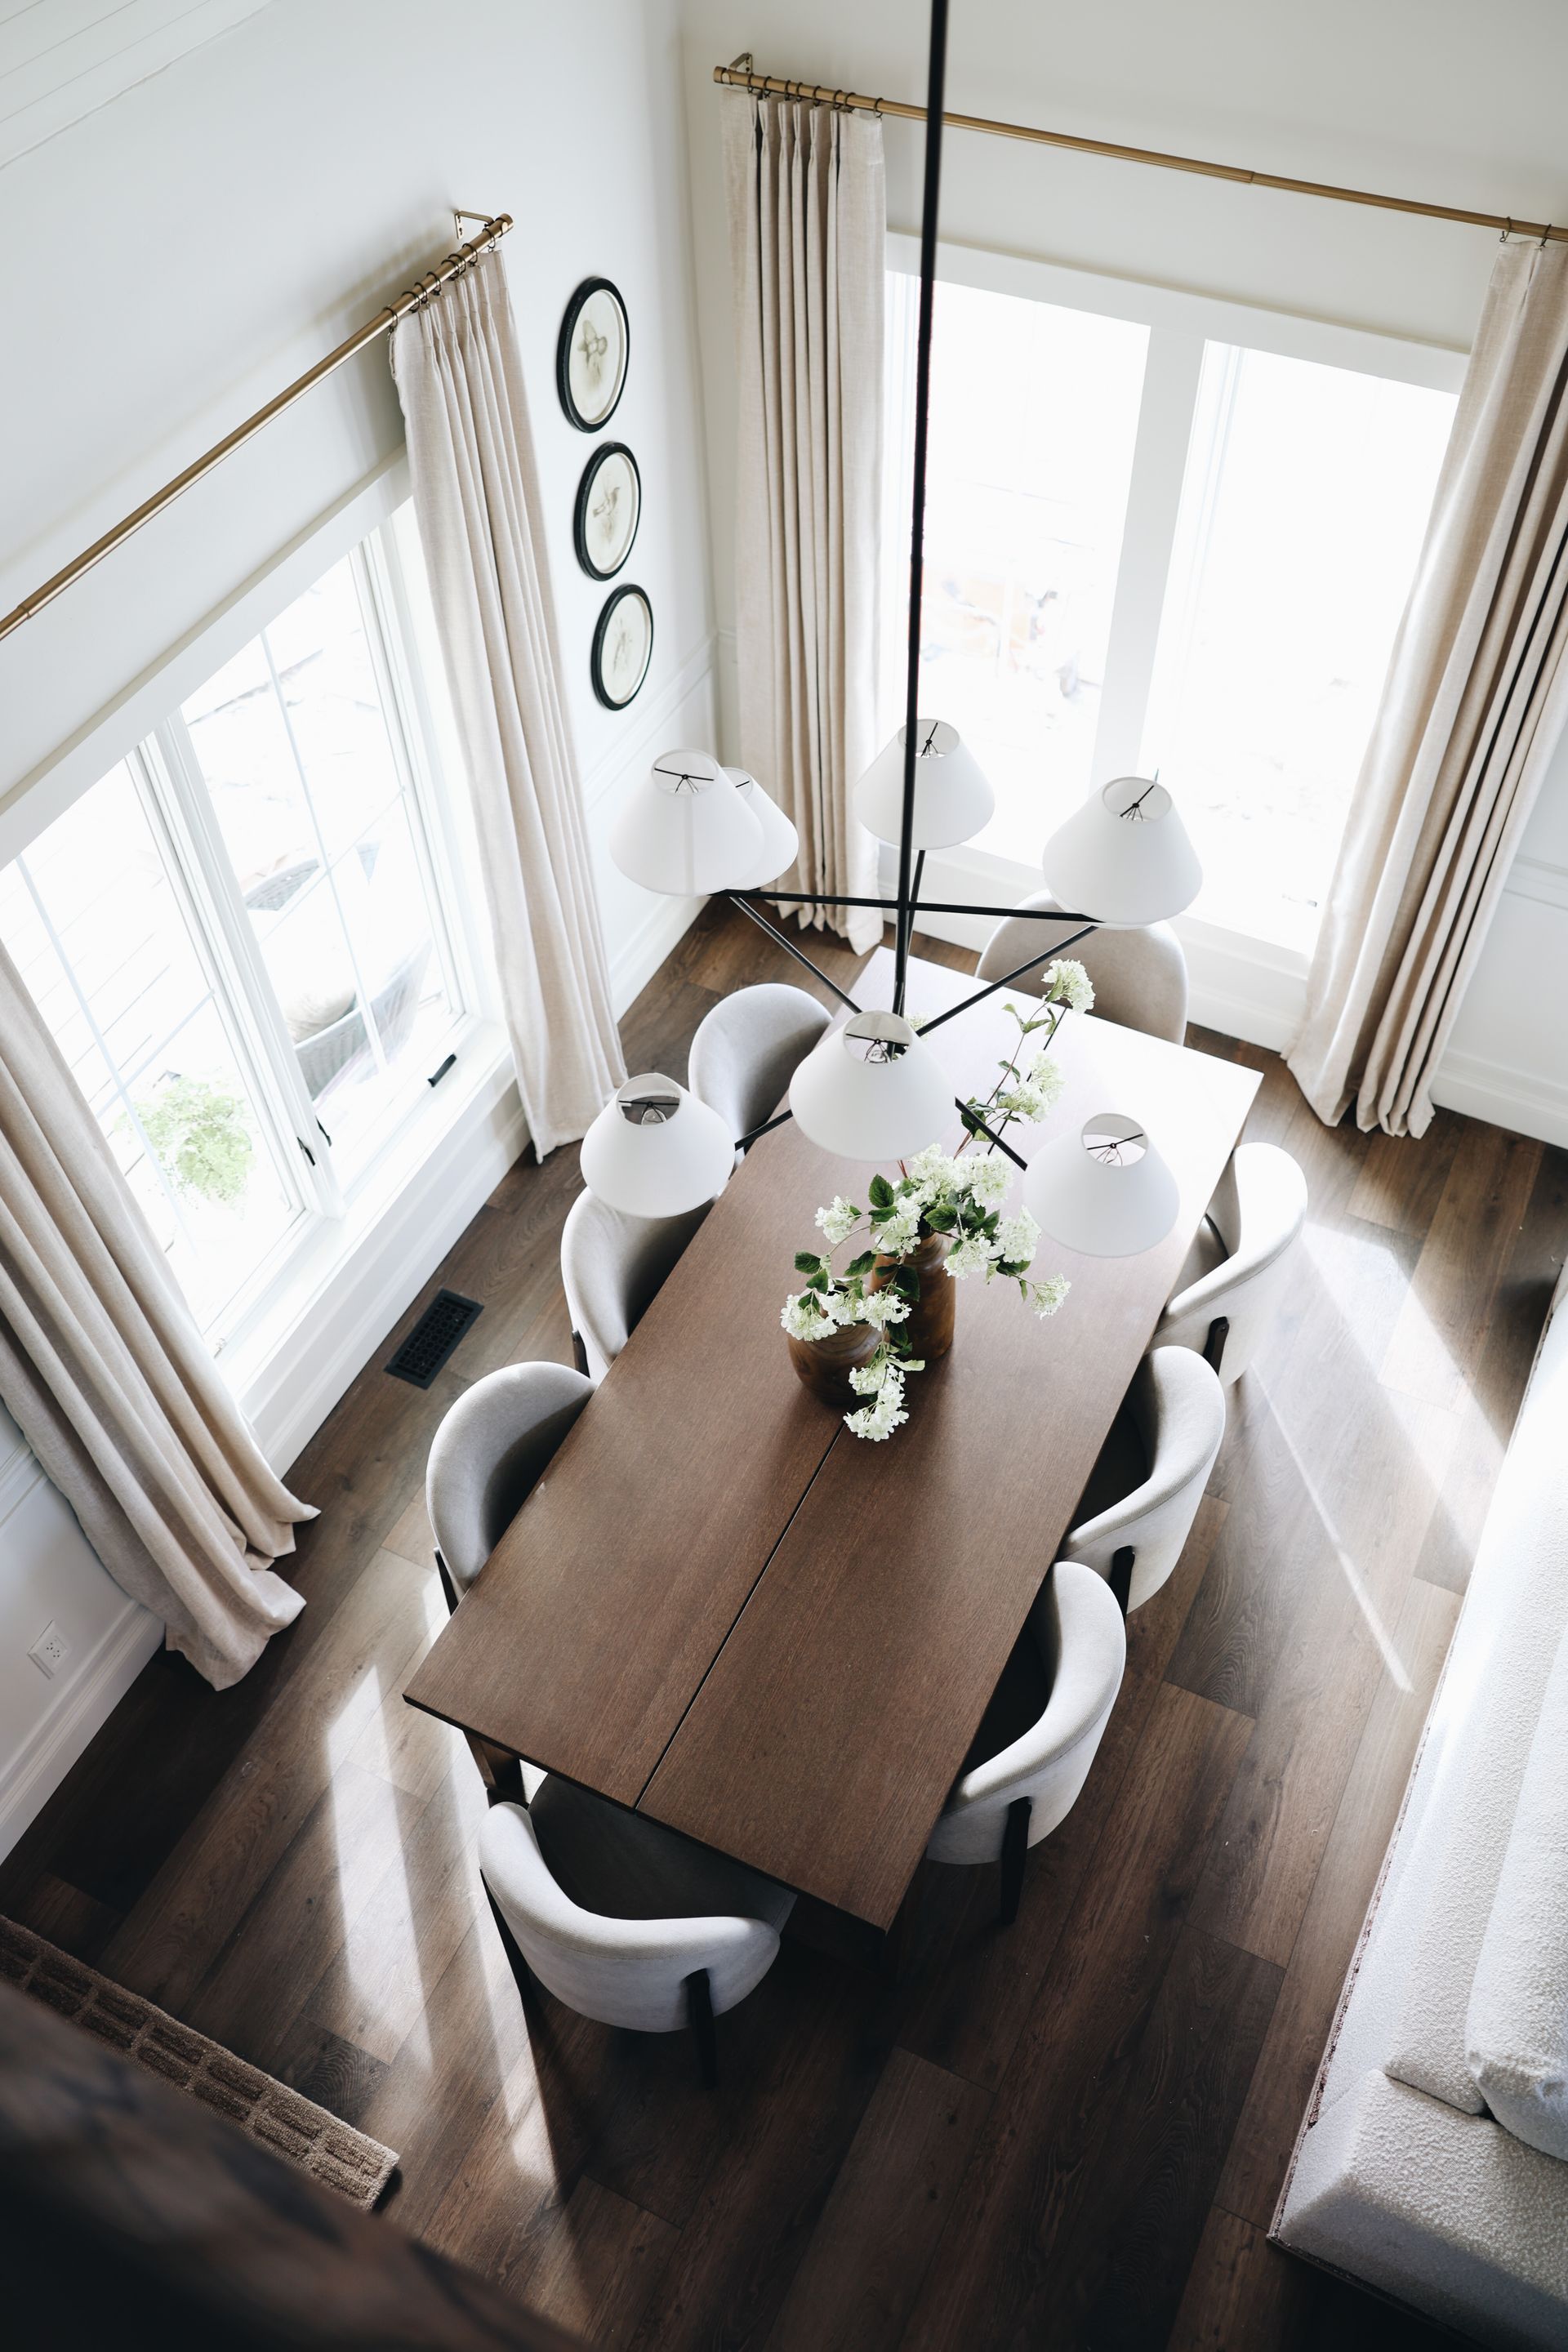
When we purchased the cabin the whole layout of it changed as we knew we would do that before buying to be more functional for our family. We wanted to turn this space into additional living/overlow with 2 different areas, a daybed area on one end and then the other side a big dining table with a little nook with a fridge and counter space for serving food. The bar area has been a game changer to make it a lot easier when hosting. We no longer need to have sandy toes coming all the way into the kitchen to dish up, we now bring out the food out to the porch.
For today I want to show you this side!!
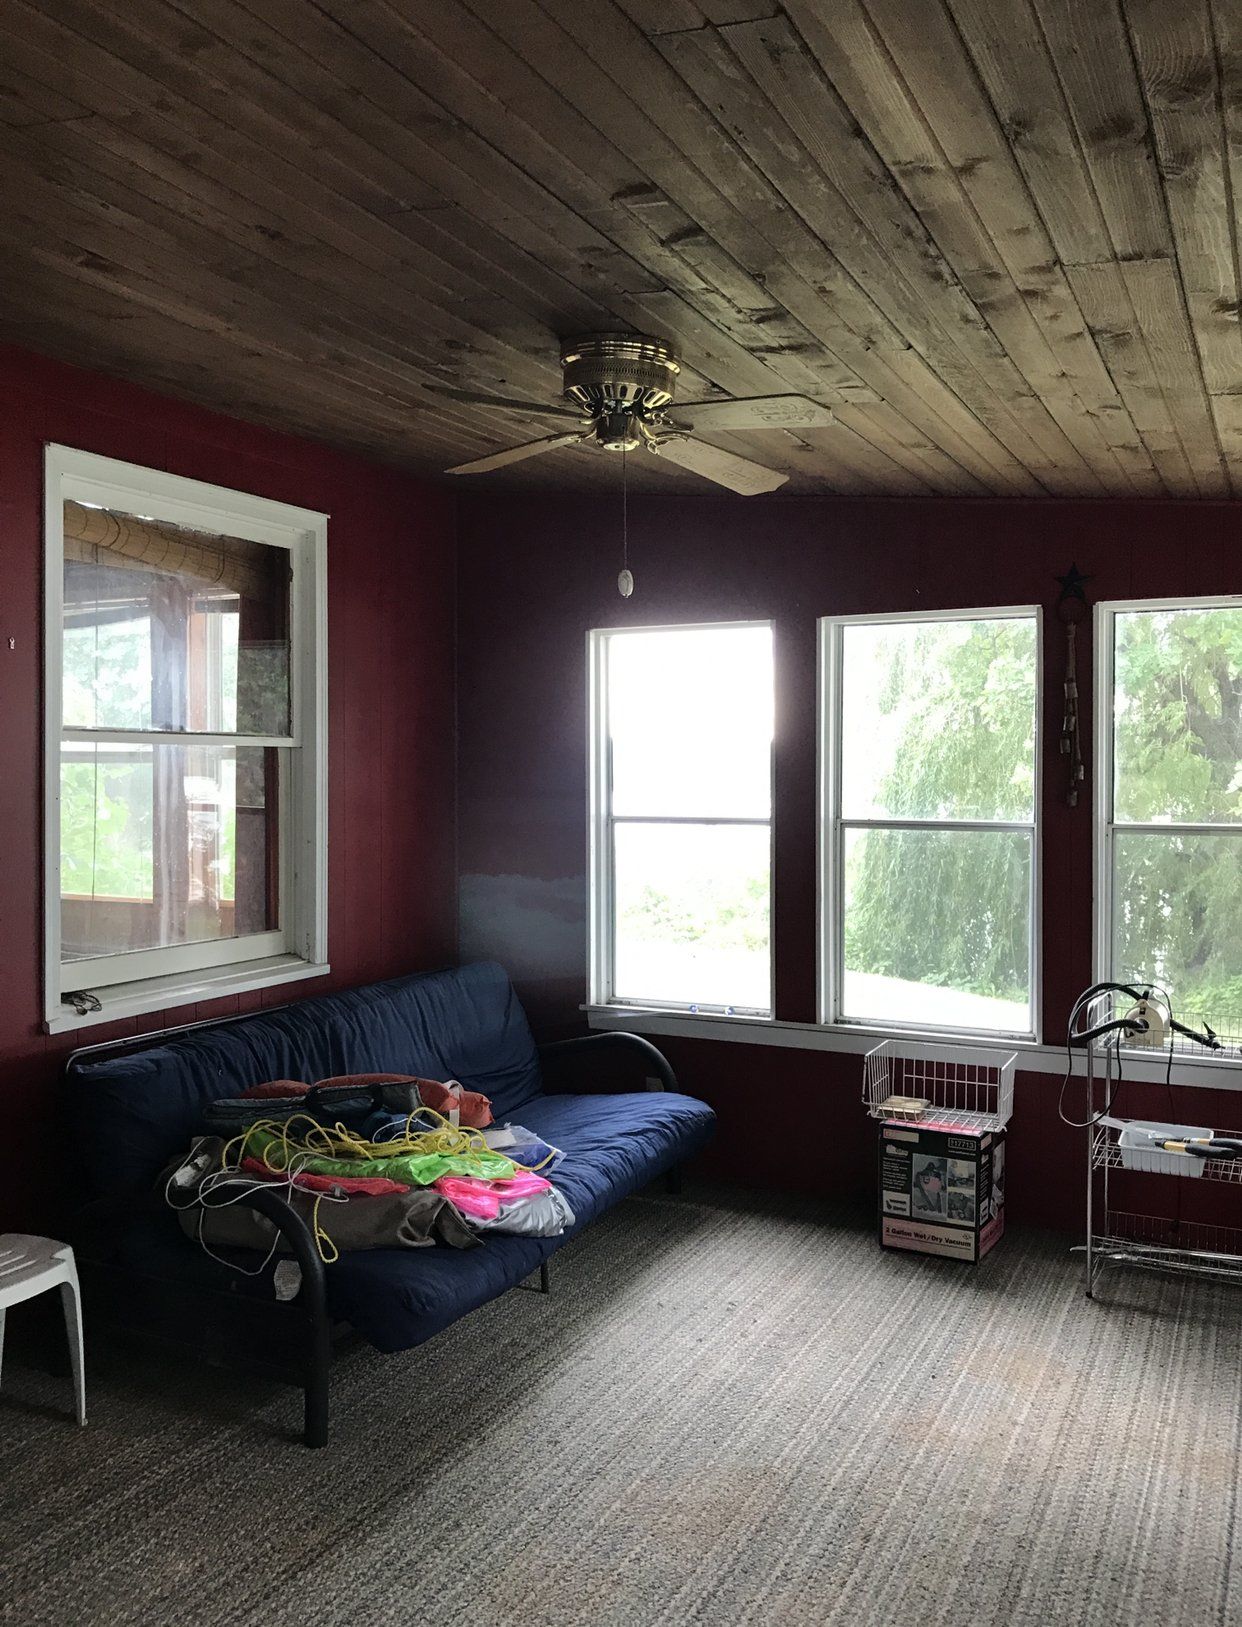
Before


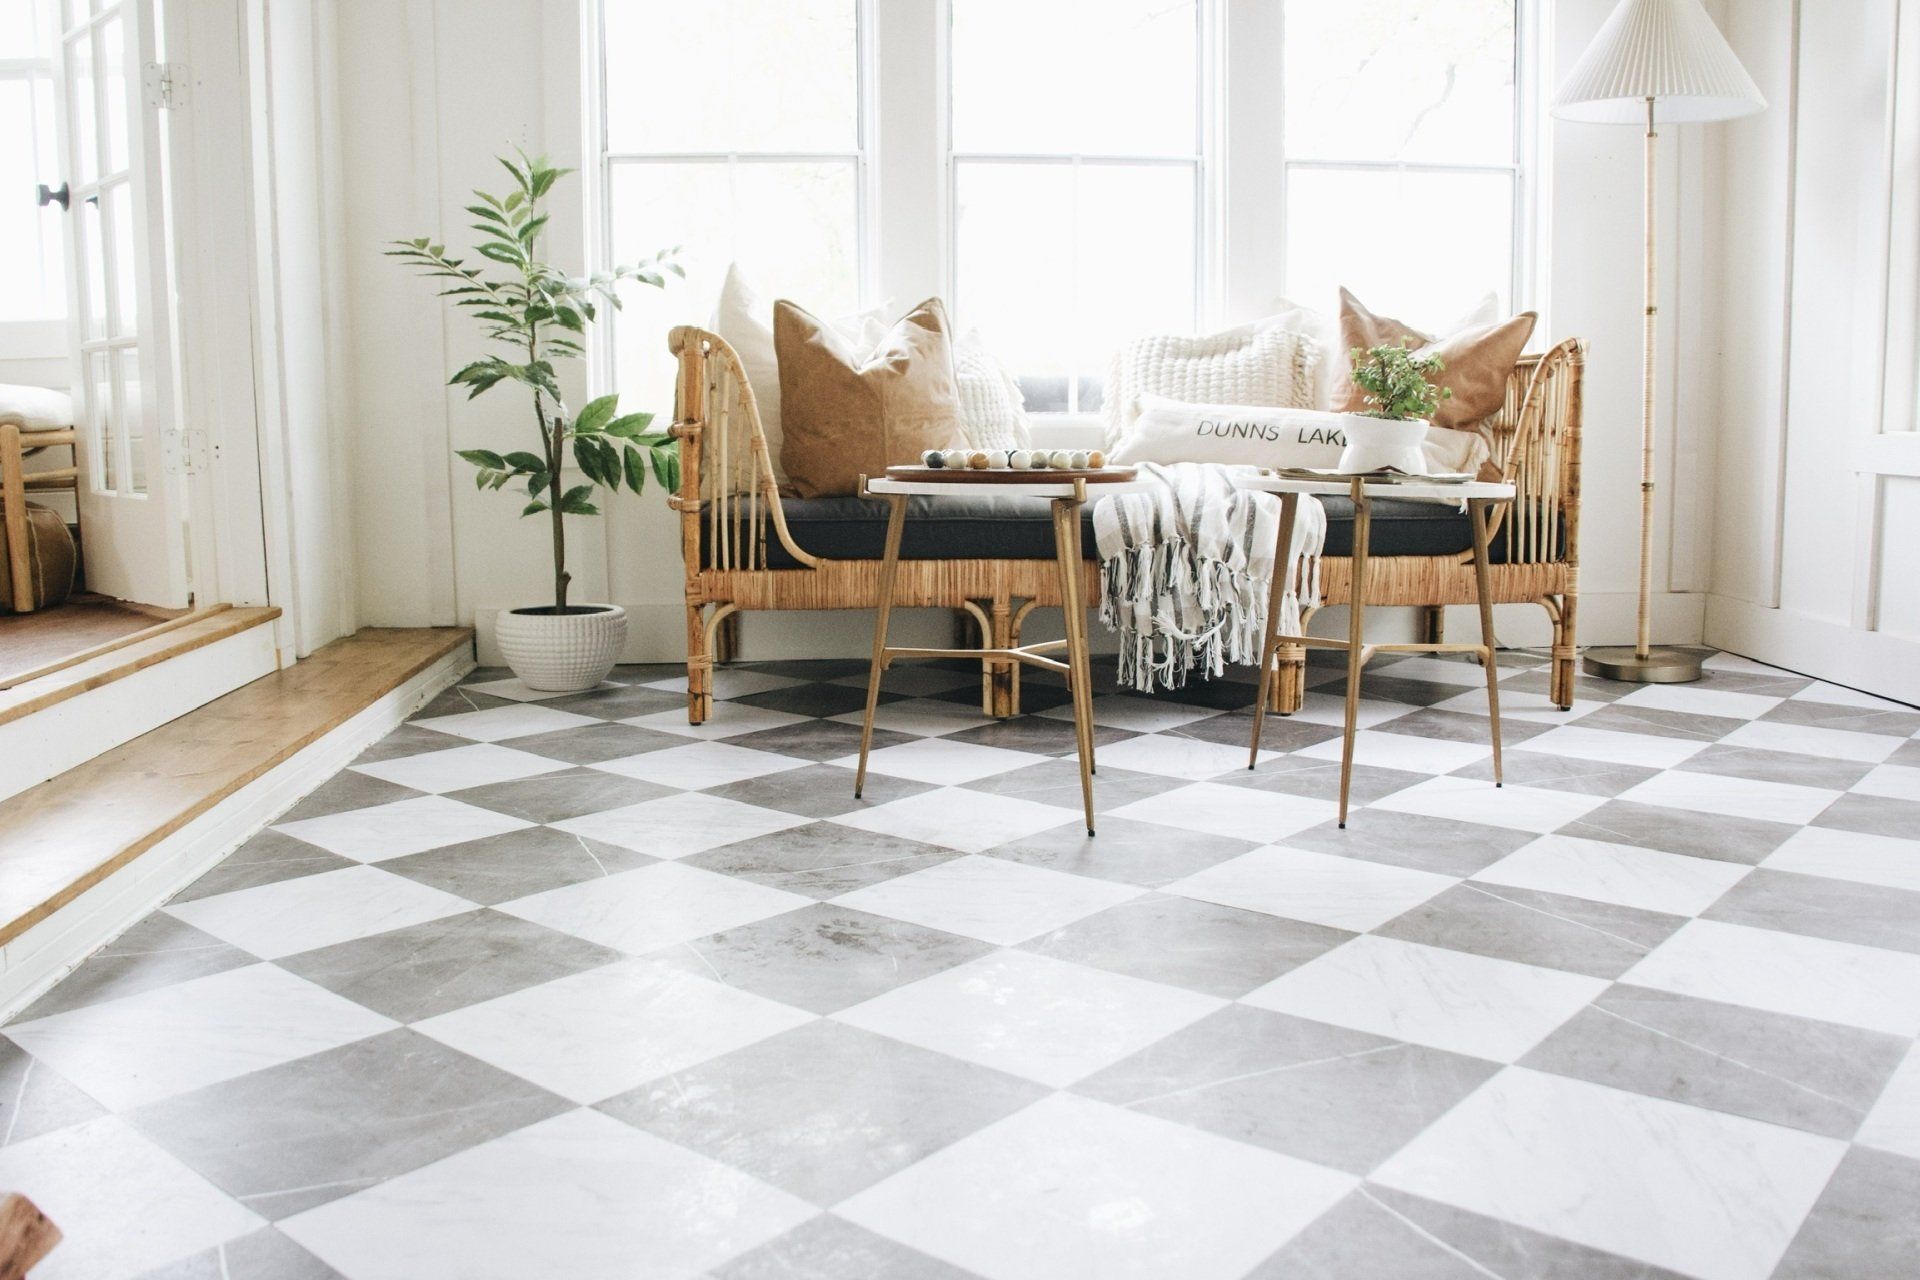
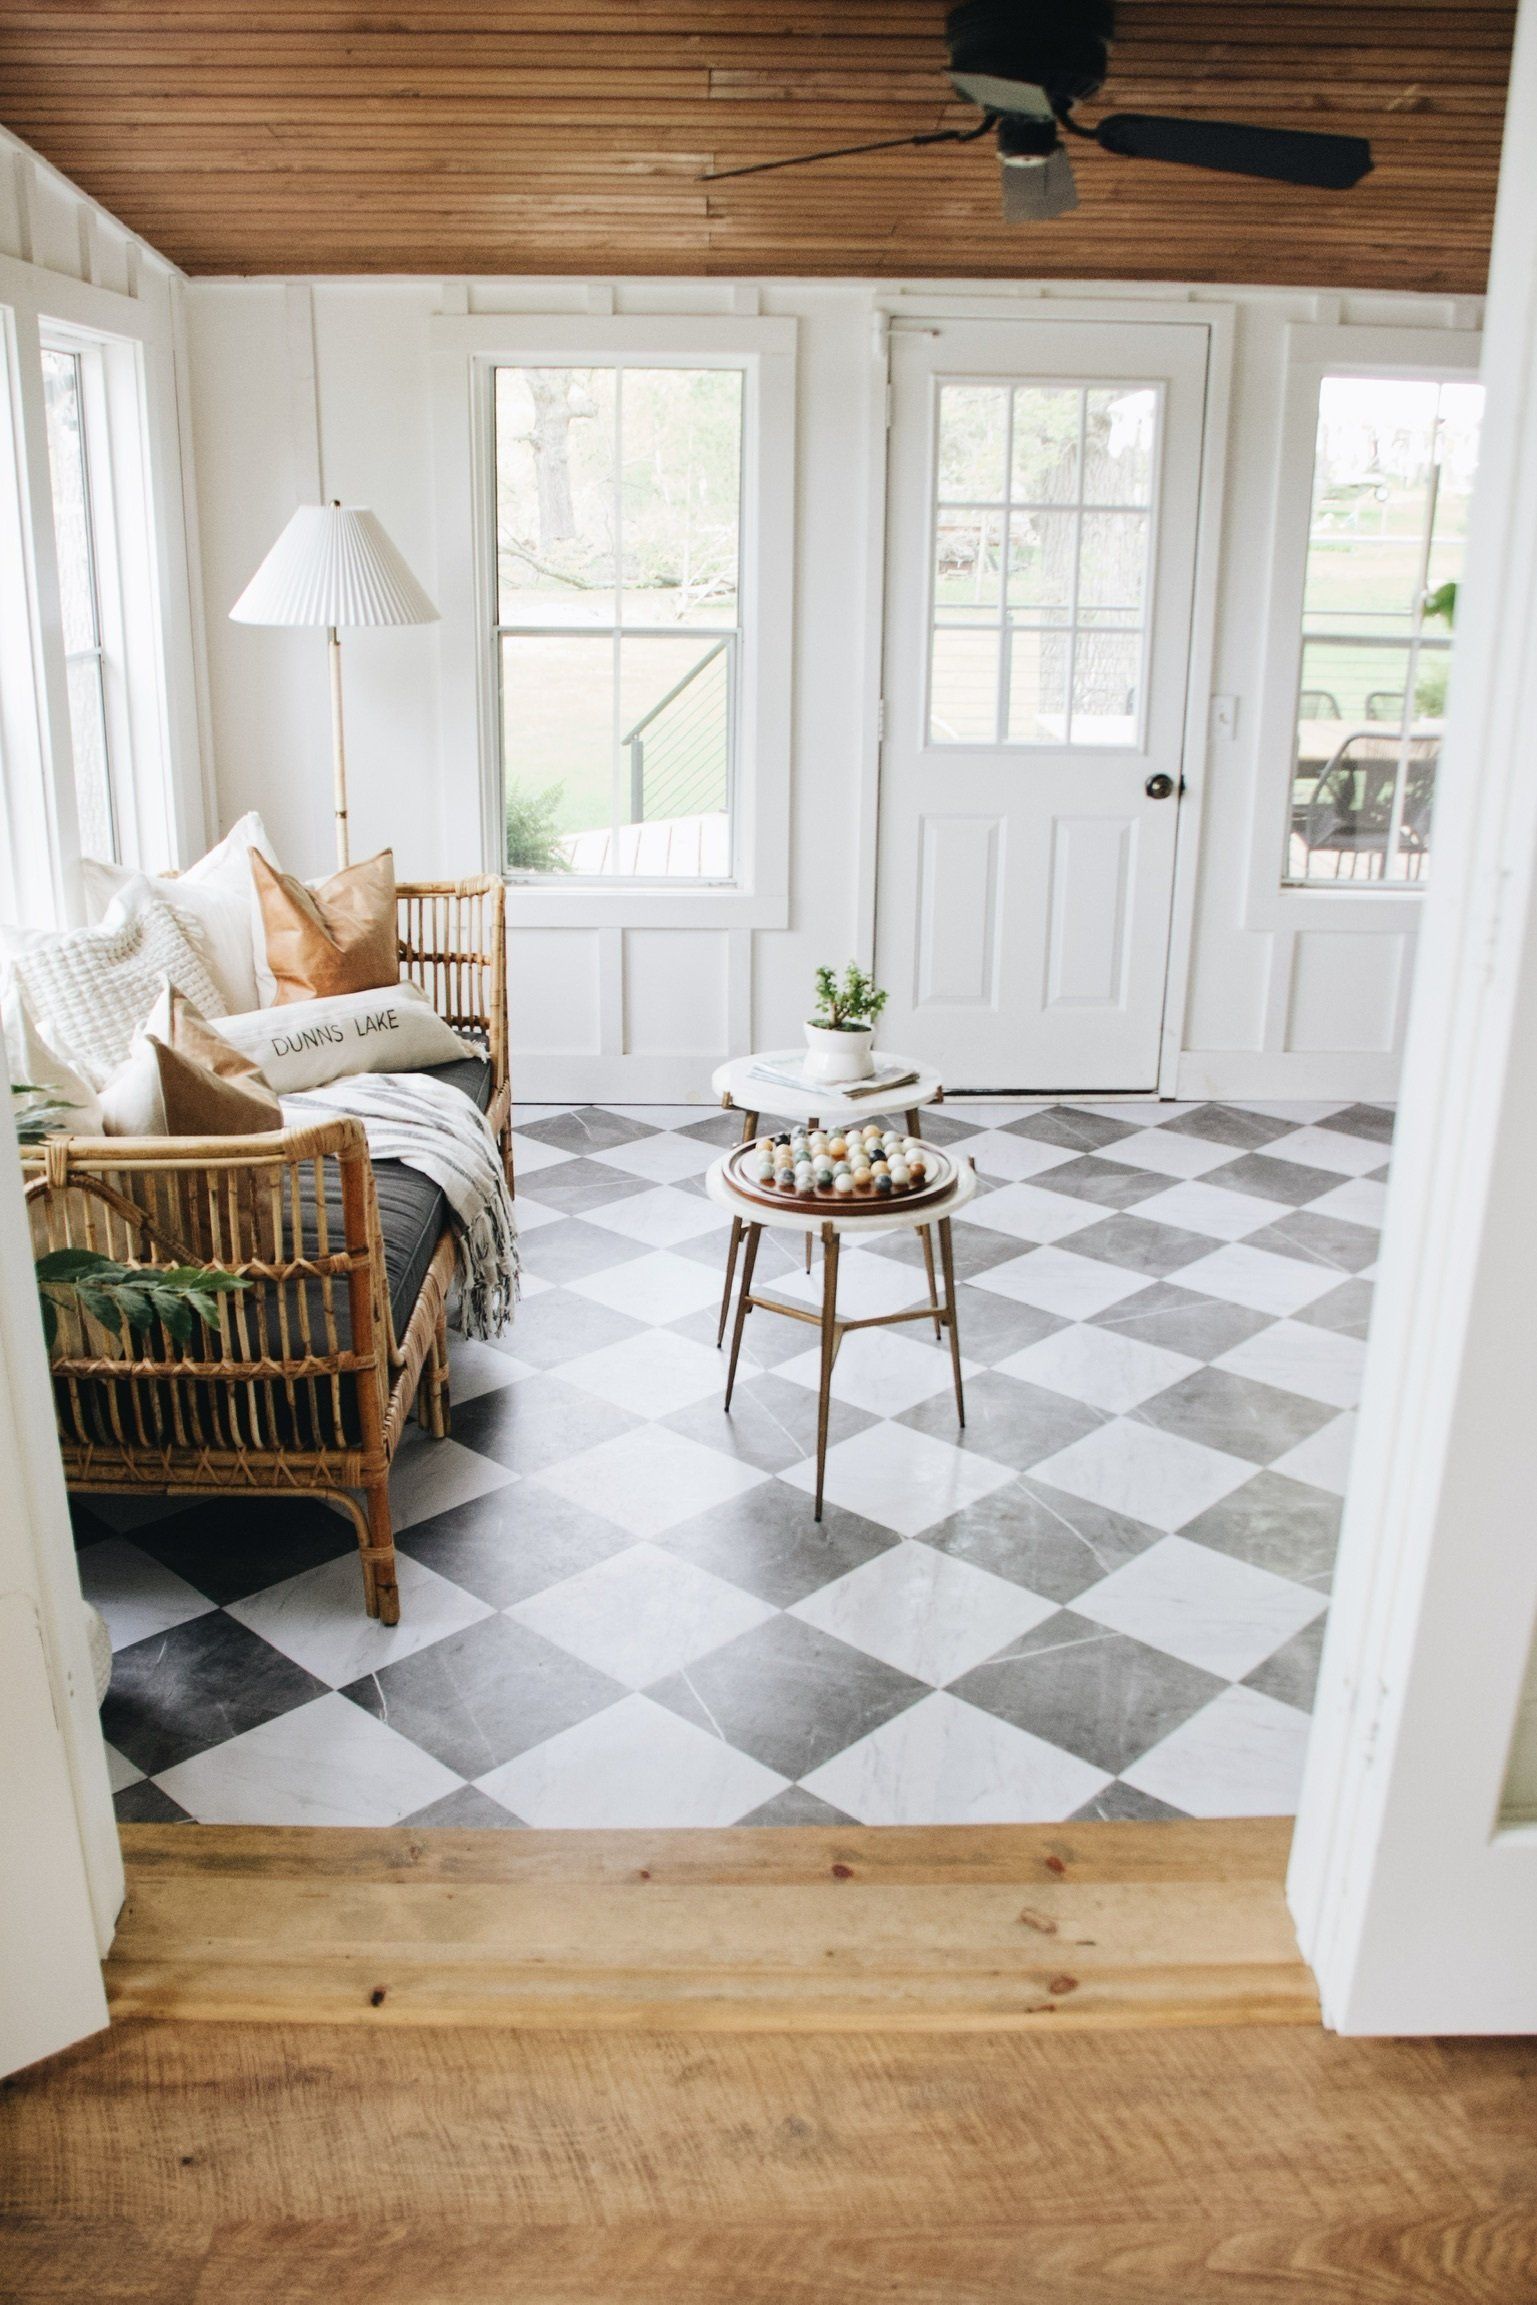
Here is the Before. Let's just say long story short - Where that blue futon is we took that window out above and added a glass French door opening to keep it feeling cohesive but also having the ability to close it off it needed. Which I am so happy we did because it brings in even more natural light.
That is now how you enter into the living room in the cabin that leads to the rest of the interior of the cabin space.
The doorway used to be on the other side of the porch, but now is so much more functional and much more open concept which is exactly what we needed for this little cabin! We also wanted to close off that doorway so we could add a tv on the other side of the wall. We were struggling to find enough wall space and that was the perfect solution!
This was honestly the only bigger expense we made for this space. And we even found the French door at a builder's outlet store for a fraction of the price. The rest of the makeover was mostly cosmetic with a lot of DIY hack that kept the budget super low. Today I'm going to share the 3 main DIY's that made this designer look on a teeny tiny budget that anyone could do!
After

#1 Peel & Stick
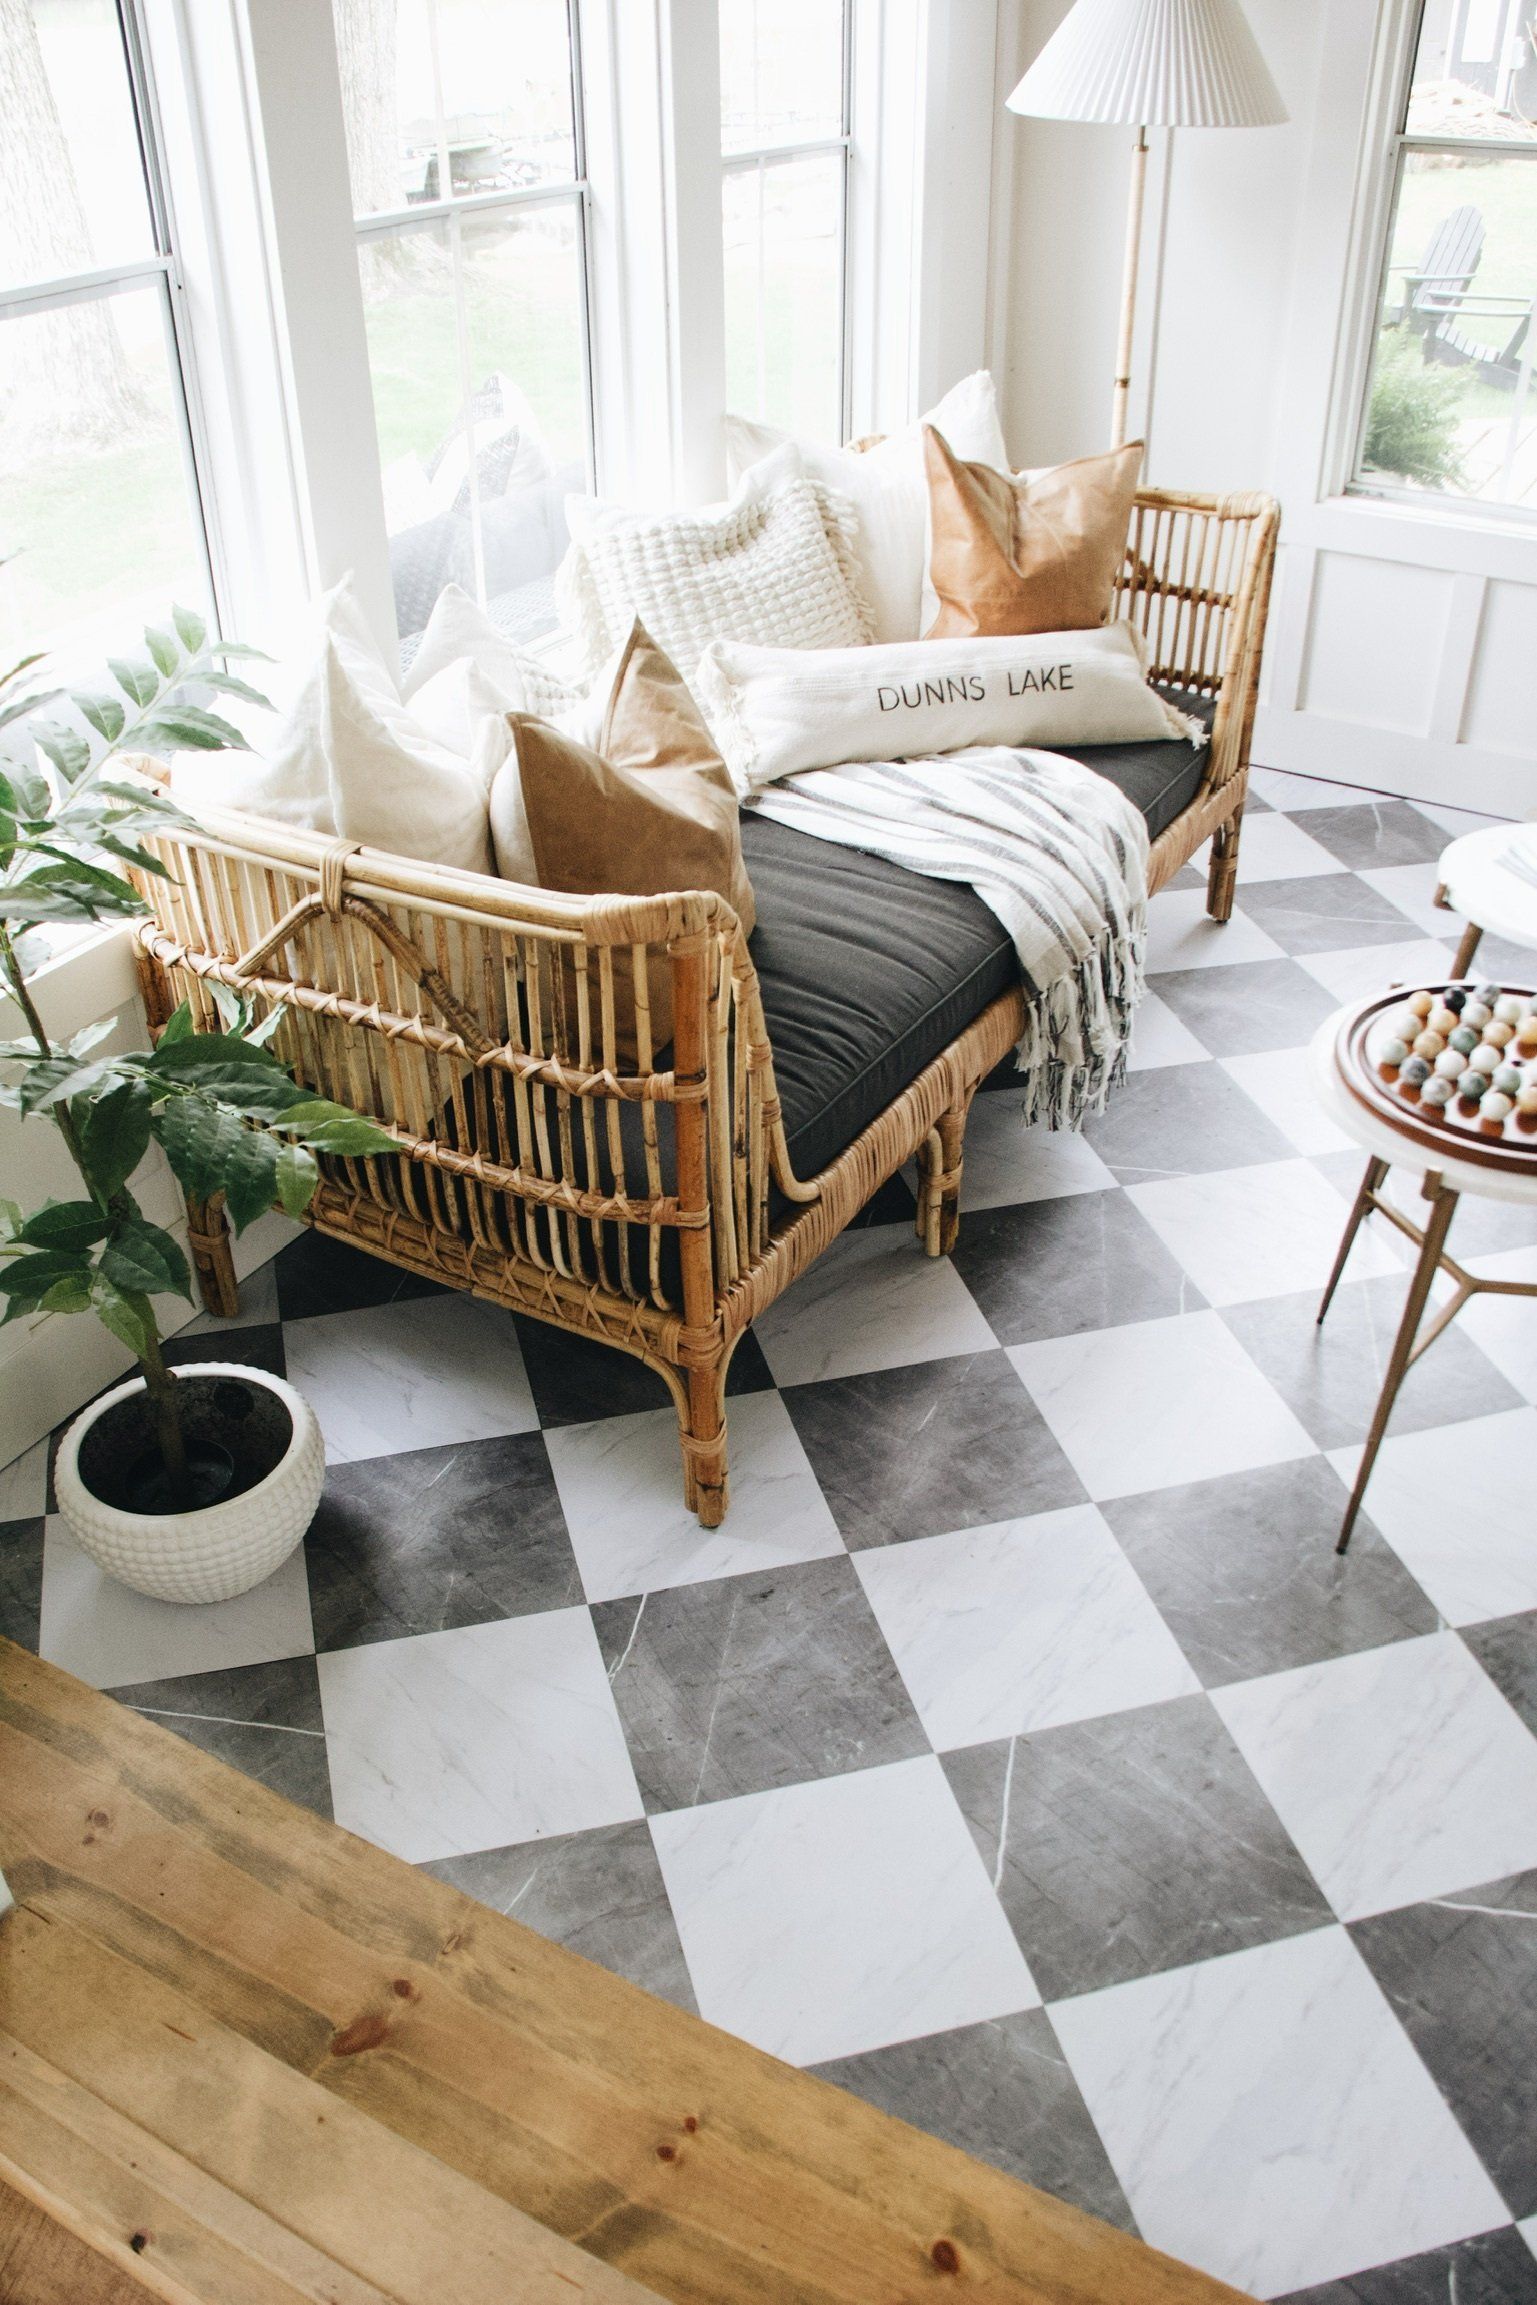
This the first look of the space after the remodel was complete. On the right is the original after and on the left is after I just comppleted my latest peel and stick project. We did vinyl peel and stick the first round which served us well for the first 4 years of the cabin. But as time went on a found that the grout was very hard to keep clean with all of the traffic that comes in and out of this walkway and porch area. So I was keeping my eyes open for a possible new flooring option...
When I saw Chris Loves Julia on Instagram post about the Floor Pops she did in a room in her home, I was in love instantly.
How in the world could this be Peel and Stick. When I saw it I knew right then I wanted that tile for this room.
It would be just perfect and bring so much more character to the space.
So, I waited for her collab to go live, and I grabbed them ASAP!! Thankfully I was able to get some before they sold out.
I was a little nervous I'd miss it, but I got to snagged a few of them! And if you follow along in stories, you'll notice all summer I only had half of the porch done because I completely miss calculated and didn't buy nearly enough. I had to wait 3 months for a restock and finally was just now able to finish the whole room.
I knew Ryan was going to be away for a weekend coming up and I had this project in mind for while he was gone. I enjoy quick projects like this that I can do by myself that don't take a long time or a lot of work but yet make sure a big difference!
So that weekend came and away I went! It was a perfect day project. If you have ever done peel and stick before you know how easy it is.
The process I usually do is I'll lay out a few of the tiles to find the correct placement that I want. Besides it being so super easy to do (which does make it such a headache free project then)
the fun part about peel and stick Is playing around with the design that you want and figuring out what pattern or layout you love the most. I had this layout vision in my mind. You could also lay them in a square pattern instead of a diamond pattern for a completely different look!
I think one of the reasons as to why I fell in love with this look in the first place is they almost mirror (on a smaller scale of course)
the beautiful Alexander James Marble tiles I have in our mudroom that we did last summer.
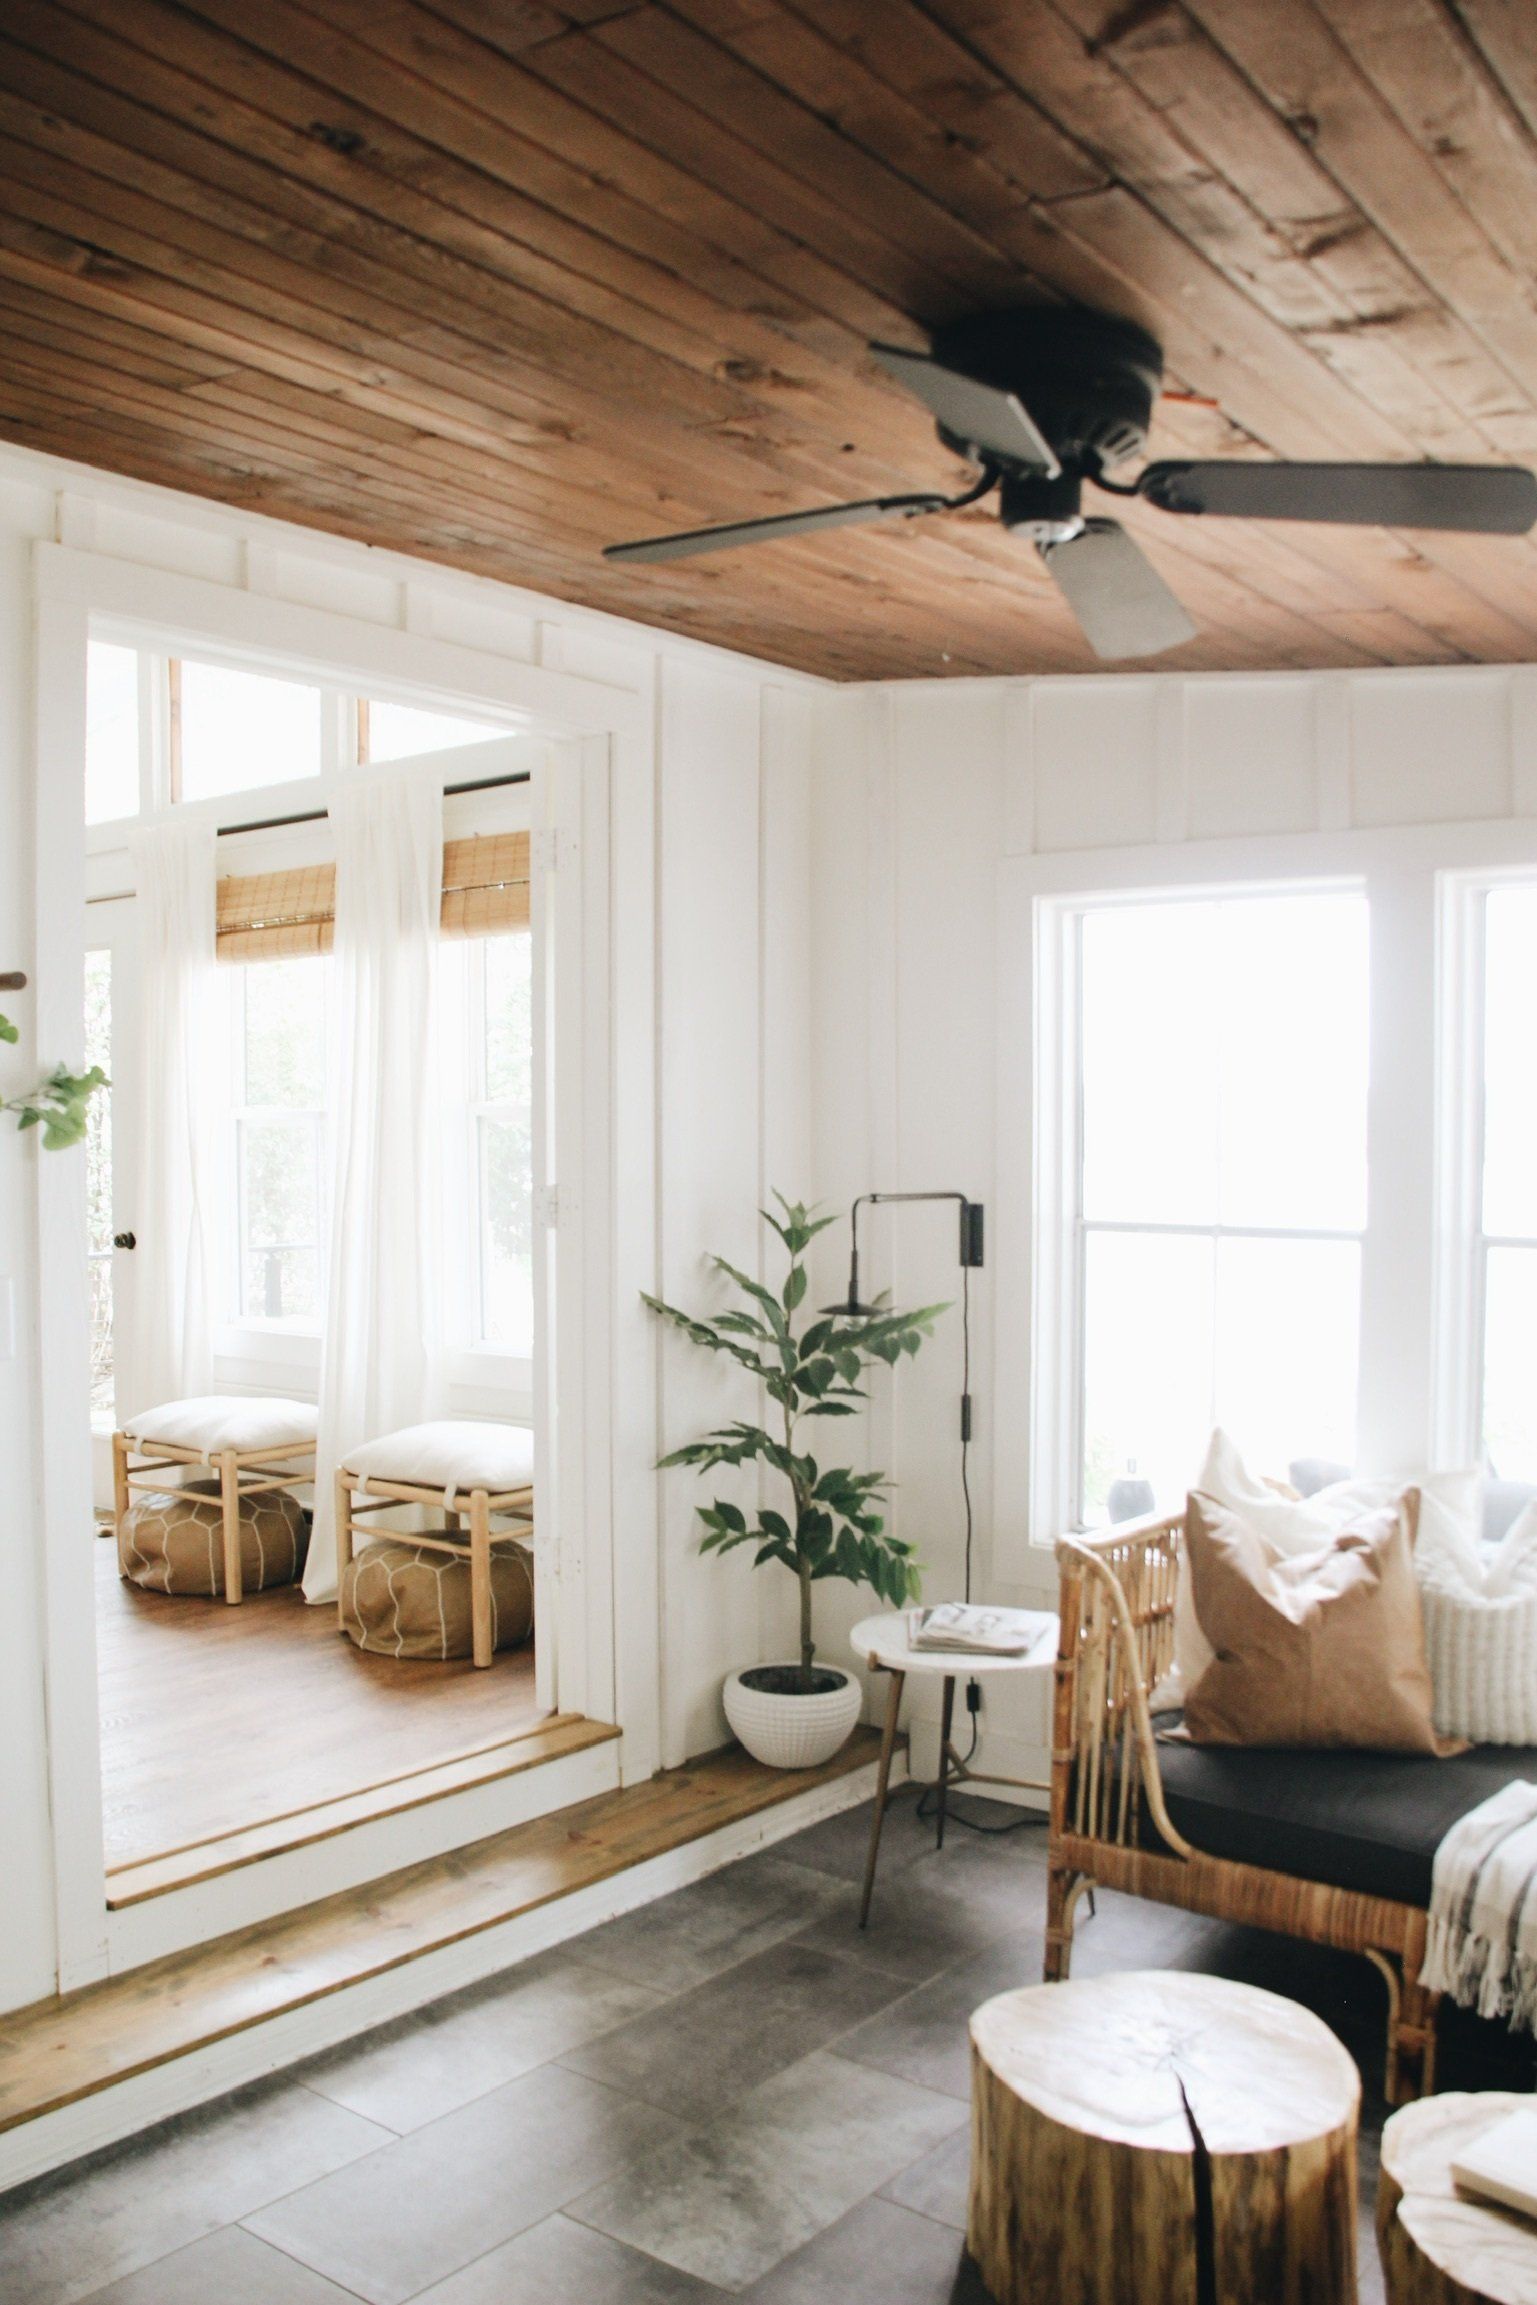
We have a lot of wood tones in the cabin to give it the cabin feel but the texture and contrast it now gives in this room is exactly what I envisioned. It still has a cozy cabin feel with a little bit of a twist;) just what I like! And no one would ever know it's peel and stick. The other part that makes these tiles so realistic is that there are four different marble patterns for the white and the grey. It creates a very organic feel and doesn't repeat, which also makes them so much more realistic.
#3 Enamel glass paint

We also didn't have it in our budget to replace the storm windows in the cabin. I loved all the natural light and the view they let in, but to replace 9 windows could have cost a lot of money. So instead, I decided to tape a straight line down the middle with painters' tape and use enamel glass paint in white to create a "pane" down the middle. For nearly nothing this updated the look immediately and they no longer felt like old windows. And the best part is that it also updated the exterior, giving it more character and charm!

And this is now how it looks from the outside...so much cuter.
Now for a couple pretty close up detailed shots!


What an amazingly easy and affordable way to bring so much character into a room. You really don't need a huge budget to achieve beautiful design!
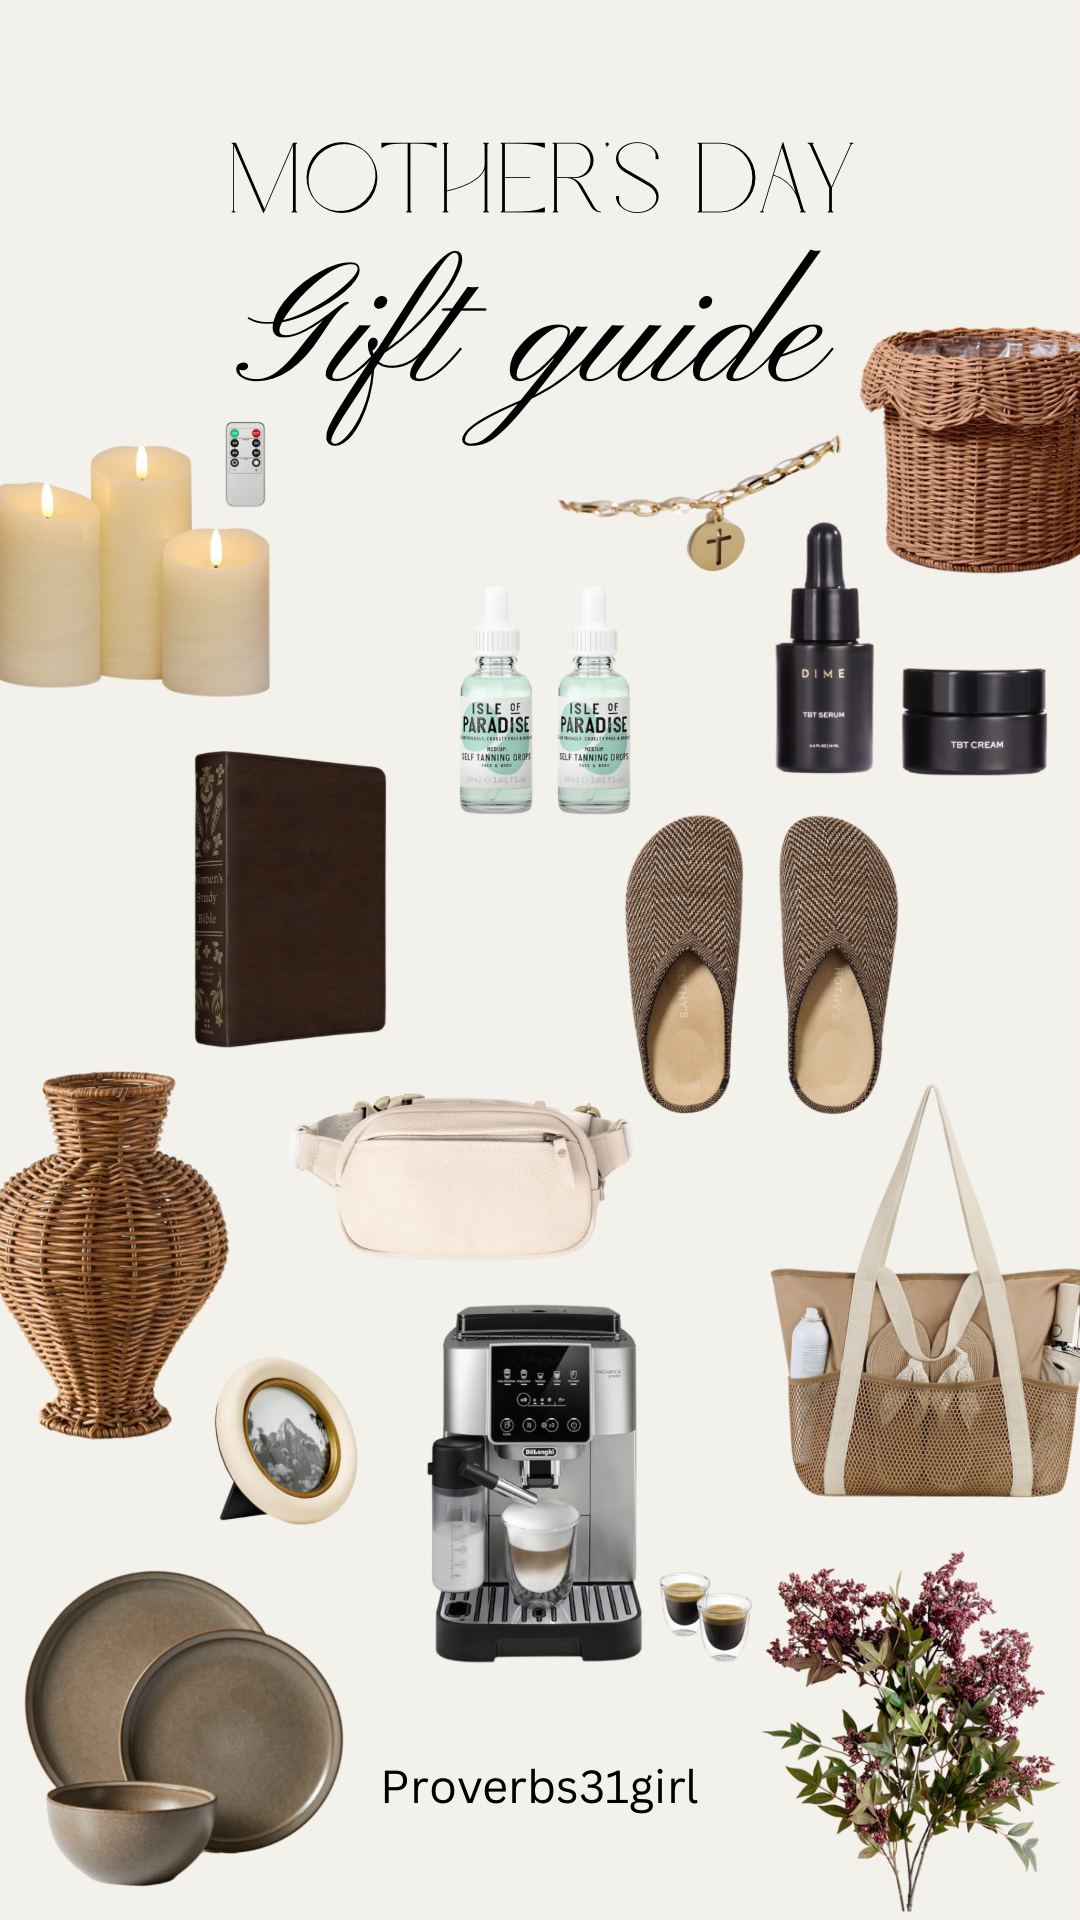
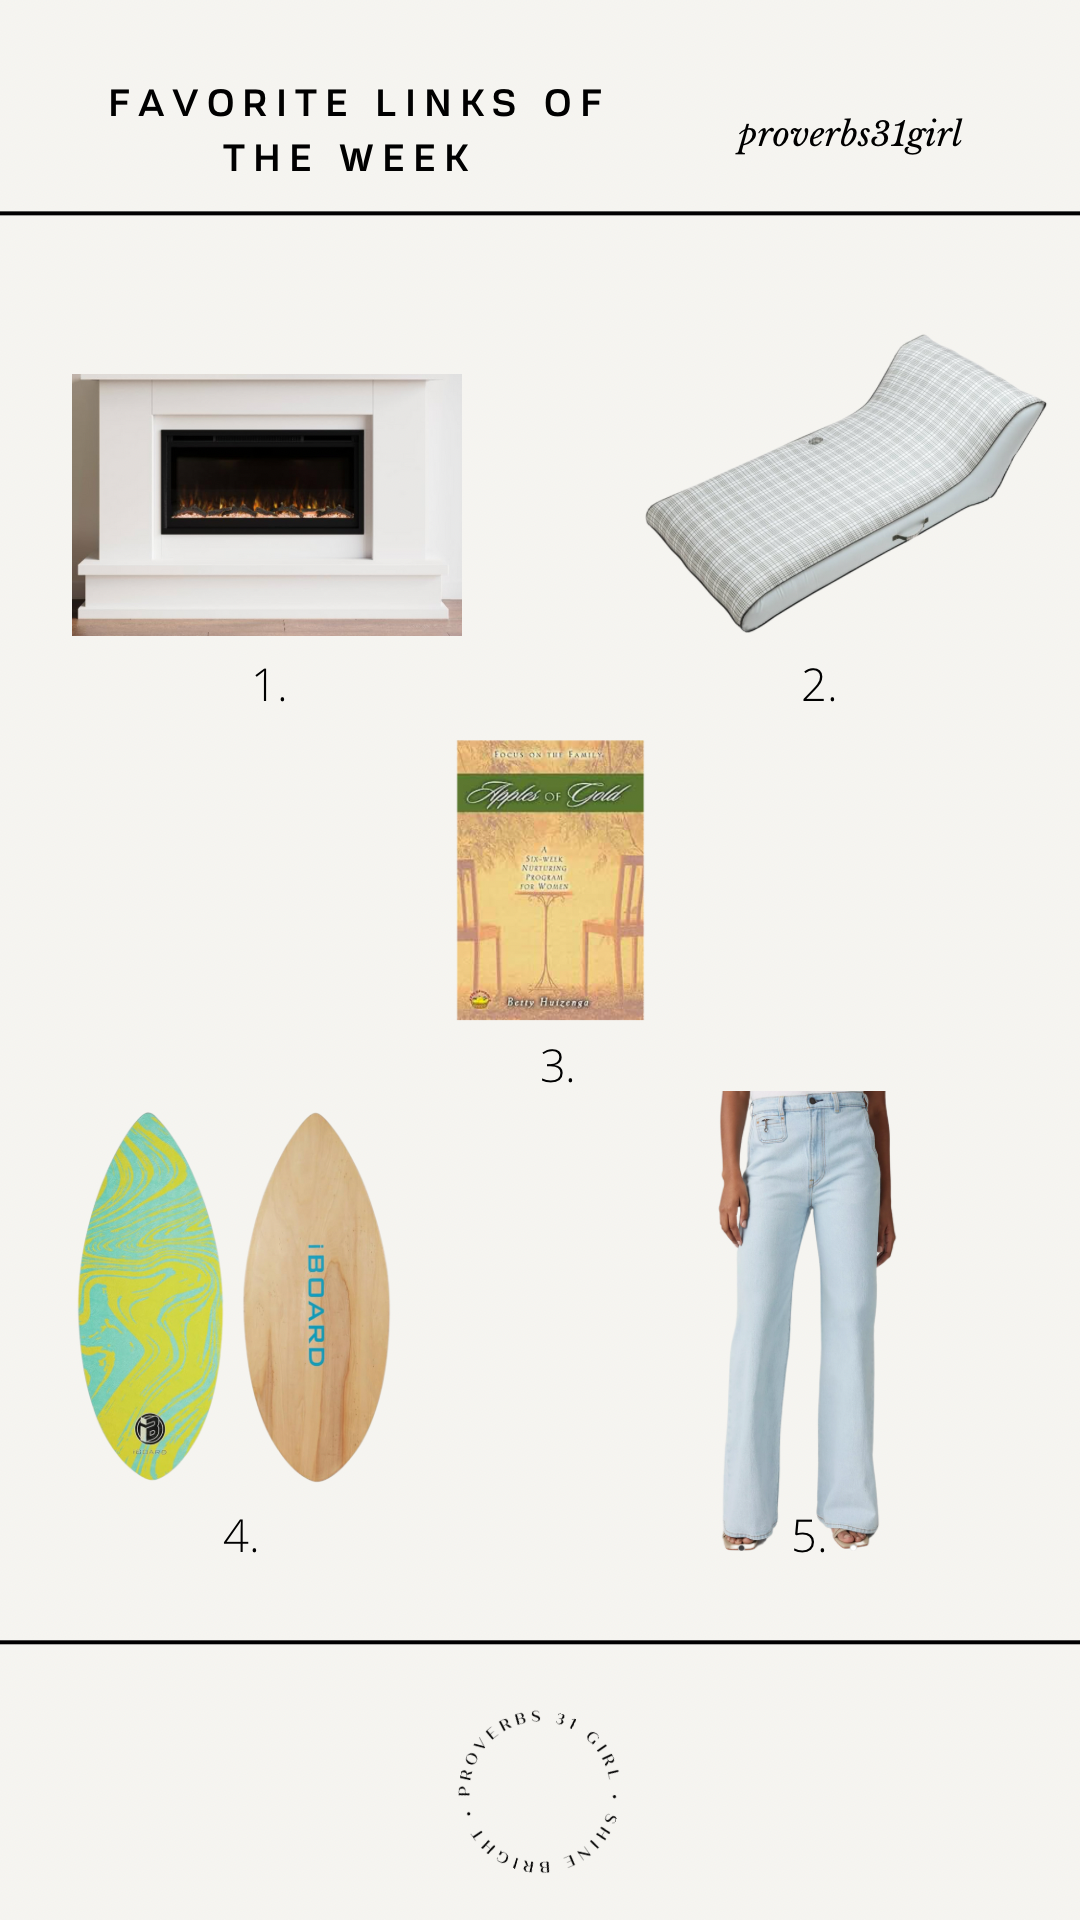
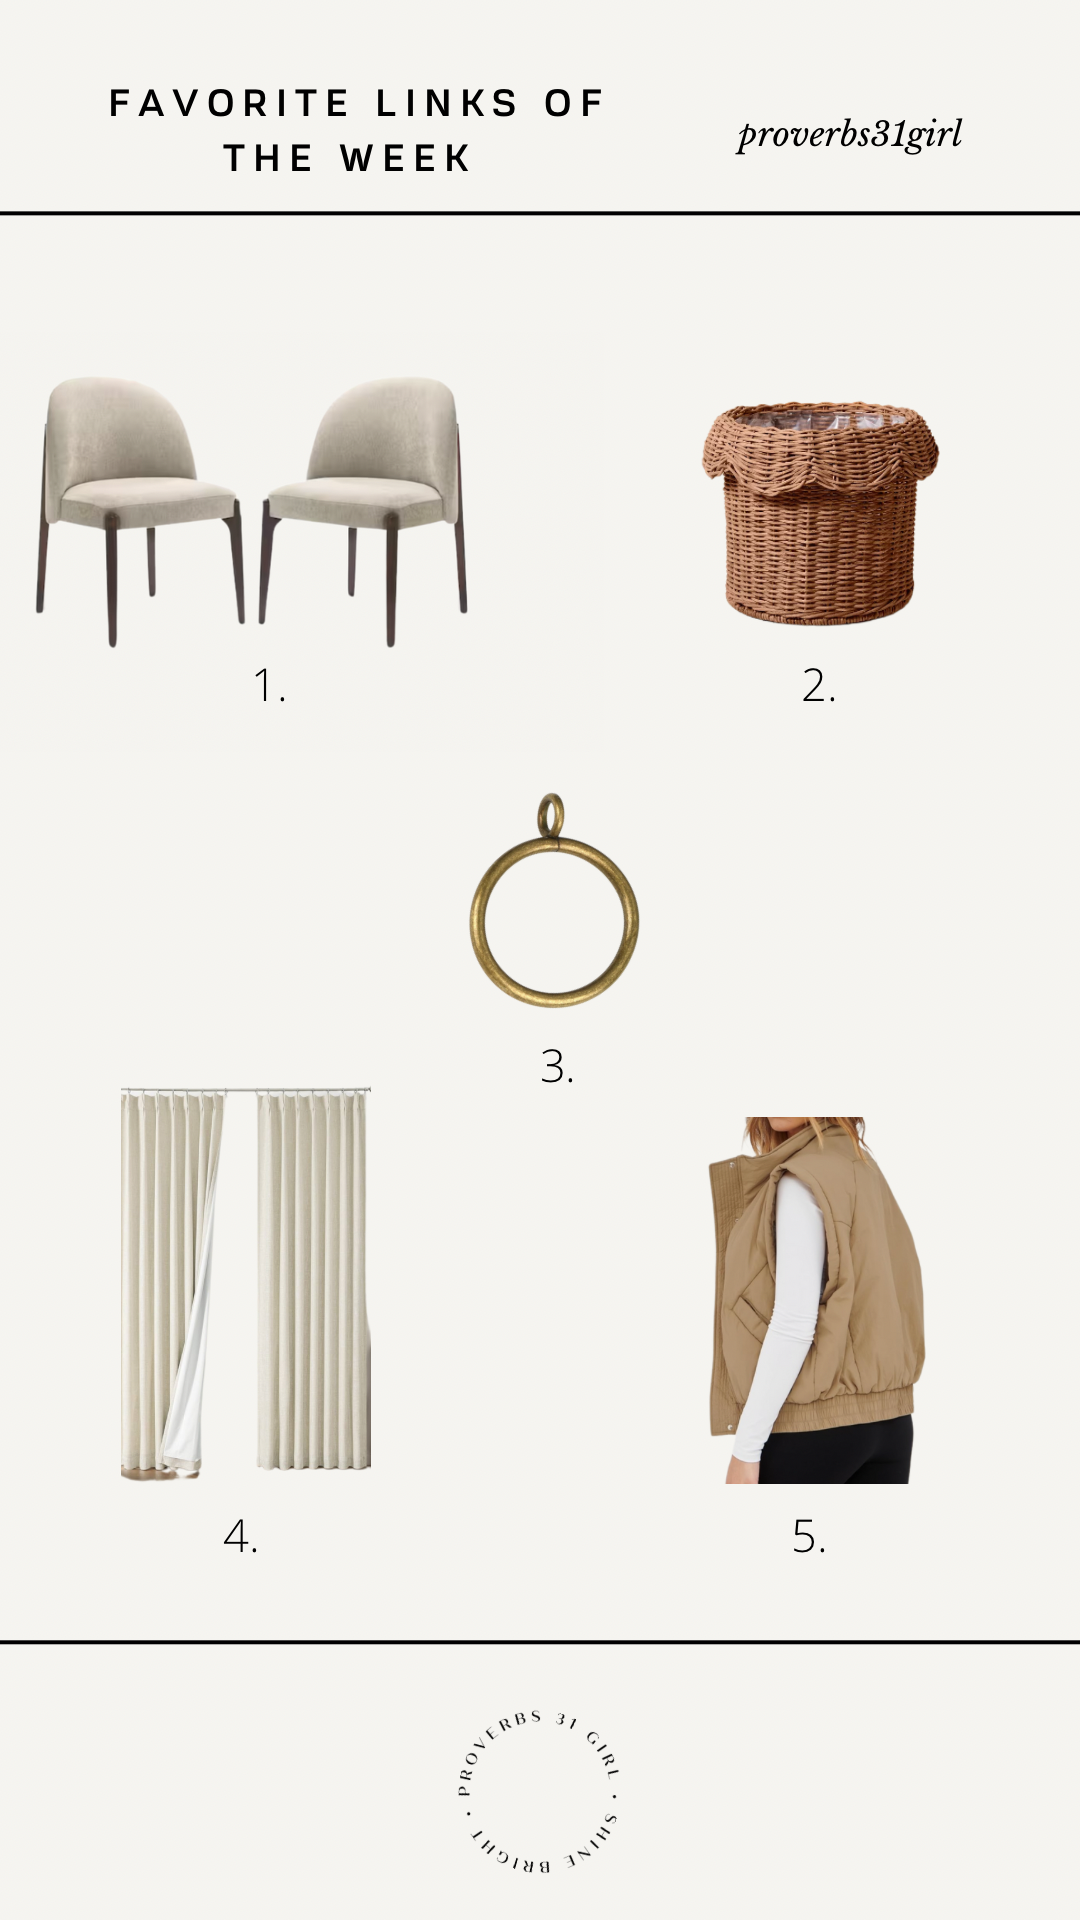
The Links
*Disclaimer, a lot of the featured items in this post are sadly out of stock or discontinued*

#2 Spray Paint & Press and Seal
when we bought the cabin the fan was obviously dated like the rest of the cabin. I loved the wood ceiling and didn't want to change that, and wanted to save my money for a pretty light fixture above the dining table, so I decided to pull out my press and seal to stick to the ceiling to protect the wood, and then continued to spray the ceiling fan black. And for $5 I had a brand new looking fan that now went with my decor and took me 5 minutes to do!
After
That's the exact same fan. It's amazing what a little paint can do:)