DIY Floating Shelves
A few years ago now I made some DIY floating shelves with inexpensive 2x2 pine boards for a ledge with a 2x12 pine board for the shelf. I loved the instant statement it brought to an awkward nook, and kept them as is for 3 years like this.
You can see the 2x2's I just screwed into studs in the wall to create a 3 sided ledge. I then painted them white to blend into the wall and put my shelf on top.
This was a super inexpensive way to make huge shelves. It also was a very easy DIY level.

I was so excited about the new shelves that seeing the 2x2's didn't really bug me. They were painted white so it blended in. But after a few years of staring at the shelves I realized it would be super easy to put a front face on them using pine 1x4 boards. It would hide the 2x2's and it would make the shelf look 3" thick. And while I was at it I wanted to beat up the wood to make it look rustic like barnwood and match the beams we having in the kitchen and living room.
So we got some pine 1x4 boards for $5 a piece. Cut them down to 3", and cut them to size. I nailed them up and that part took 10 minutes. Now the fun part. Making them look old. PS, in retrospect, I would have done this part first outside:) It made a mess and would have been much easier to clean up in a garage. I used a planer first to plane the edges of the board. Then I used a jigsaw on the top and bottom to create teeth marks and rugged marks in the board. Lastly I used a wire brush attachment to my drill to put deeper looking grain in the board. After that was done I took my palm sander and sanded it so no rough edges were poking up.

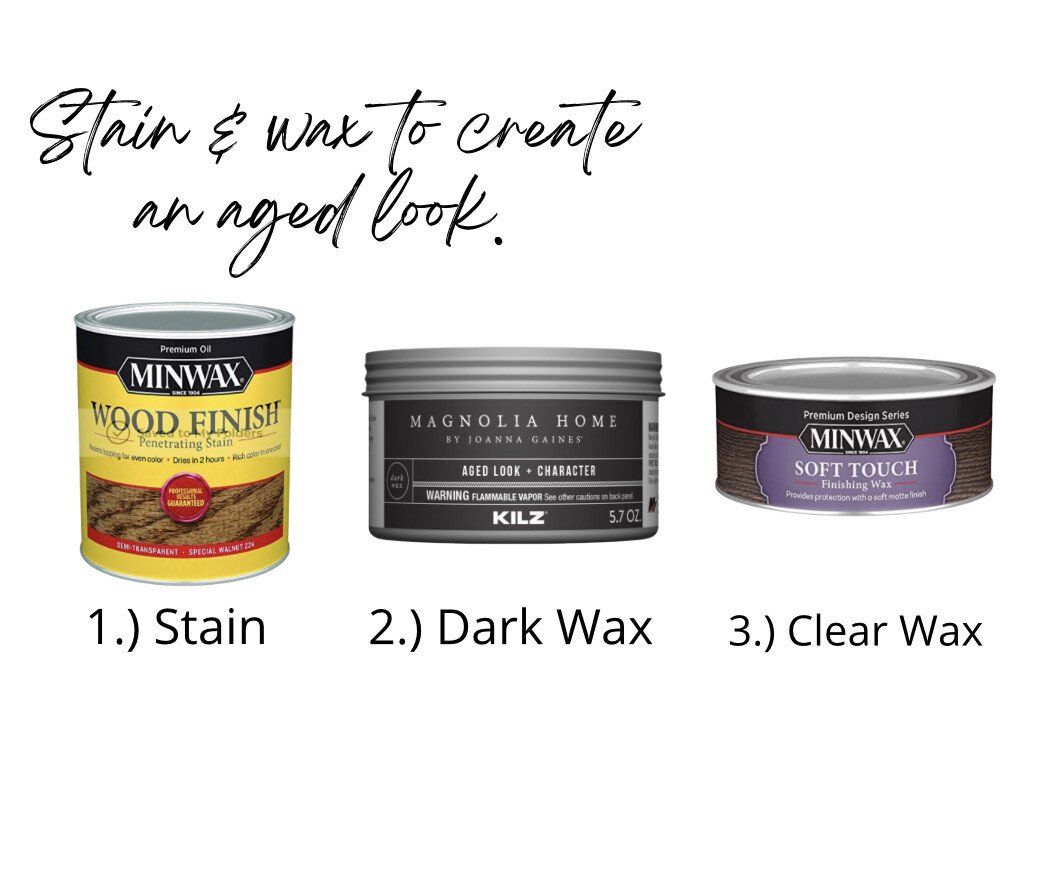
These are the tools needed to accomplish this look. Shop them below.

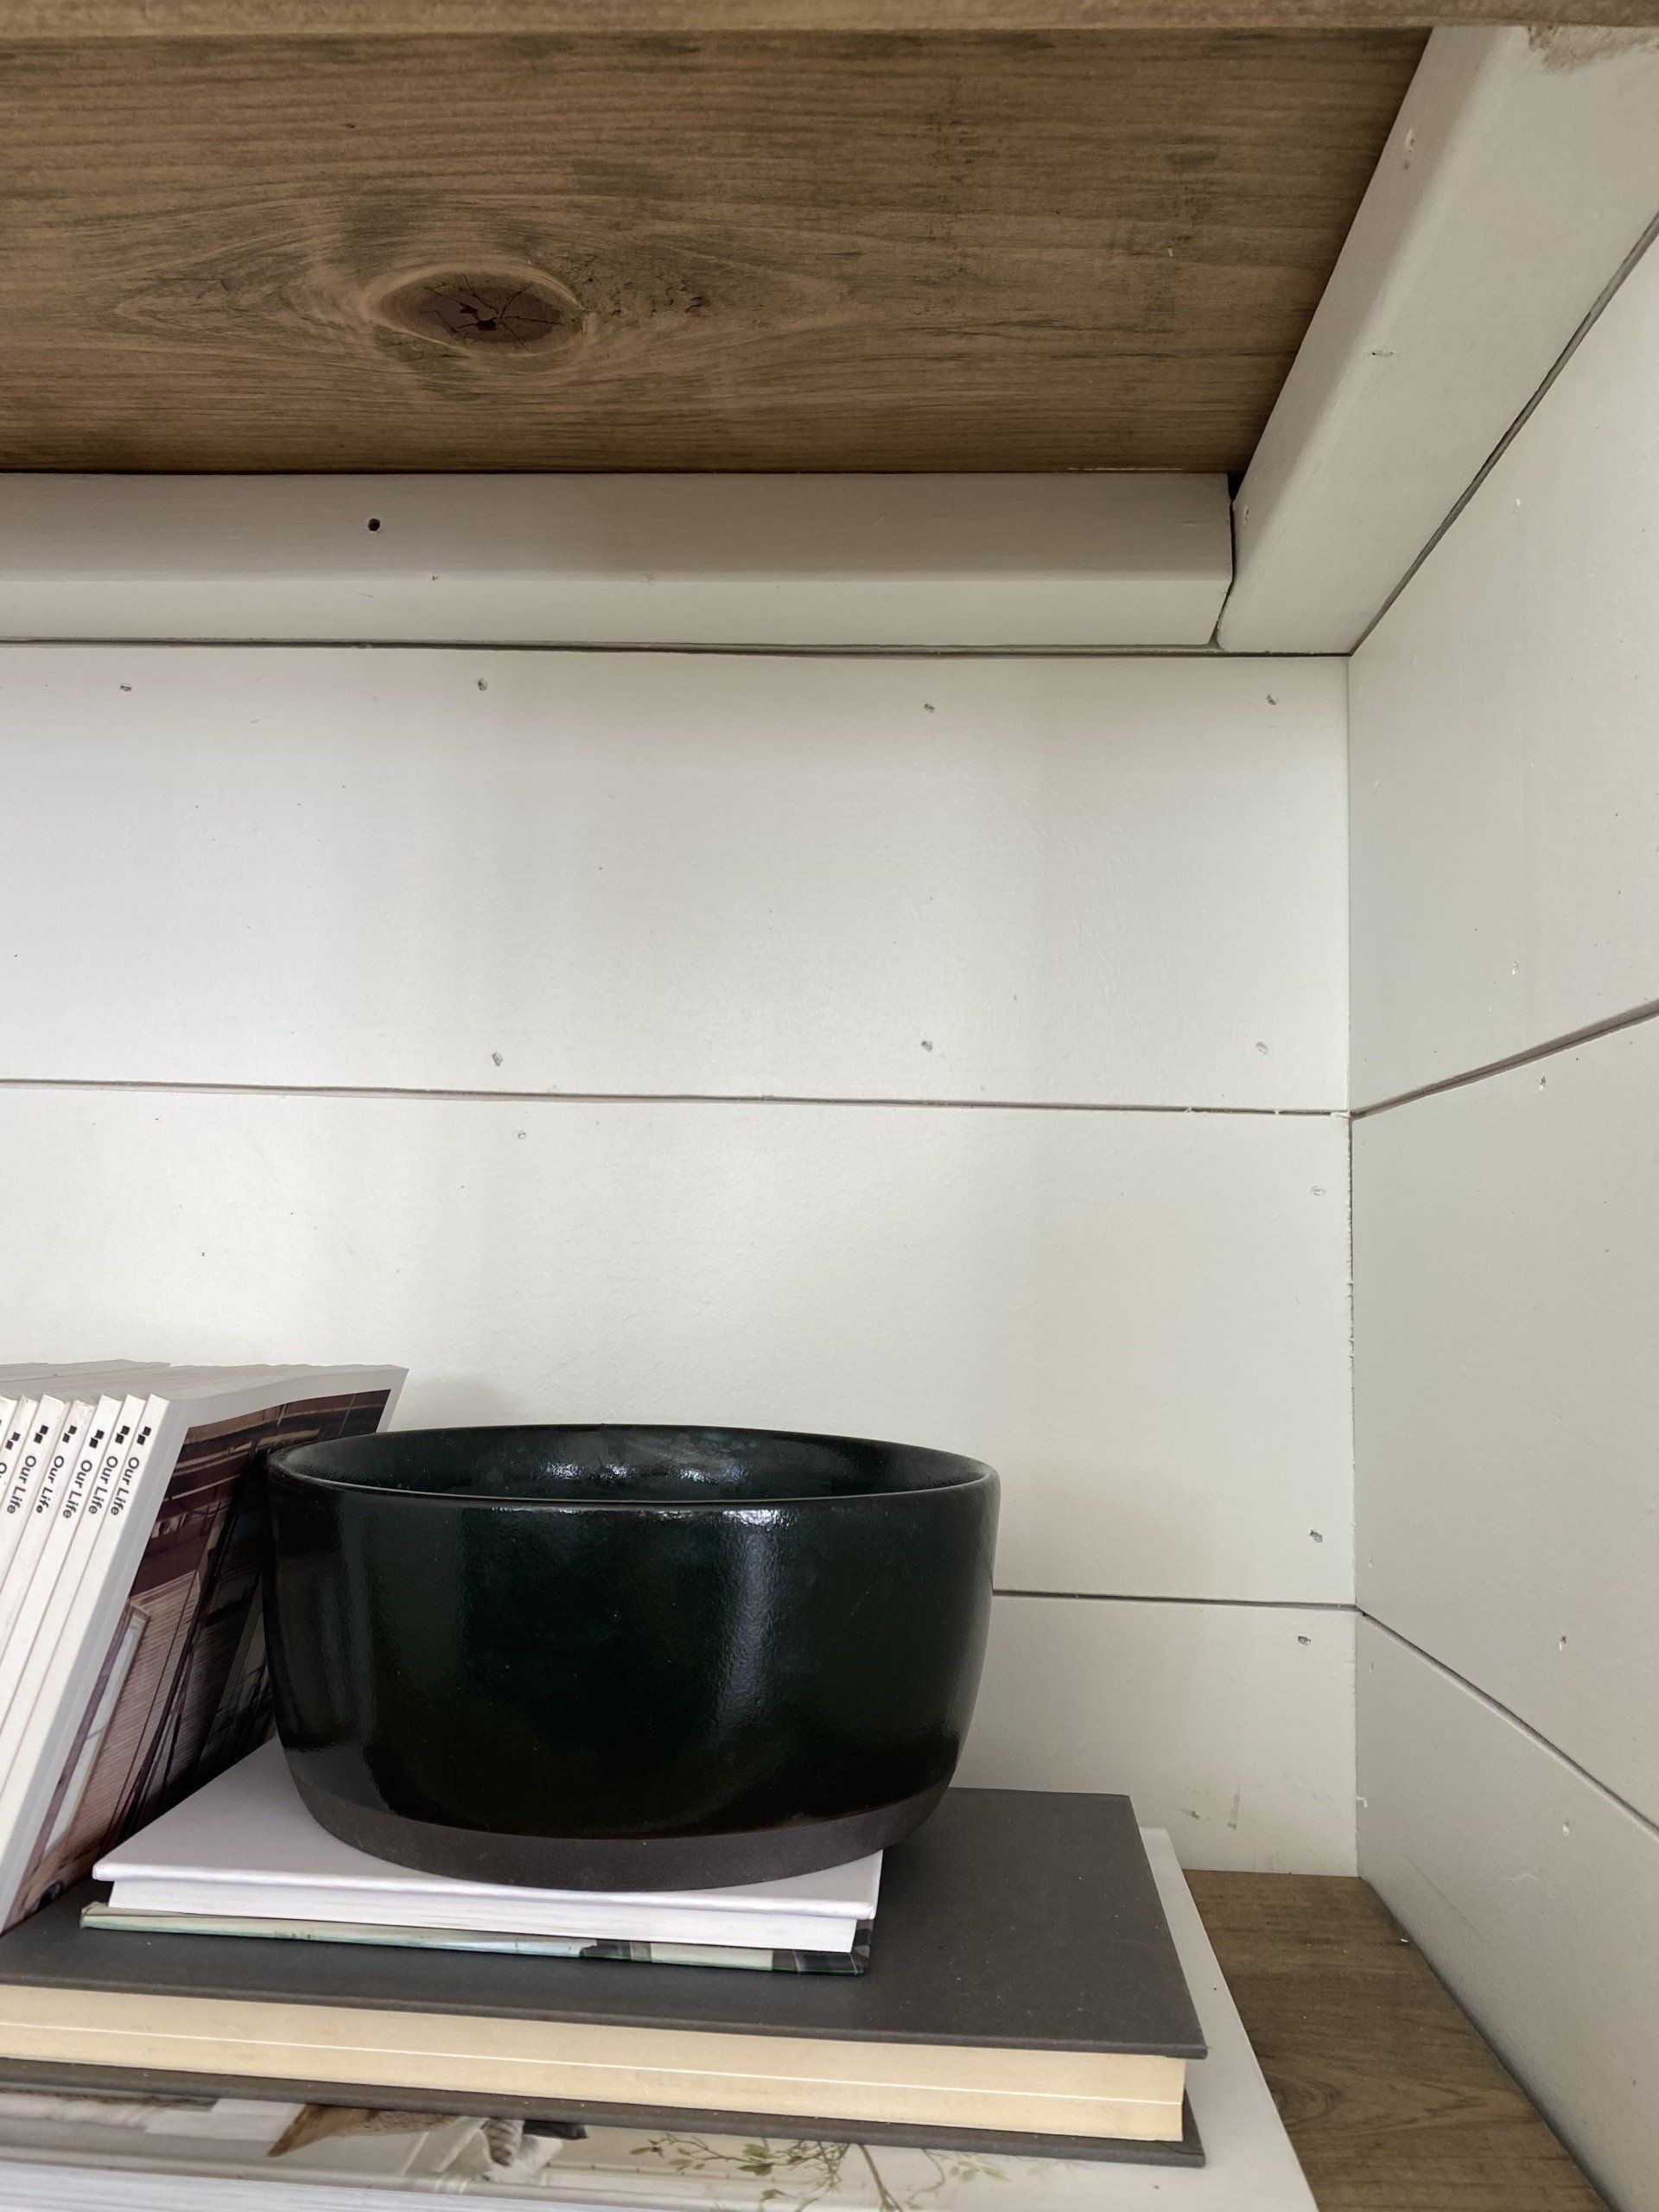
And this is the finishing part. I stained the boards first with special walnut, then used my palm sander to sand it down a little to make it look older. Then I used a stencil brush to add dark wax into the grooves and beat up spots. I took a rag to blend it all together. I added a layer of clear wax to seal it after that but you wouldn't have to do that step.
New Paragraph
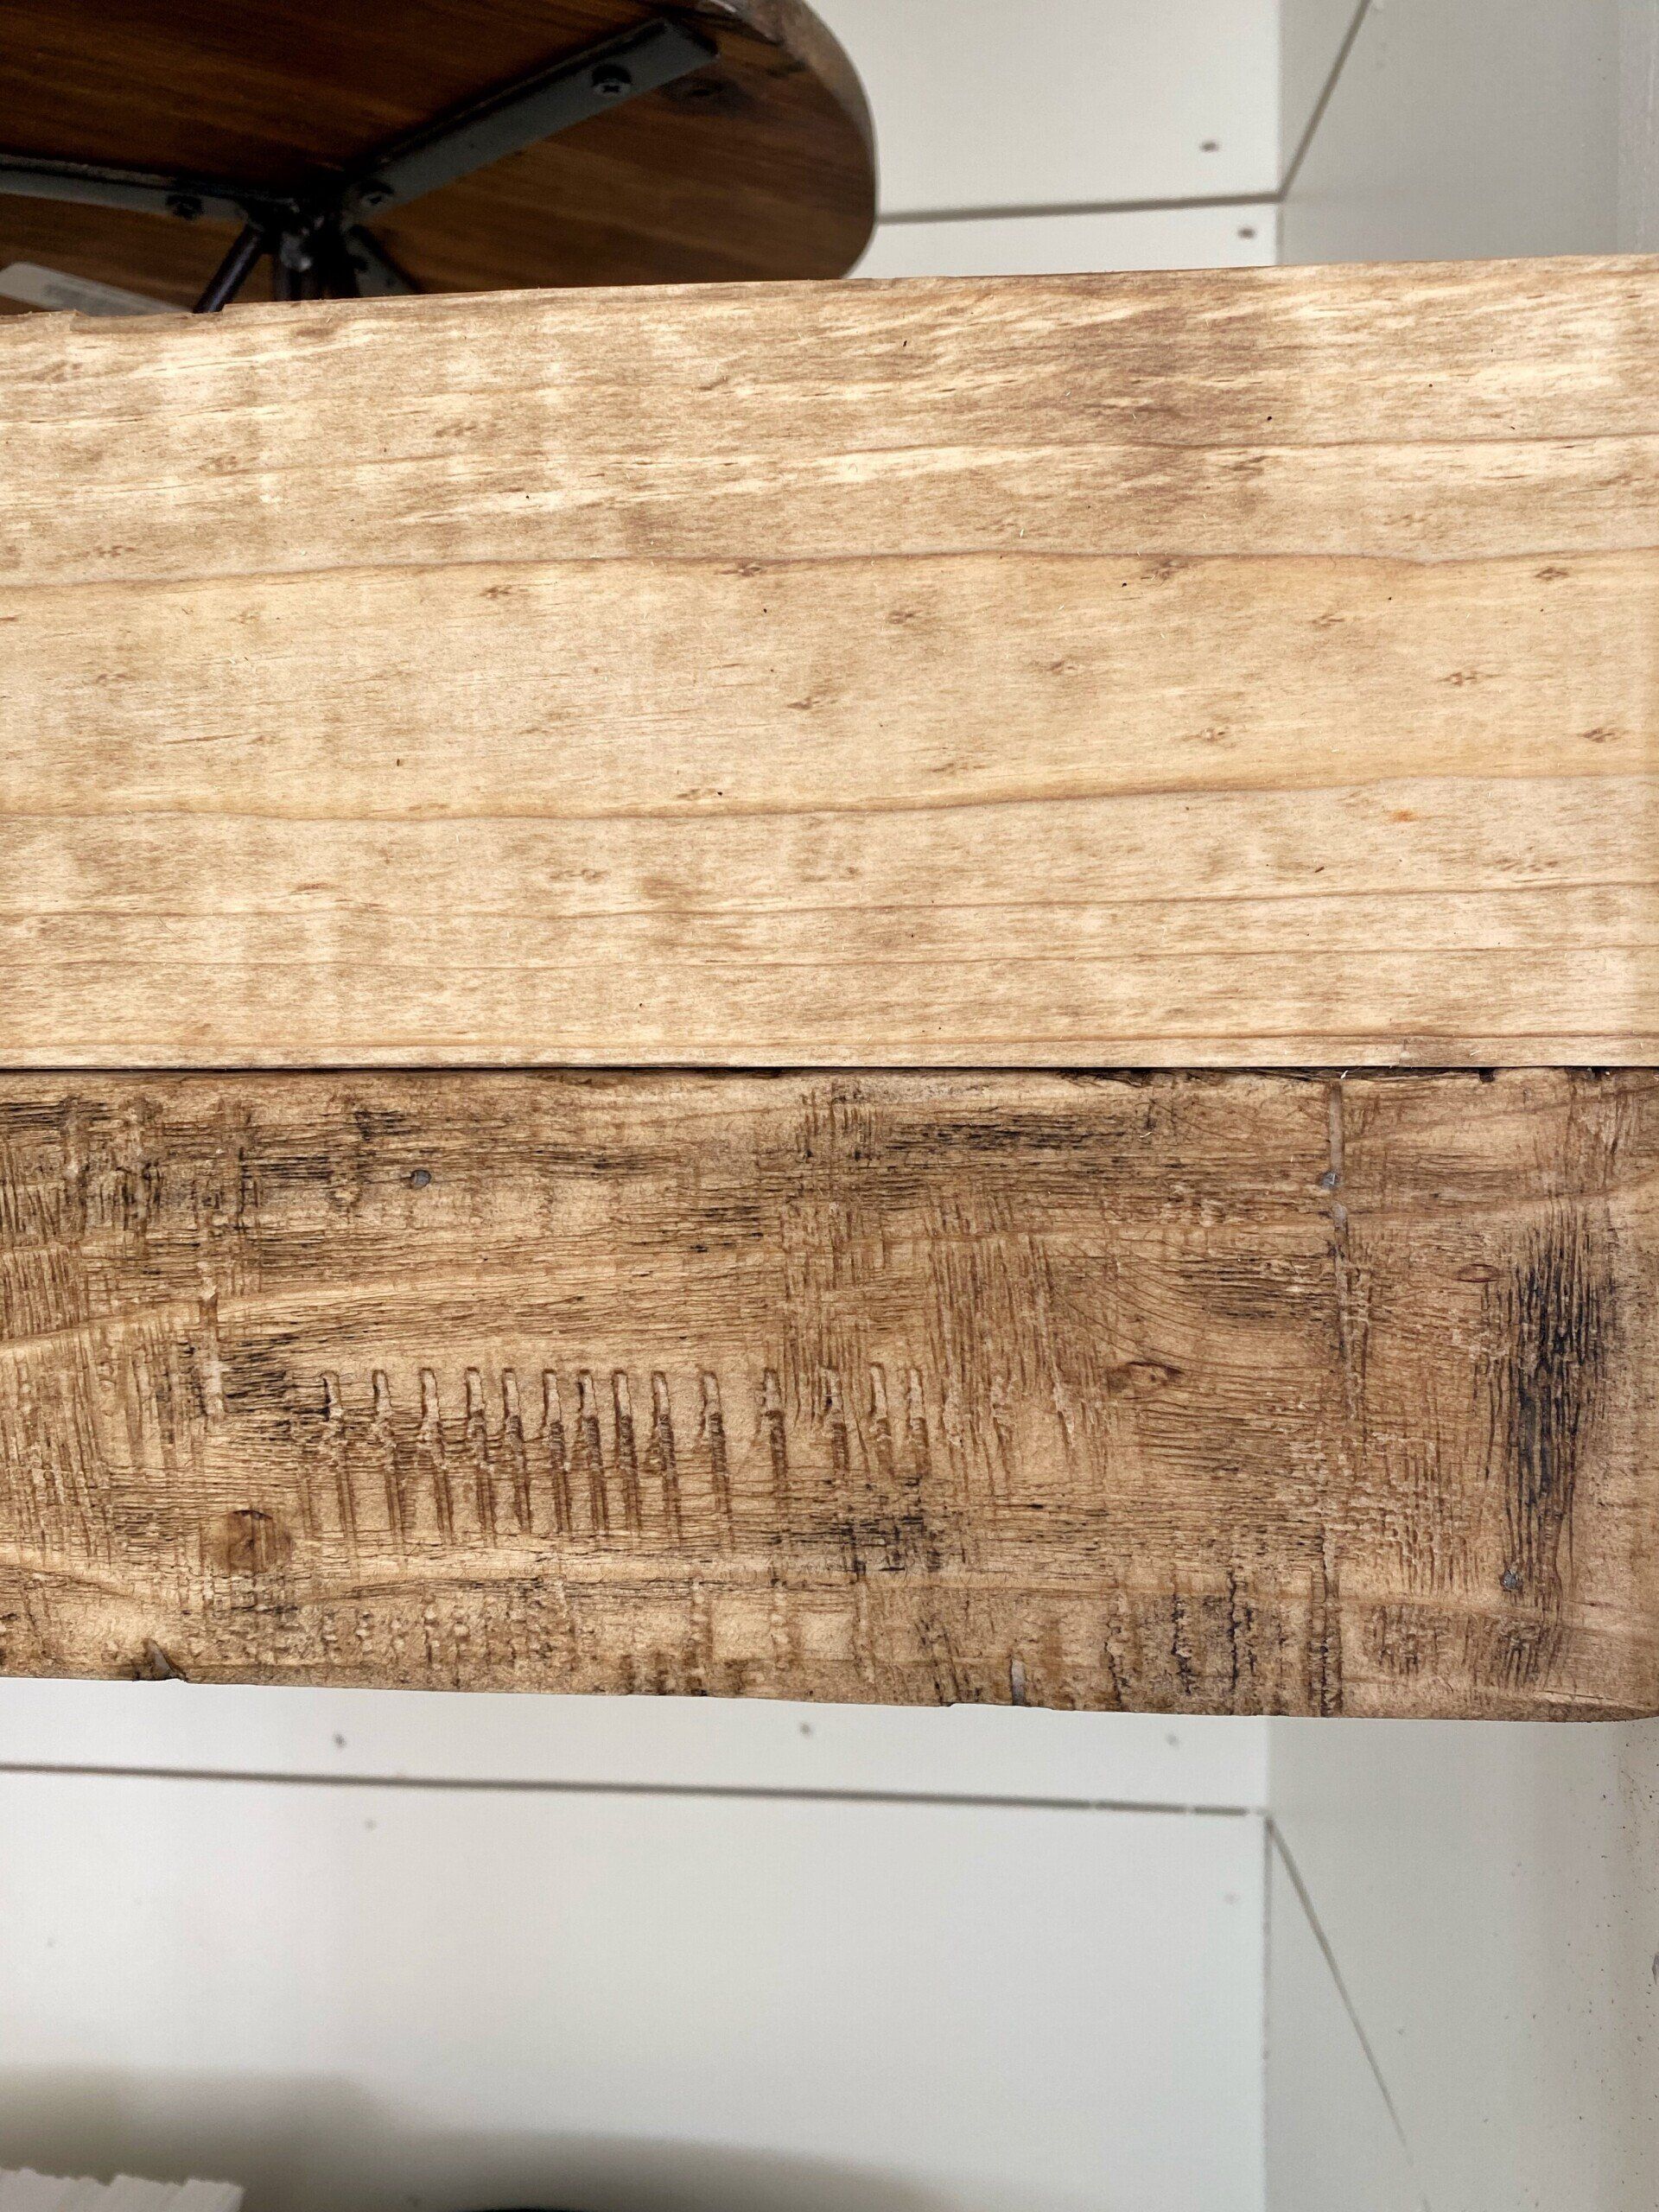
By using this technique it turns your plain pine wood from this flat wood on top to the rustic look on the bottom.
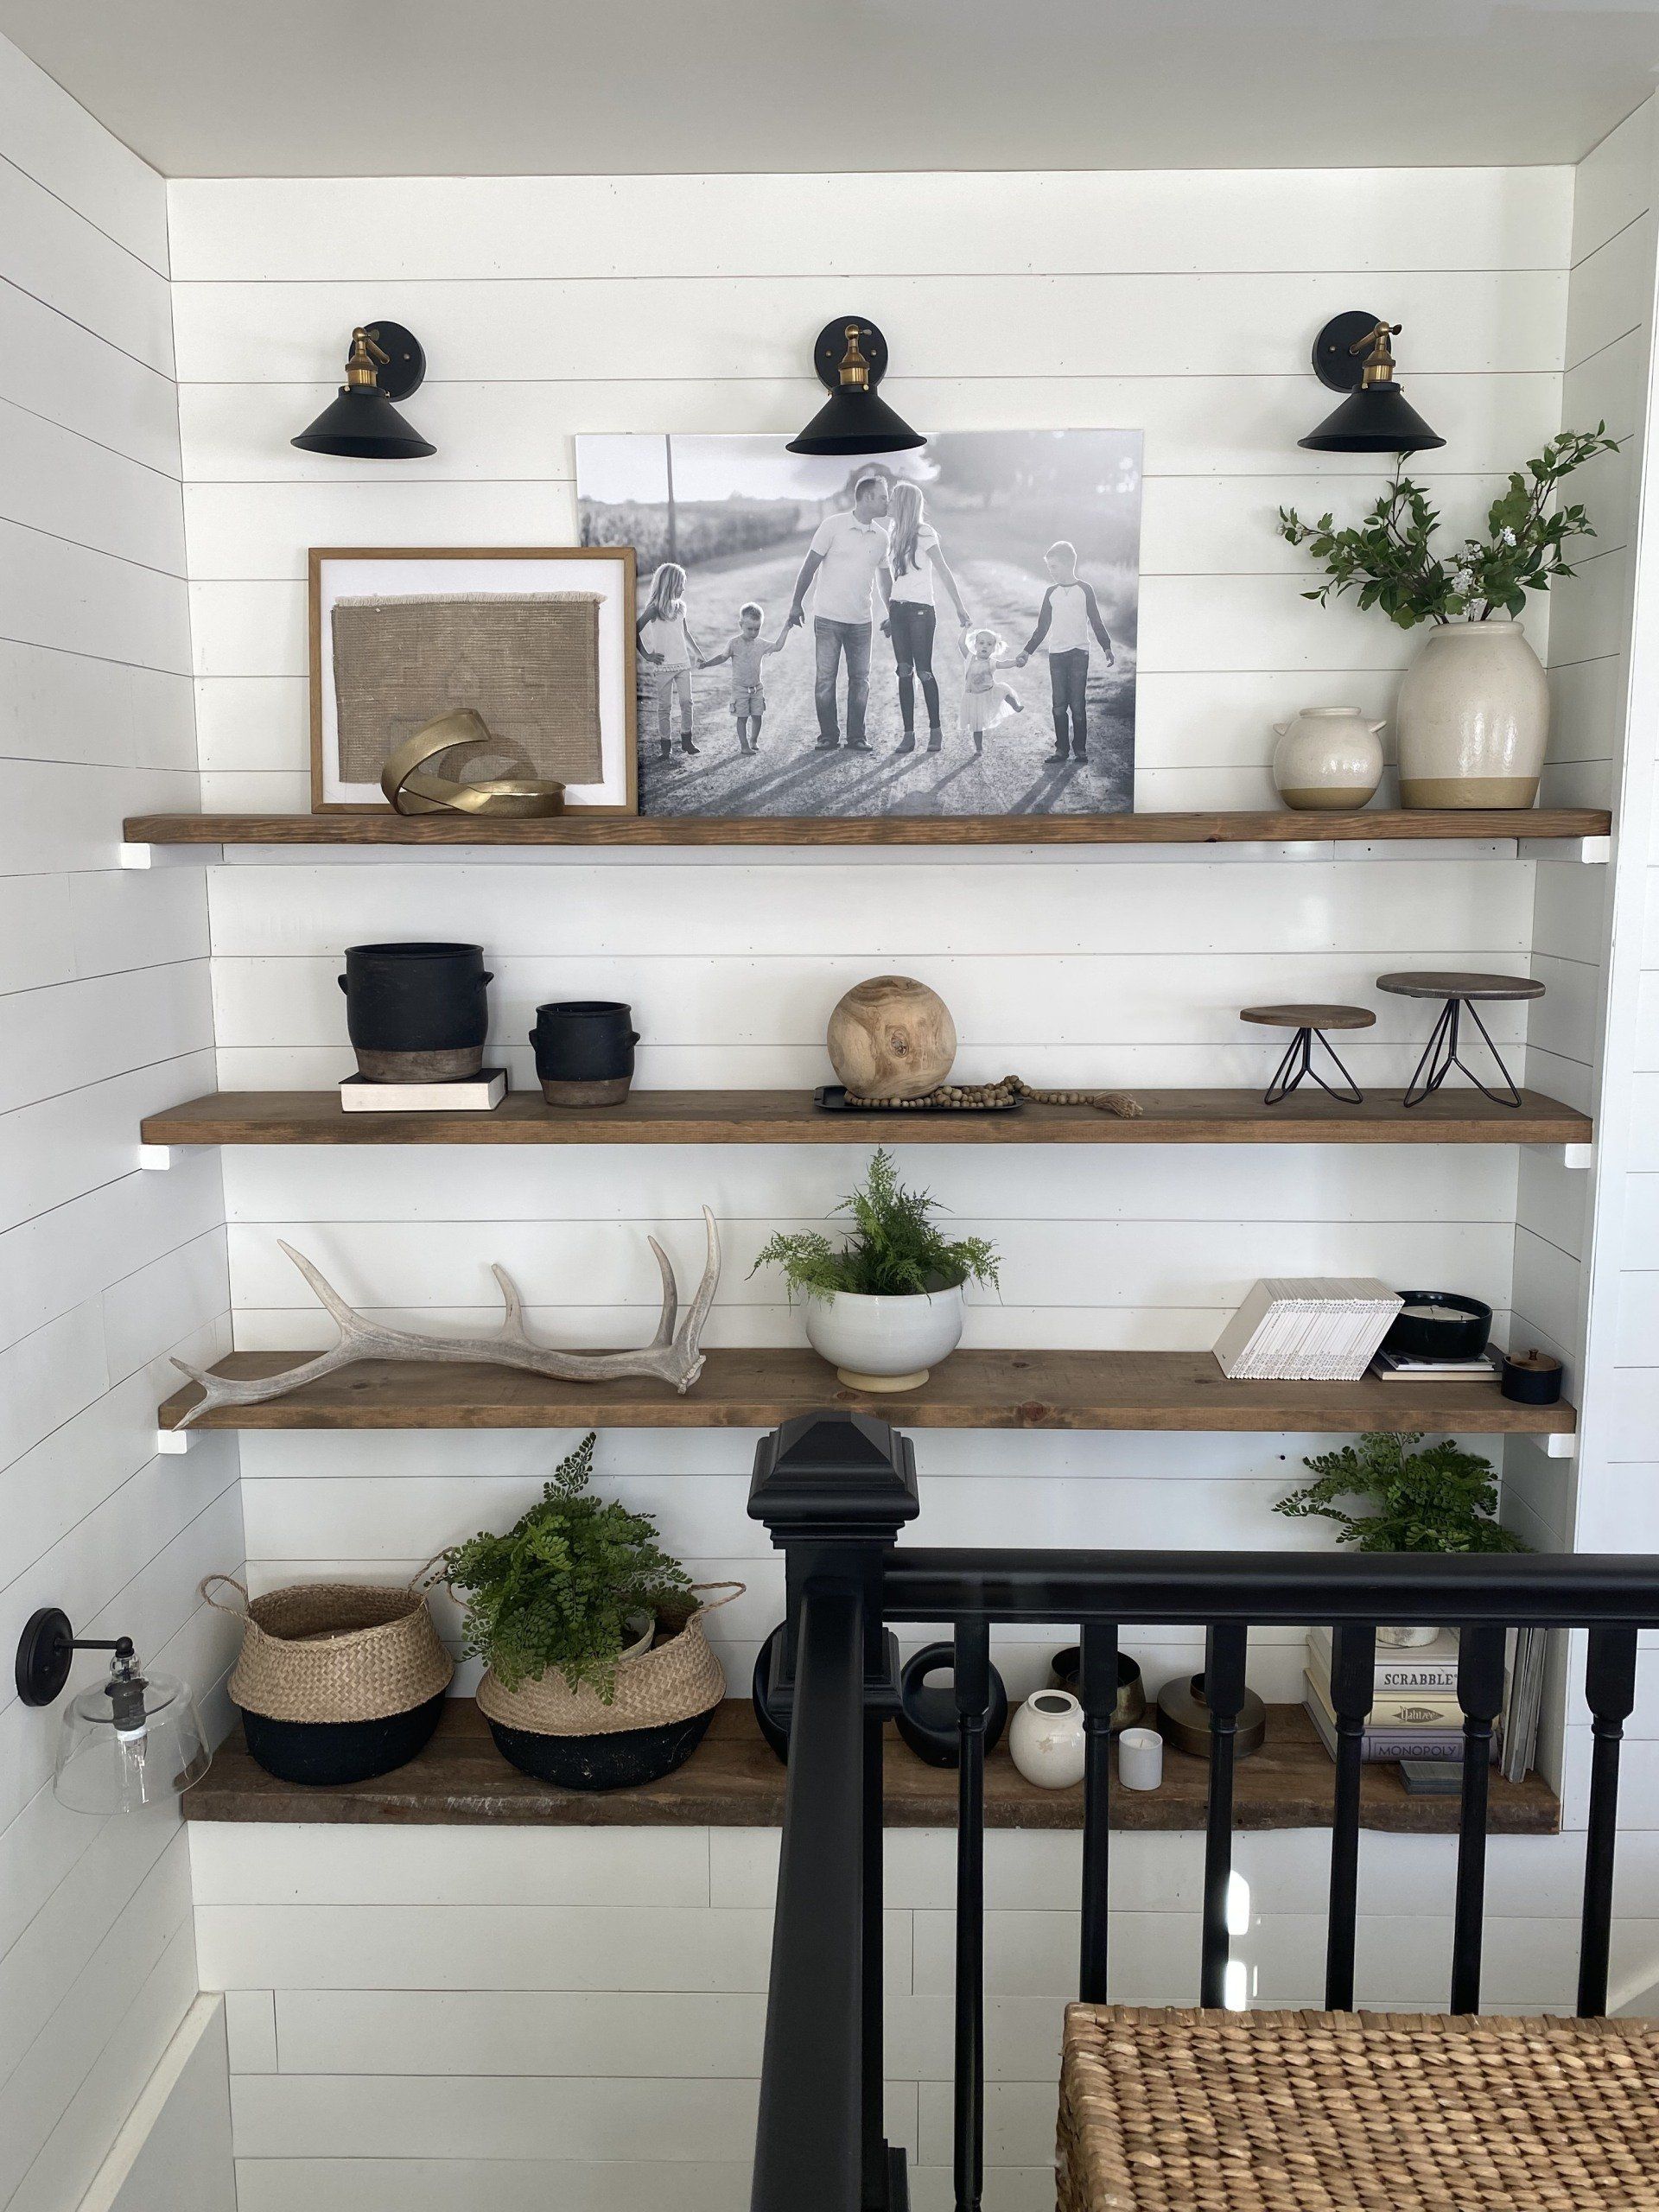
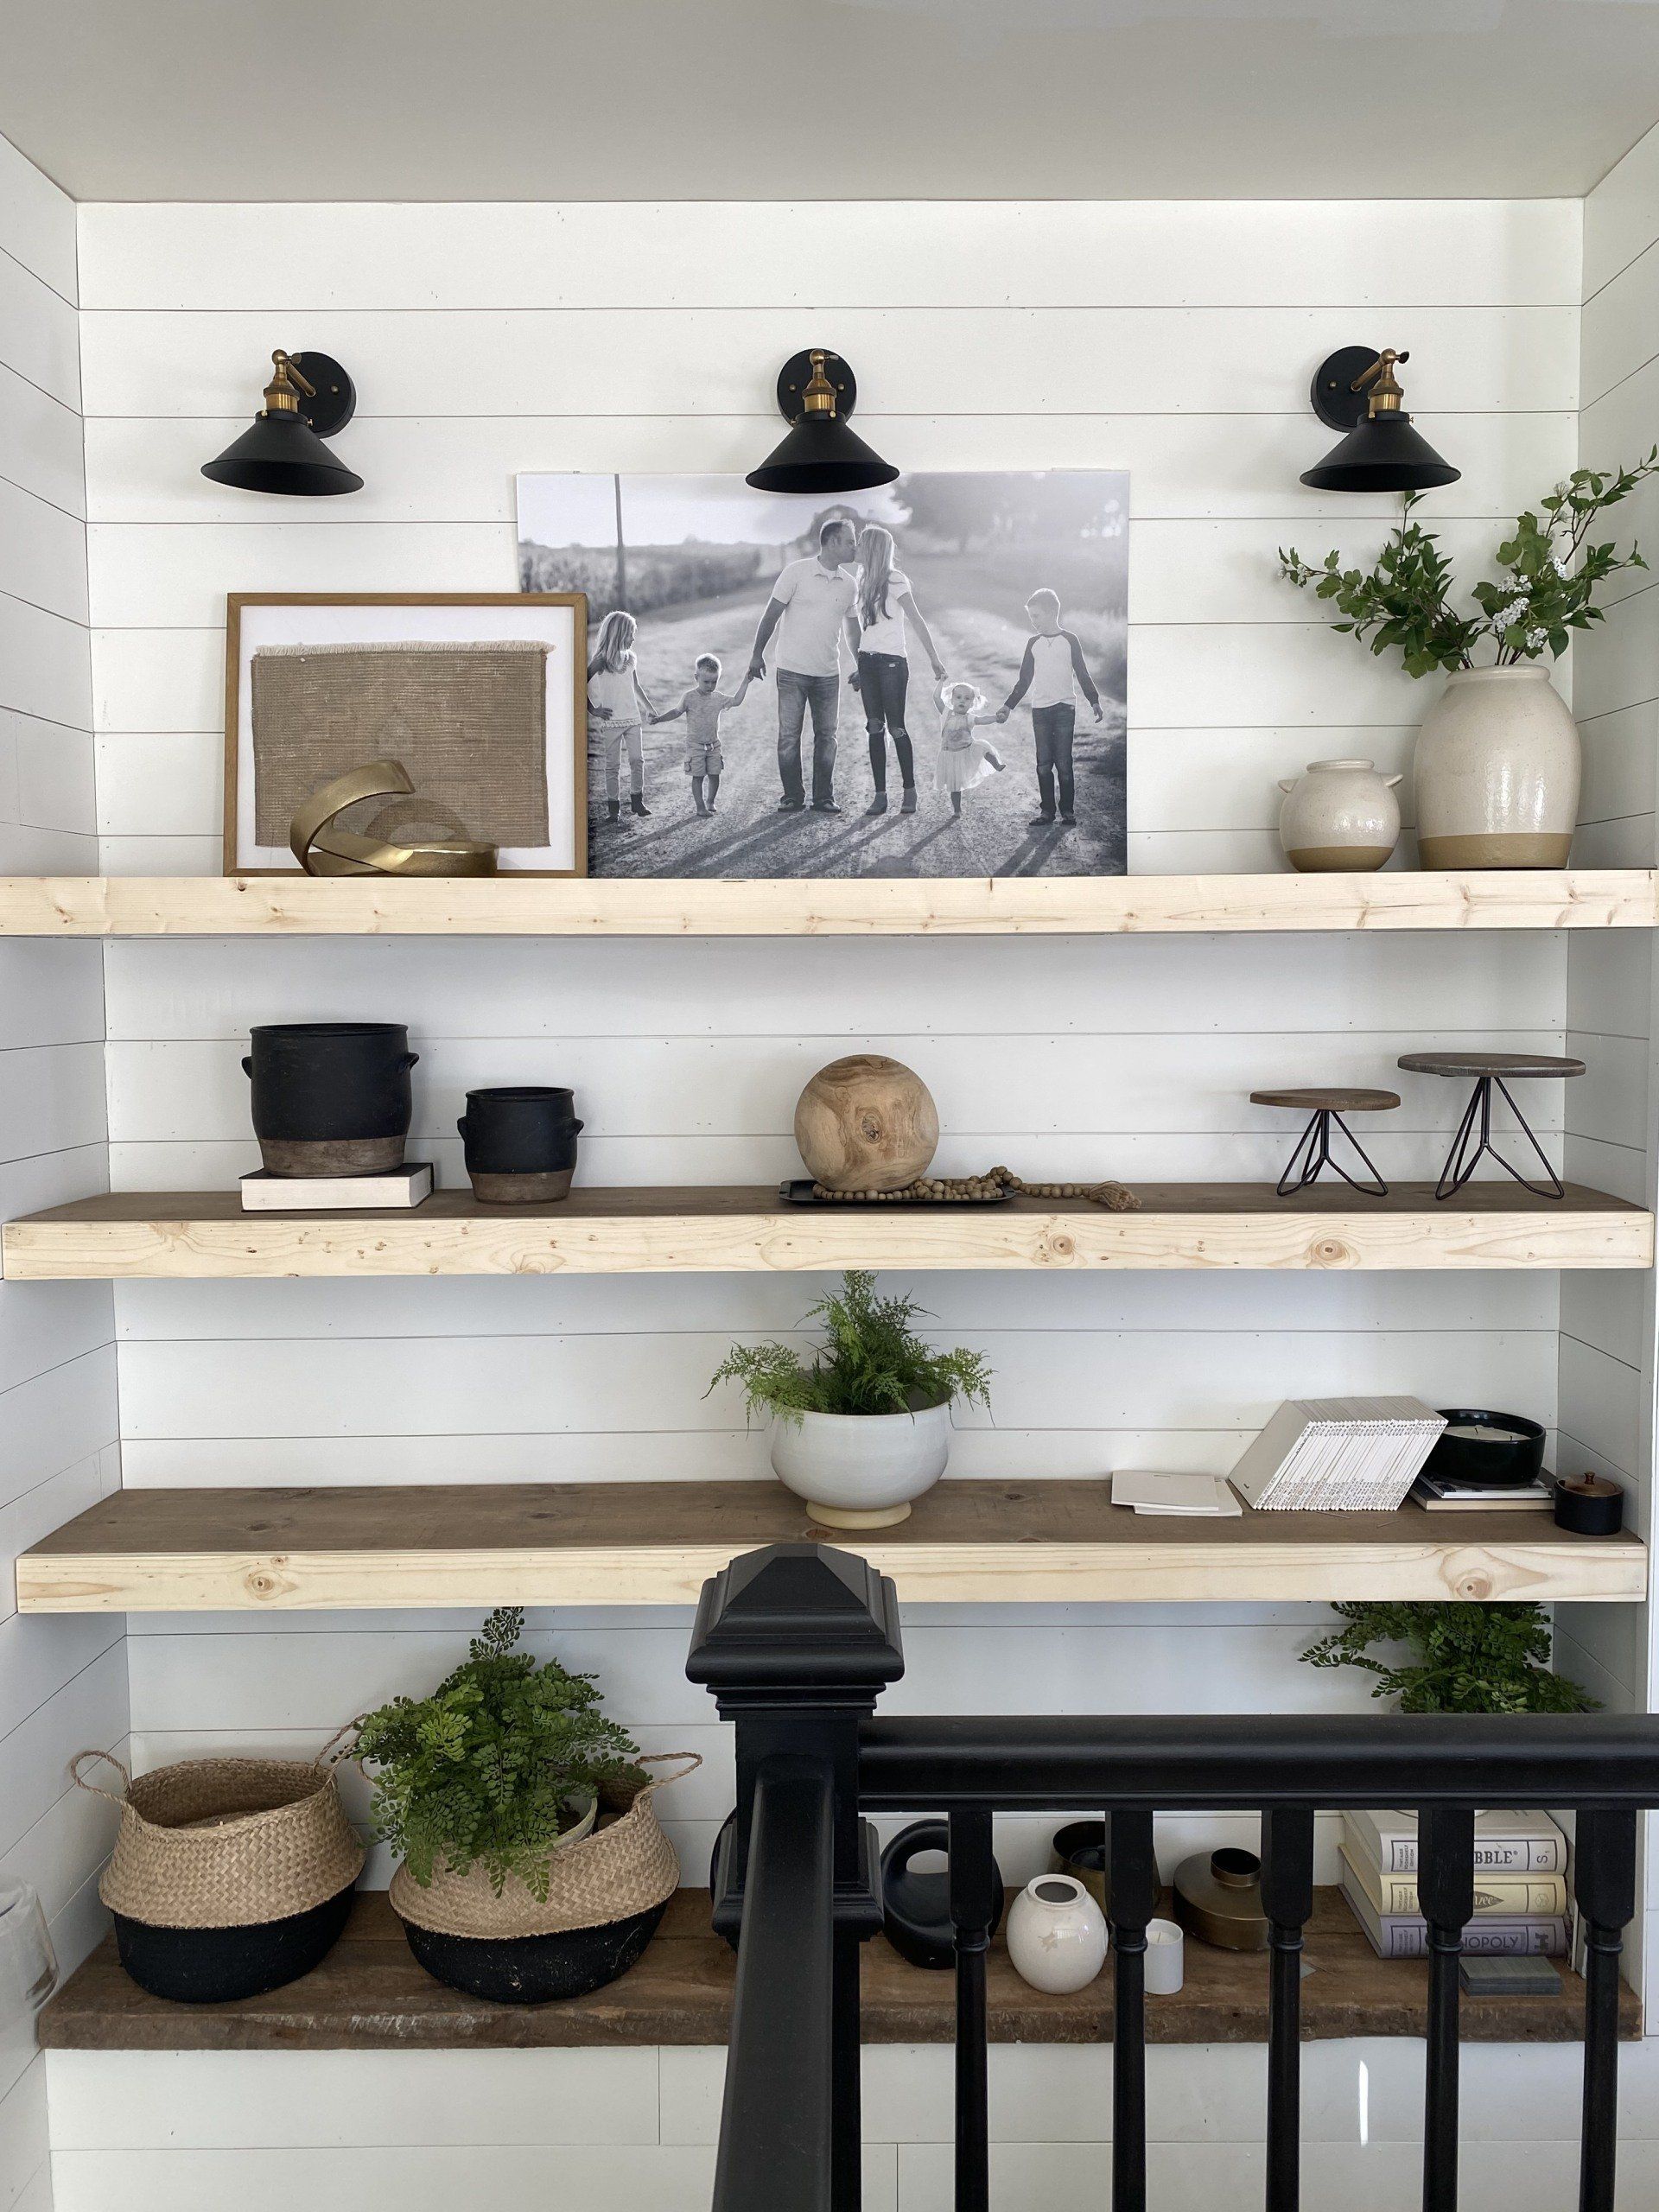
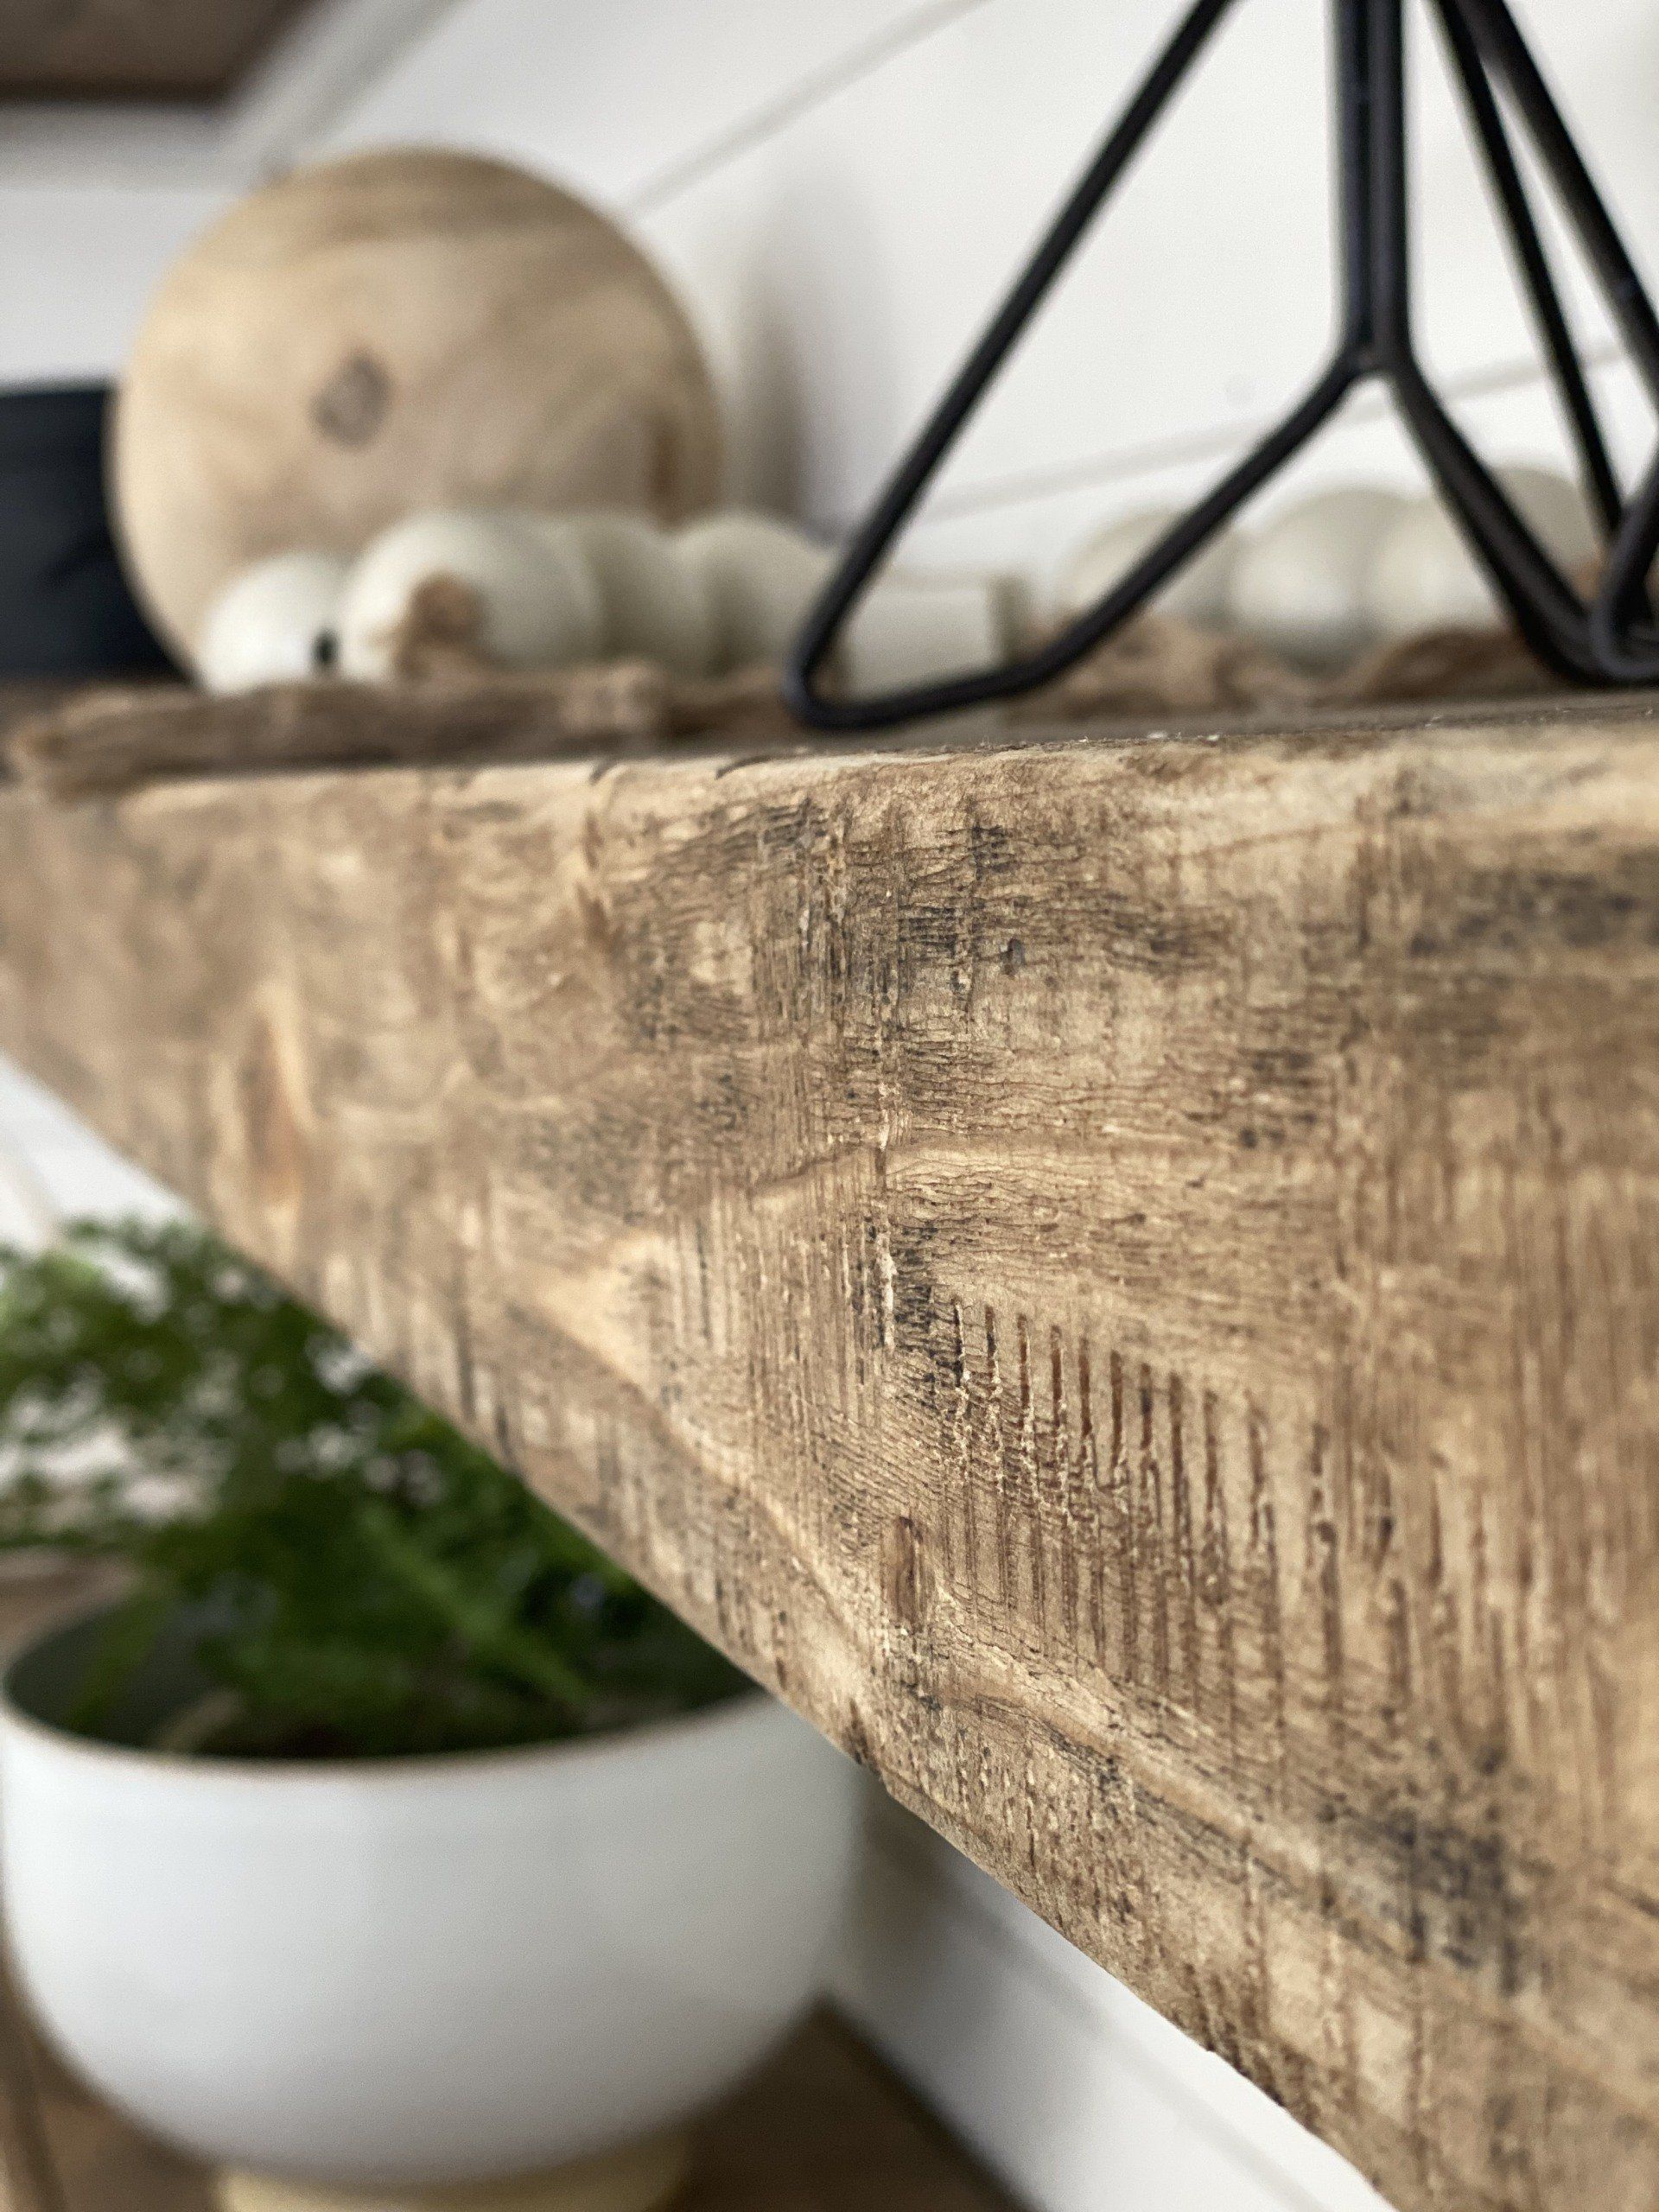
And this is what the shelves look like now.
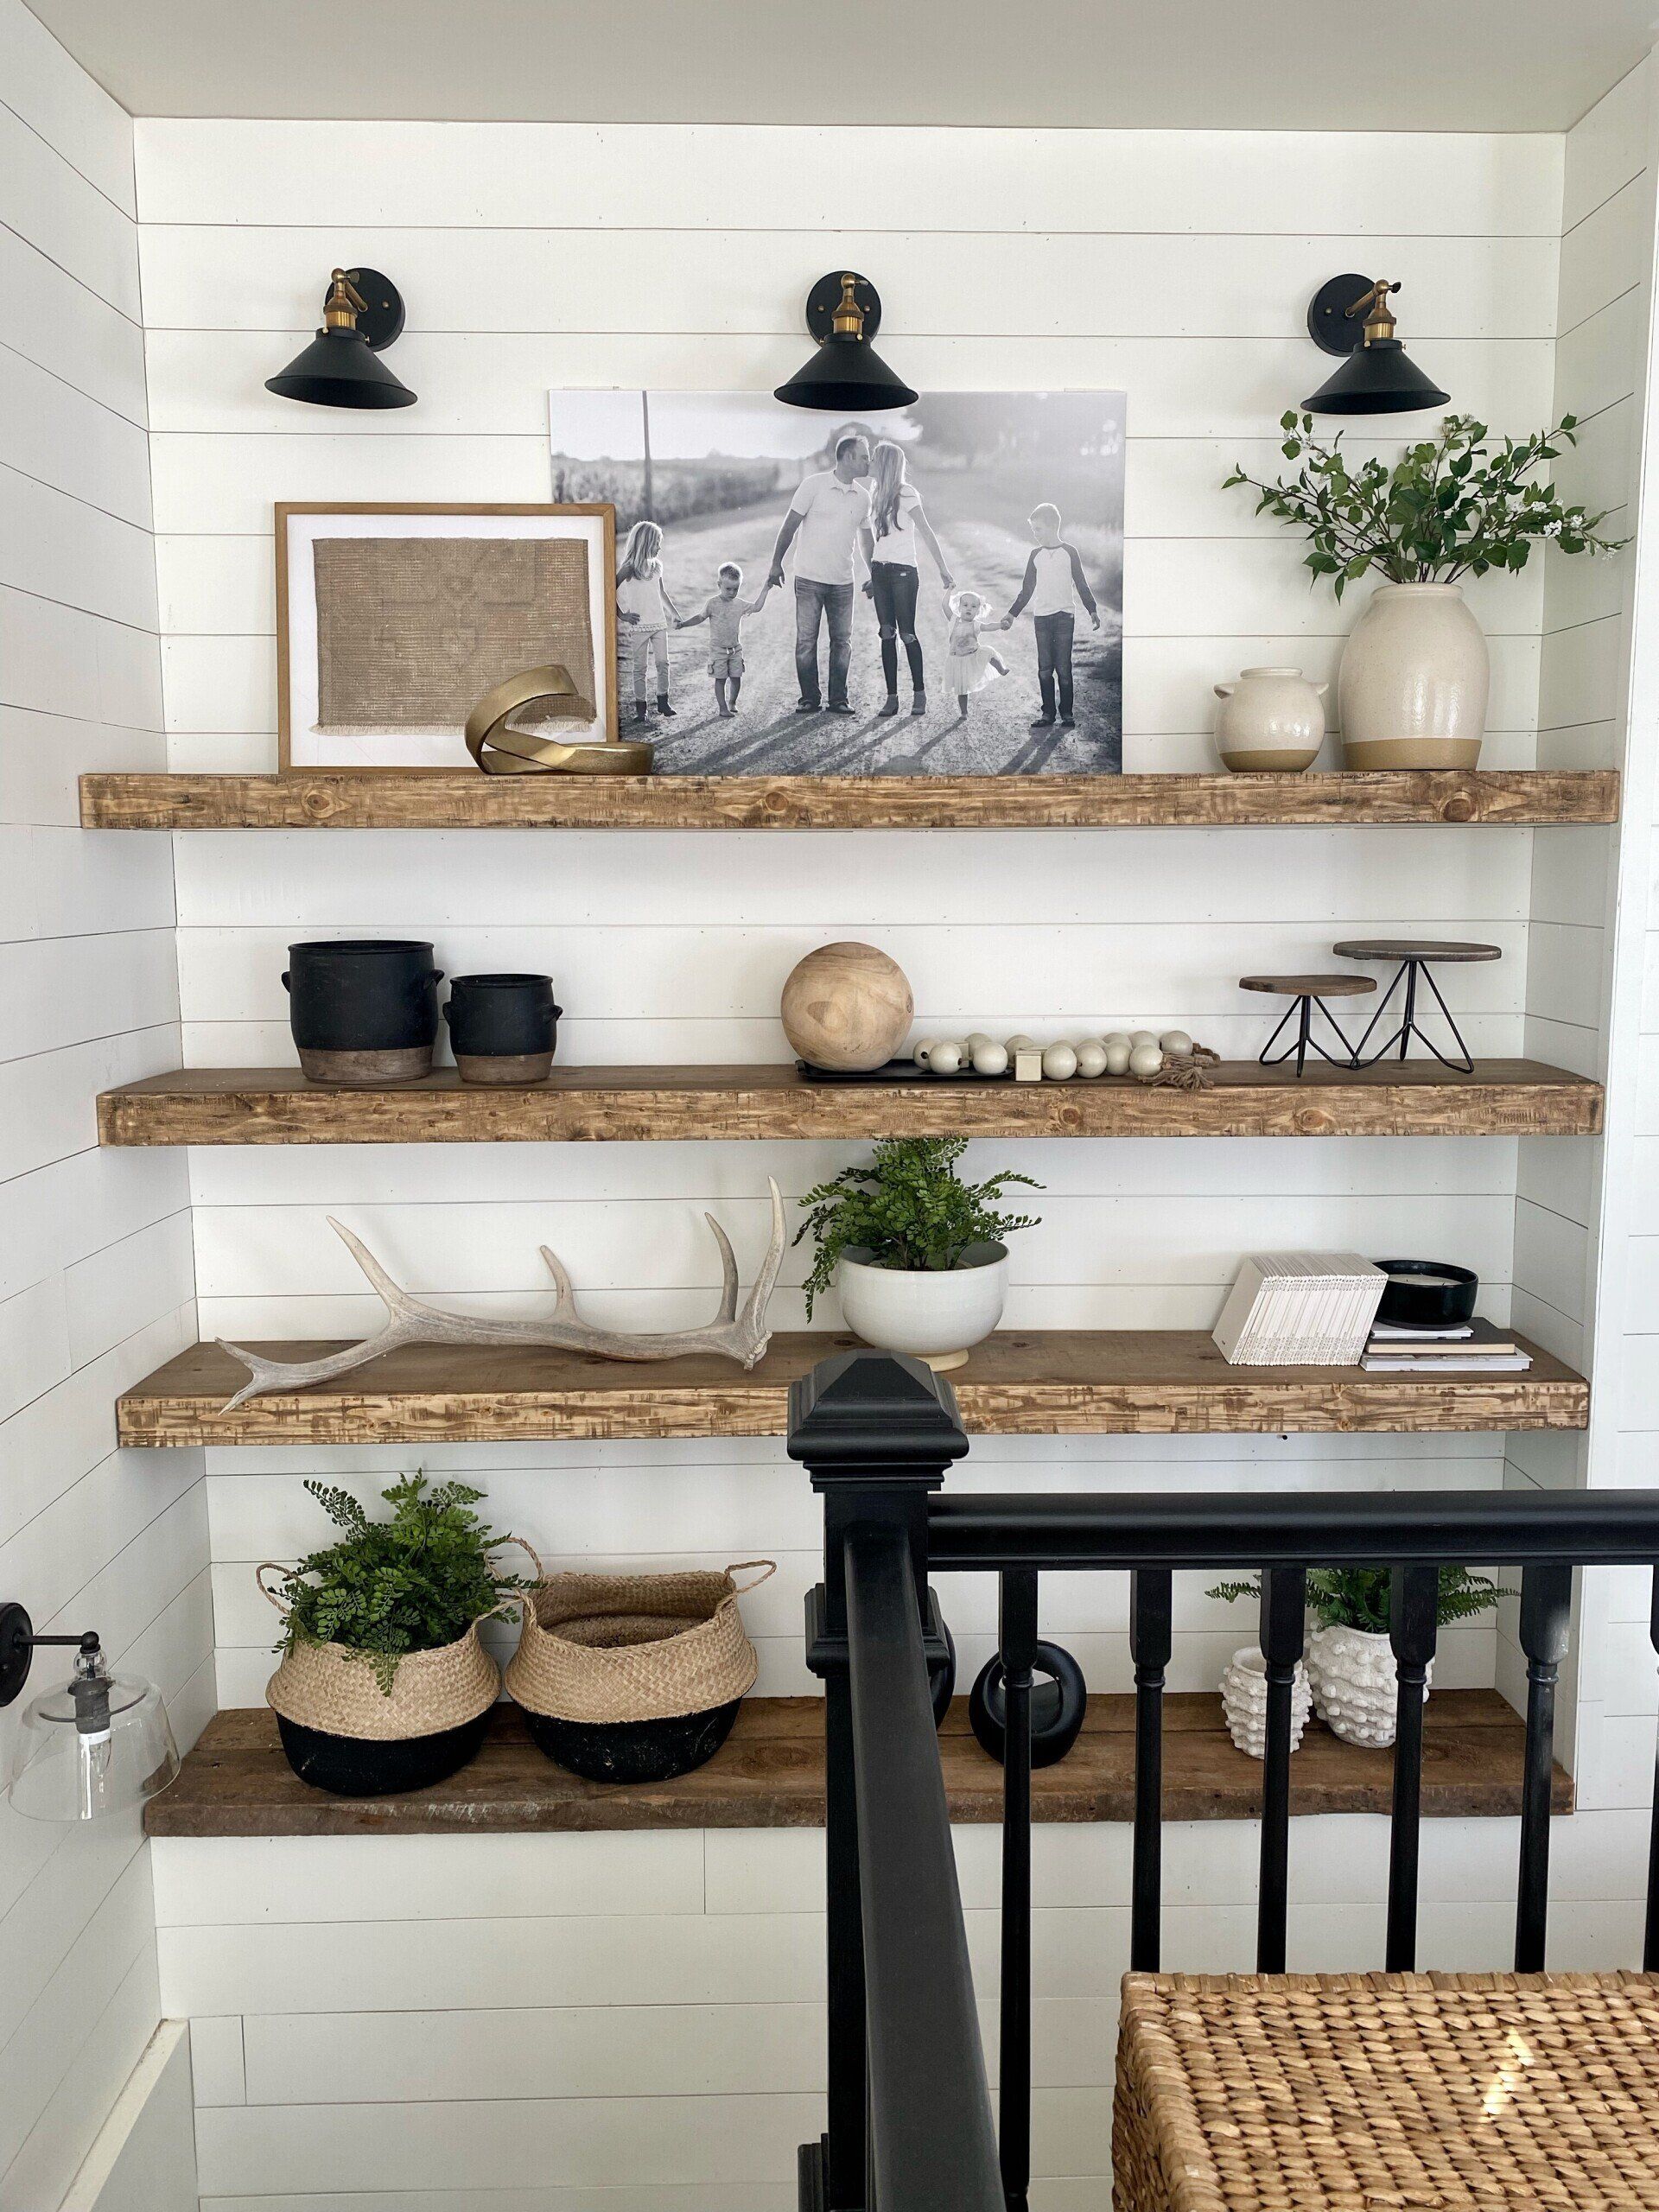
I'm loving the new thickness as well as the character;)
Shelving can sometimes be hard to style, but the key is to get like items and repeat them. I love using vases in two sizes, wood elements, sculptural items, and greenery. I put together a mood board with links of items that are all in stock so you could recreate a similar look if you wanted.
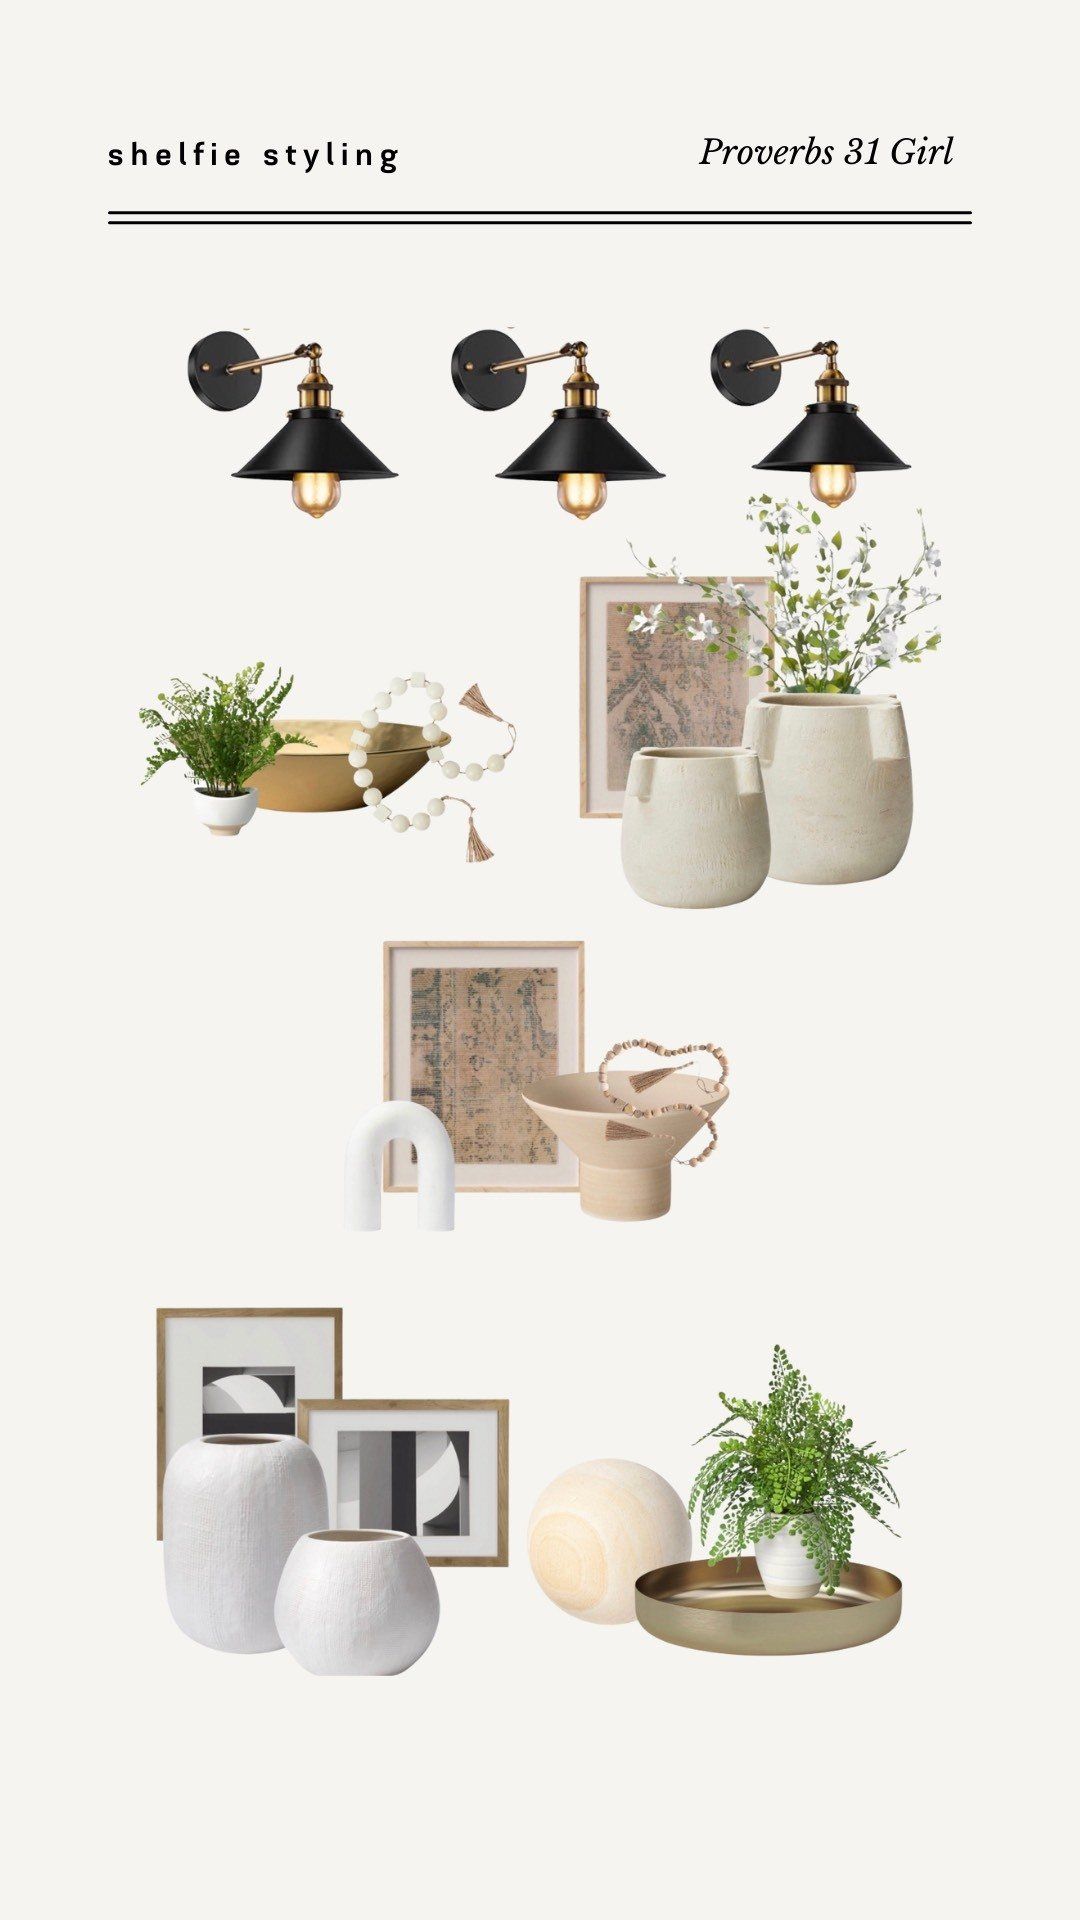
And even though I don't have electrical above my shelves, that didn't stop me from putting lights there. They aren't wired, I could add puck lights someday, but honestly I just like the look it gives. And a huge bonus that you can purchase three of these lights for $49!! Find them HERE.
If you want to see the process of aging wood in real life, you can head to my Instagram and watch it over on this story:)